
 What the hell is this article talking about? Deep cleaning the Dash in a DB9? This is part of “while your at it” syndrome. I was dealing with a sagging headliner (read all about that in this article), and to get the headliner out of the car one of the steps described in the official Aston Martin Workshop Manual was to remove the interior dash panels in order to release the A-pillar covers (a.k.a. Cant Rails). I set about removing ALL the interior dash panels since it was the last panel that come off that hold the A-pillar covers in place (what a surprise). While I have all those sculpted leather panels off the car, I figured what better time to give them a close inspection and a deep clean. The cleaner is also a conditioner that adds UV protection, and this should help the leather last a little longer as well.

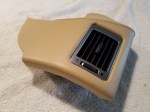
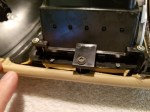
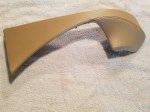
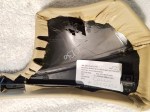
During the inspection I discovered three separate panels that had the glue failing and the leather was lifting away. This was leading to the leather rising up and looking uneven. This is really, really common with the front most dash panels that are in the direct sun most of the time. ‘While I was at it’, I opted to get these repaired by an upholsterer.
Note: Be careful when handling the panels. These are your fancy leather panels that you stare at all the time while driving, and it would suck to damage one. You can nick them, mark them, even break them if you mishandle them. They really aren’t frail, just treat them carefully and keep them clean.
Tools and Supplies Required
This is mostly elbow work, but I needed a few things:
 Clean Microfiber towels
- Large beach towel
- Dining room table (!) or clean shop bench
- A clean tooth brush
- Really clean hands
 In addition I purchased a bottle of Meguiar’s Leather Cleaner. Keep in mind that the leather in a DB9 is NOT the same as the old hydes in vintage classic cars. That kind of leather needs to be ‘fed’ with a conditioner to keep them supple and prevent cracking. Modern cars with leather interiors have a more stable treated leather, and we just need more of a cleaner than anything else. The Meguiar’s cleaner I chose is for modern leather. It also claims to add some UV protection as it conditions – neat – sunscreen for your dash panels (I wonder what SPF it is?) You can pick up a spray bottle at your local auto supply store for under $10, or get it online for about $7 from Pepboys.com.
Inspecting the Panels
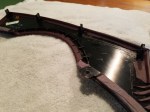
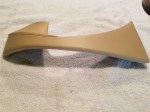
Before I started the cleaning I decided to inspect all the panels for any signs of damage or glue failure. Check them out now before cleaning in case you need to take them out for repair, at least you won’t have to clean them twice.
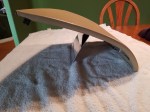
- I laid out the large beach towel on my dining room table to have a clean soft surface to work on, protecting the table and the panels. Afterwards I can just toss the towel in the wash. The ample light over the table made the tasks easier.
- One panel at a time I looked and felt along all the glued edges to see if the leather was loose and able to lift away.
- I found three (3) separate panels with this failure. I set these aside to be repaired by an upholsterer.

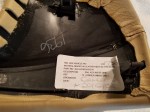
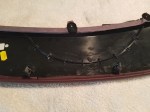
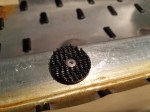
More failing glued edges
- I found three (3) separate panels with this failure. I set these aside to be repaired by an upholsterer.
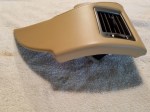
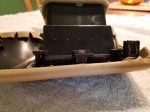
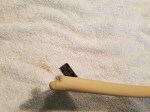
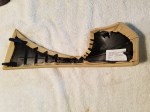
- I checked the ‘clips’ on panels to see if they were cracked or damaged.
- My drivers side lower knee panel had two (2) broken off clips that needed to be repaired. I will cover how to repair these in another short article [Coming Soon]

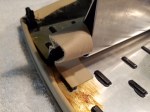
Snapped off mounting clip
- My drivers side lower knee panel had two (2) broken off clips that needed to be repaired. I will cover how to repair these in another short article [Coming Soon]


Cleaning the Panels
After checking them over, it was time for some elbow work cleaning them. This wasn’t really an arduous task as they weren’t really that dirty. The panels are difficult to reach under the impinging slope of the windscreen, so the furthest forward panels are difficult to clean unless done by the most determined detailer. With them off and sitting on the table, its a cake walk.
Essentially I just followed the instructions on the Meguiar’s bottle:
- Do not use on Suede or the Alcantara fabric!
- Apply to a clean and cool surface.
- Funny – this is how we are cleaning it.
- Cool is a good idea, not fresh from 100°F California sun.
- Test for colorfastness and compatibility on a small, inconspicuous area.
- Testing on a visible area of any dash panel would be a bad idea.
- I would suggest you test on a tiny patch of leather at the very front of the drivers seat in the center down closest to the carpet (where you can’t ever see it). You’d have to have your head down where the feet and pedals are lookin back to see it. Apply it to a small patch, then wipe off, and look to see if any color transfers to the towel, or if the area looks/feels odd after. It shouldn’t, this is mostly a CYA step they write down so you can’t complain to them if it did affect the car.
- Spray directly onto a microfiber towel or applicator pad and work into leather one section at a time.
- Elbow grease time! Work it in gentle swirls with some pressure to agitate any dirt free.
- Wipe off with a separate clean microfiber towel
I used the tooth brush to get into some tight spaces on a few panels that had a ‘bead’ along the edge that creates a groove. I just sprayed the bristles with the cleaner, then worked it into the groove to clean it out a bit, and then carefully ran a folded crease of the microfiber along to wipe off the cleaner.
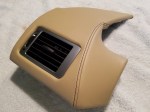
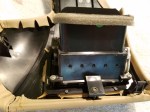
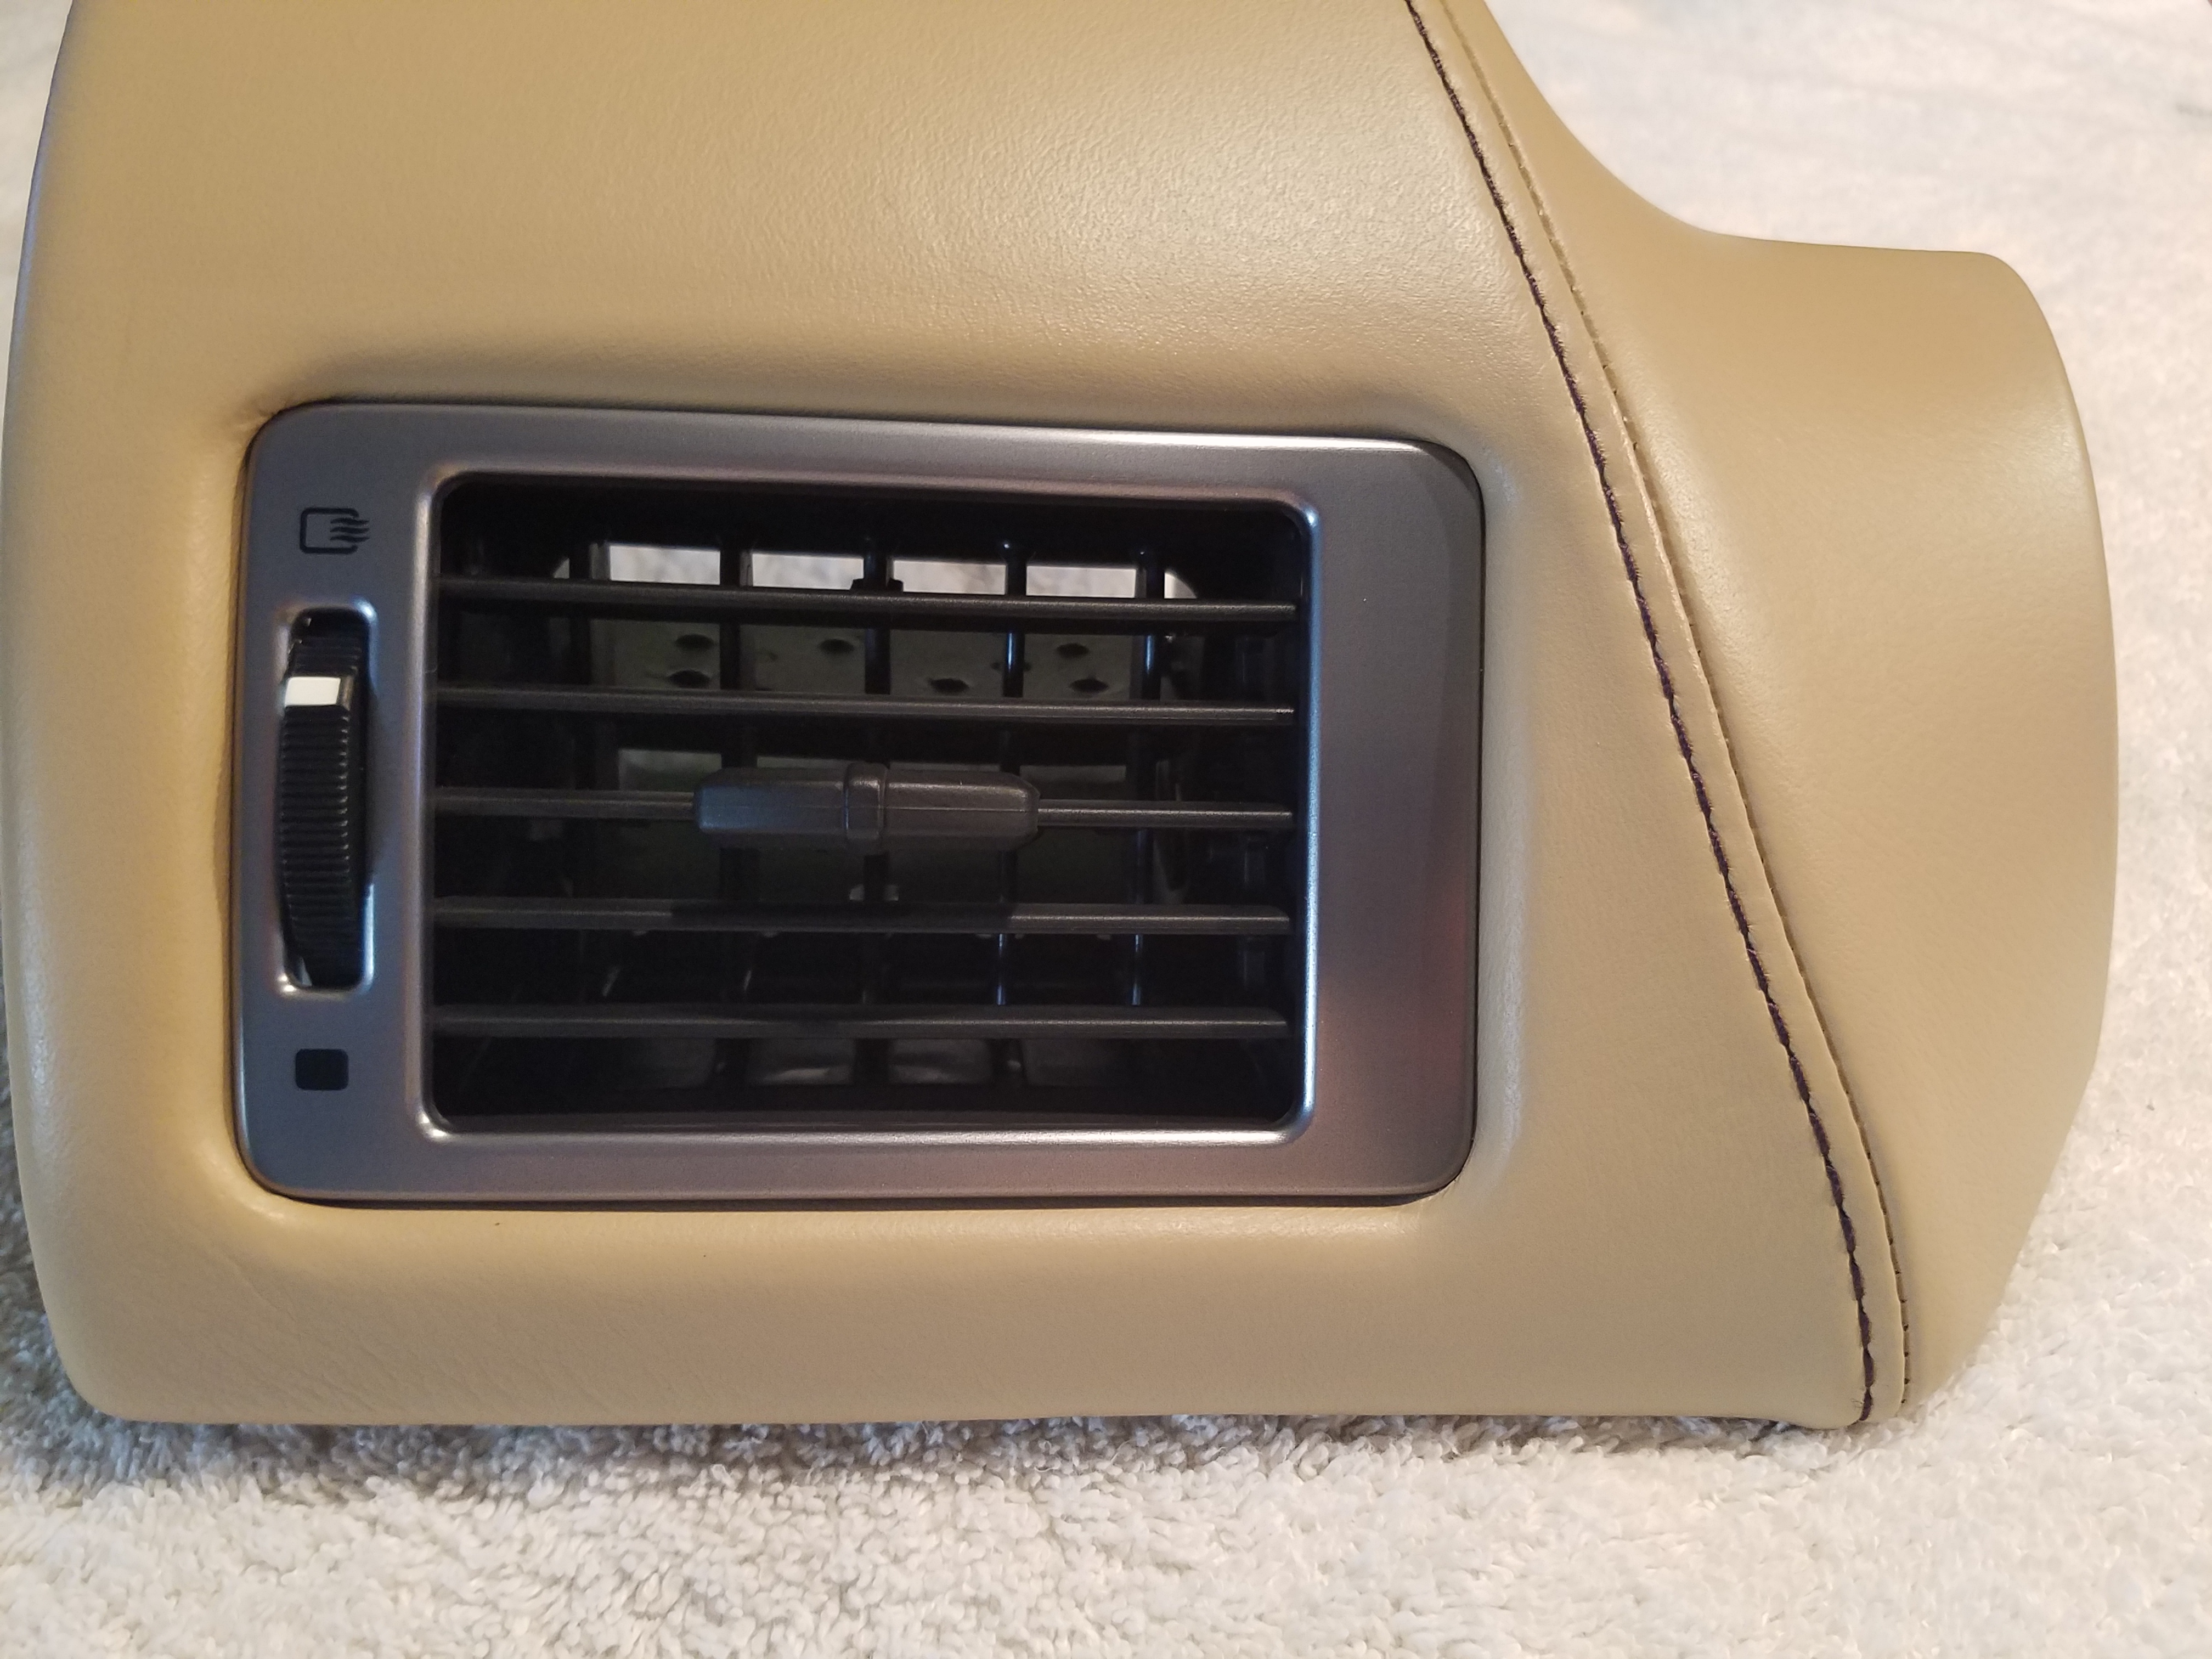 You have the left and right vent panels out, and this gives you a good chance to clean out any dust in the vent area. Towel, Q-tip, whatever suits your fancy to get the job done.
All in I probably spent an hour cleaning the eight (8) separate panels. The result was worth the effort. I promise I’ll do this every 10 years I have the car :>)
Video
Here is a short video showing some of the process.
[Coming Soon]
Bonus Feature
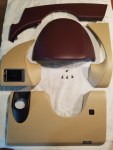
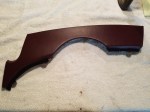
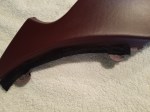
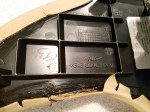
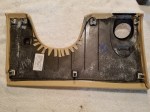
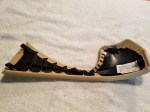
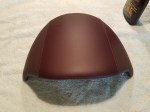
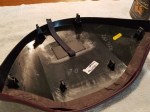
While I had all the panels off, clean, and well lit I decided to take a bunch of high resolution photos to document everything about them. Who knows what mystery this might solve for someone wondering what was on the underside of a panel, or how it connects. Enjoy!


As always a great set of instructions and photo’s 👍 Now if only I had the courage to try it on my 09 MY Vantage when the time comes.
LikeLike
Hi Steve,
Do you have any manual or intrusion on how to remove the rear interior panels? I have a 2012 Virage 2+0. I manage to remove a lot of the rear panels except for the panel underneath the rear glass.
Thanks
John
LikeLike
Has anyone removed the upper panels of the door cards? My ’09 has bamboo wood on both door tops, and I would like to remove them so I can refinish them, as some of the OE lacquer or whatever sealer was used is showing signs of ‘old age’.
Thanks for any help.
Gary Knox
LikeLike
Yes, I’ve had the door cards off already to fix a loose nut. WHen I did it, I followed this guys article, it was right on, other than he did more than was needed. No need to remove the side mirror bits or the exterior chrome trim.
I think I found article over on an FAQ at Piston Heads or 6Speed, but a quick Google finds it over at:
http://en.aston-martin-club.com/manual_download.php?id=86
LikeLike