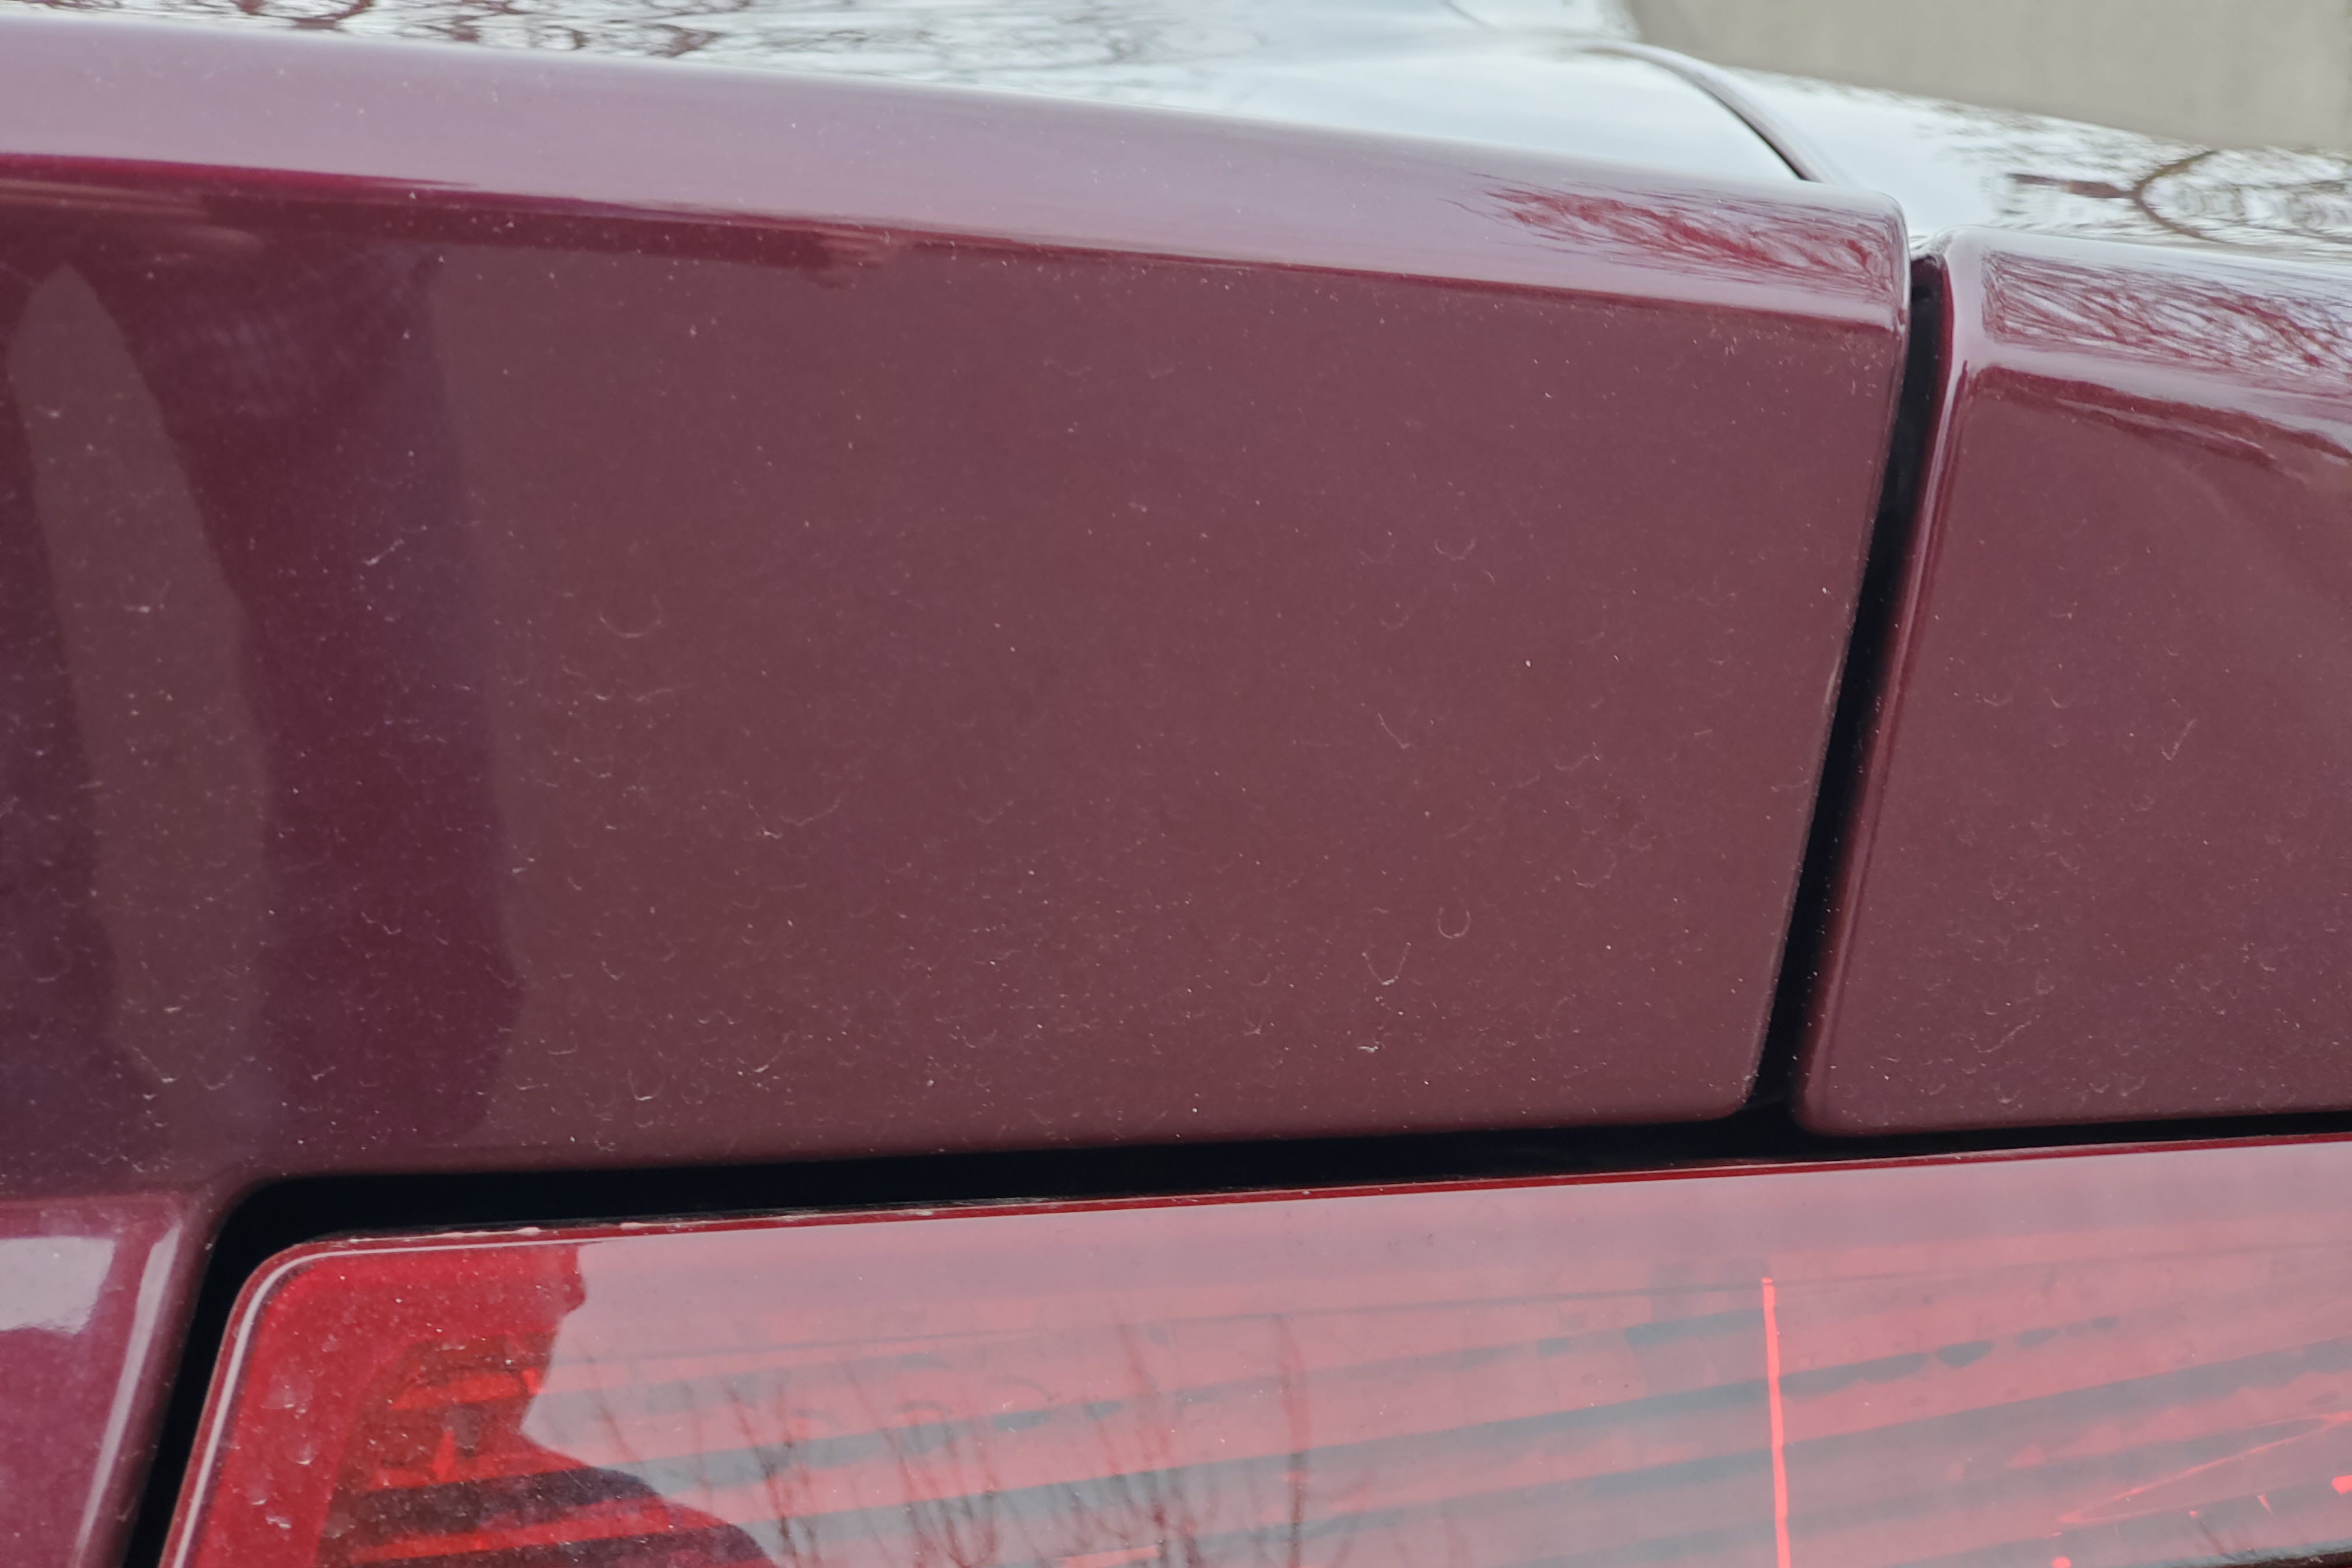
My DB9 was resprayed (repainted) recently. It was done by our regional Aston Martin Certified paint shop. When I got it back I was gobsmacked by how awesome the paint looked. A few days after I had it home I got the call from the paint shop, they realized that they had forgotten to install the DB9 badge on the trunk/boot lid. Doh! Sure enough, my car was debadged. The paint shop was a 2+ hour drive away, so I opted to have them FedEx me the logo. To my surprise it comes as three loose pieces D – B – 9 with NO template provided (Gee Aston – could ya toss in a piece of paper please). I asked the paint shop how they do it. They seriously said “We just wing it”. Which got me started on how to figure out exactly where to install them. This article covers it all.
I started with a cry for help out into the Aston Martin DB9 Owners Facebook Group. This group is terrific, and you should join in if you haven’t already. I asked if anyone could take a picture of their DB9 logo with a ruler in the picture for scale. Within a day at least half a dozen people had posted photos [Thank you!].
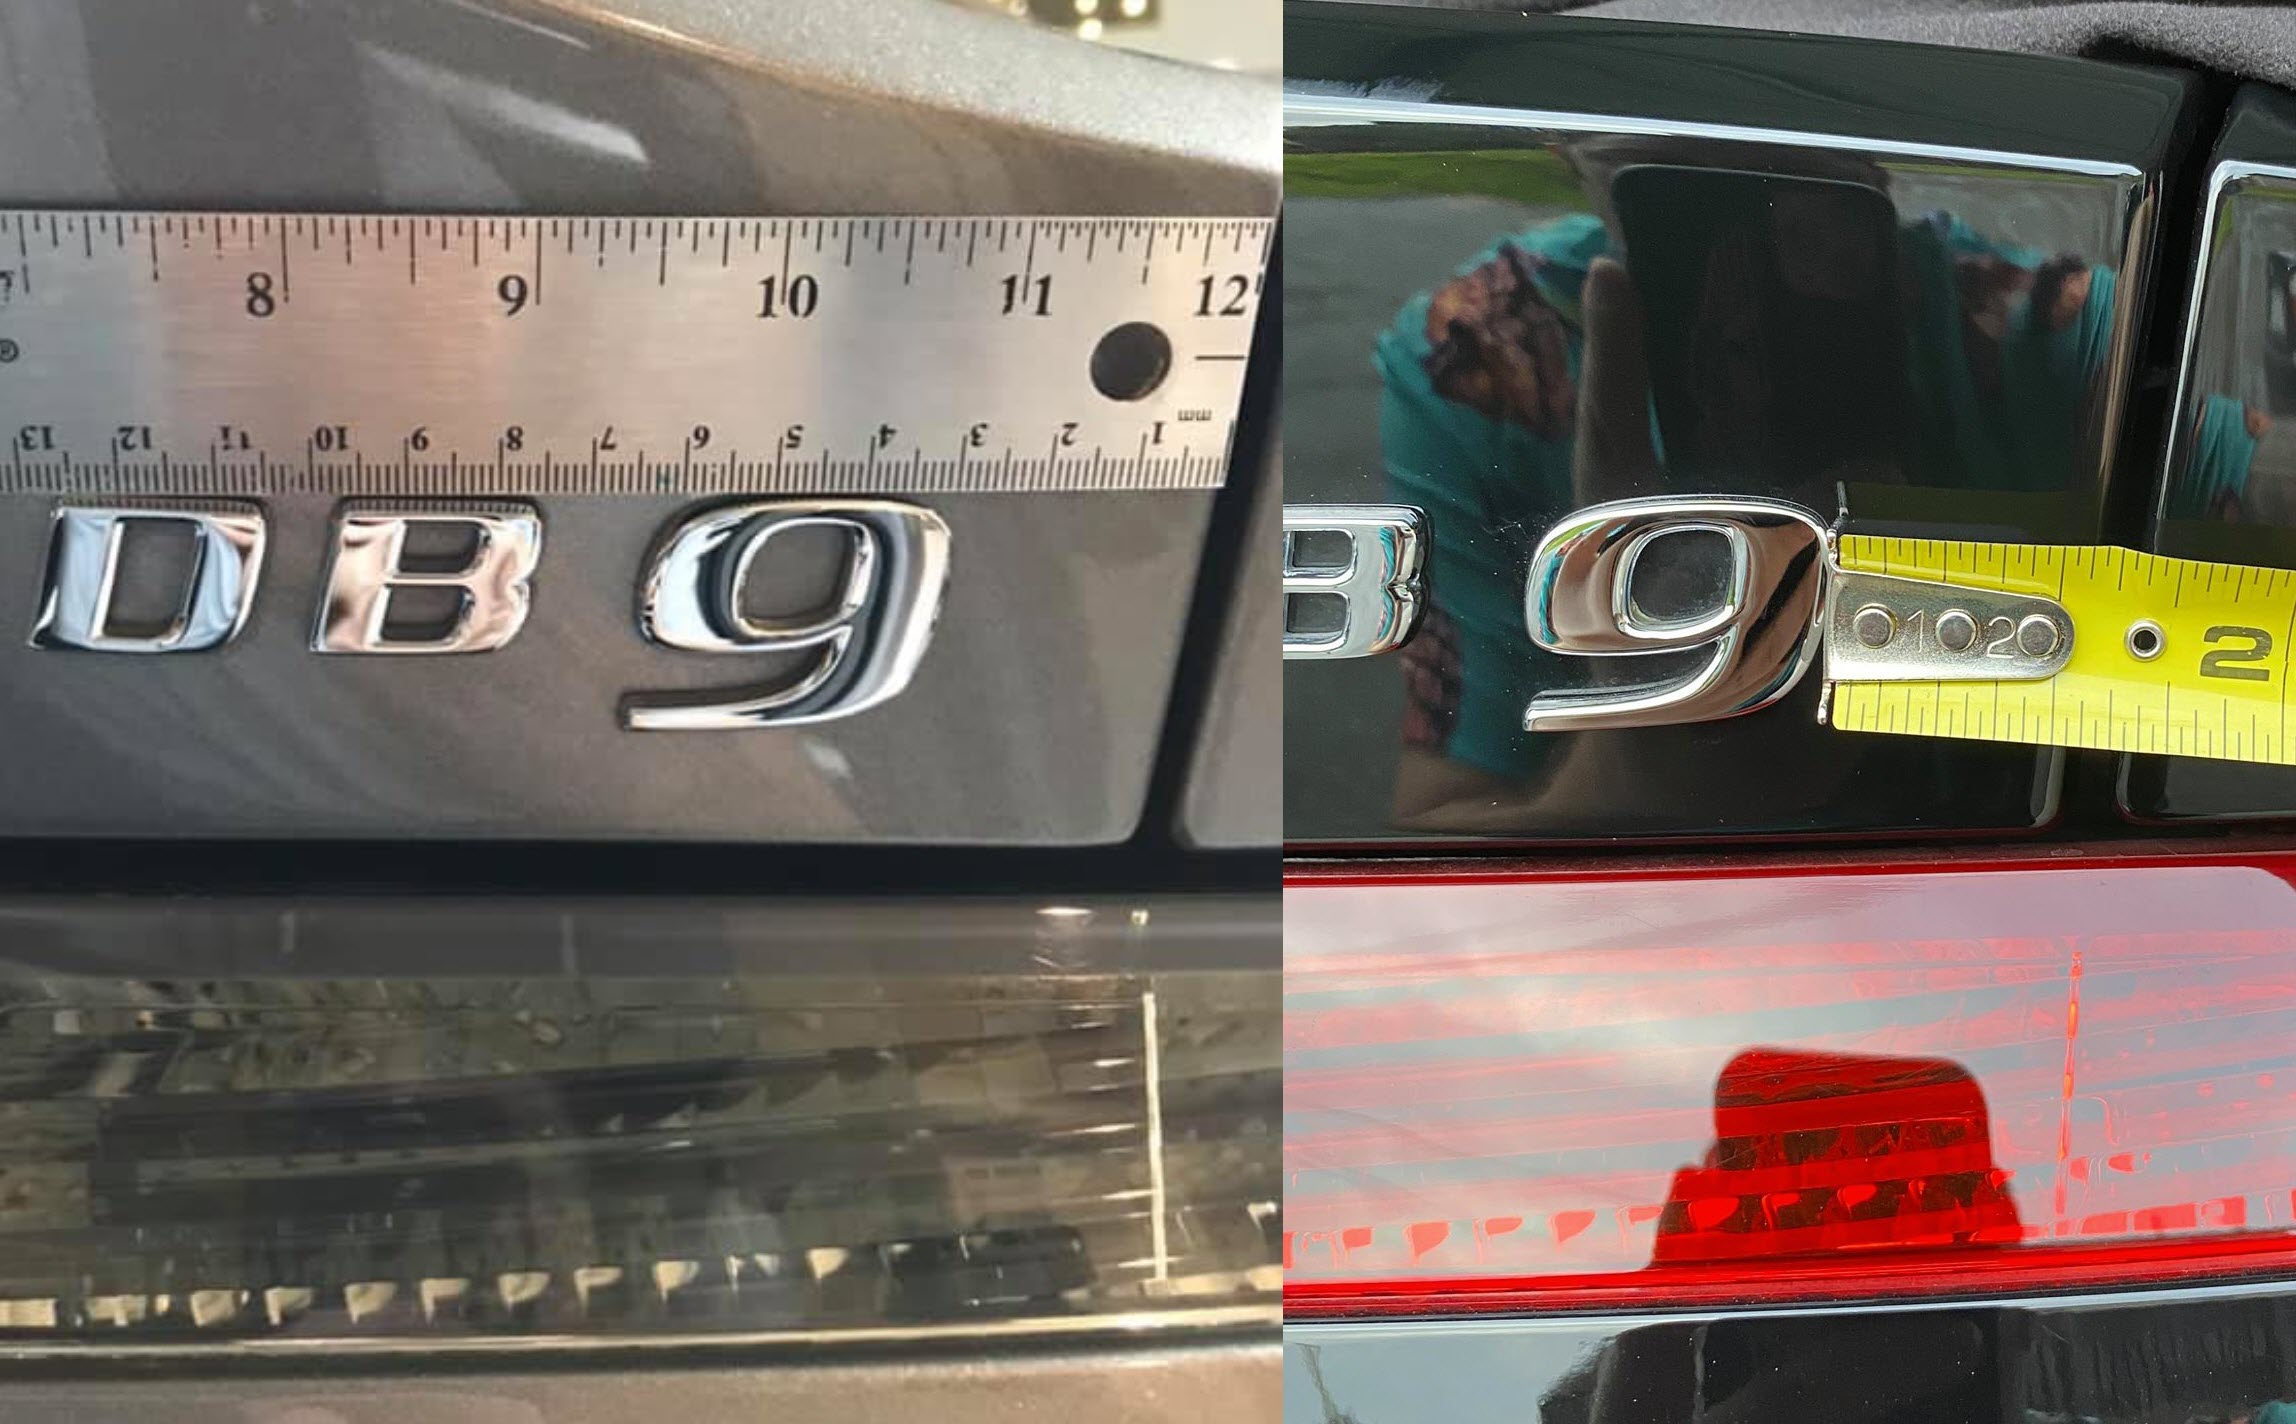
I started to review the pictures and soon discovered that most of them had the same dimensions, and a few were oddball. I’m going to chalk up the oddballs to perhaps other paint shops that wing it, or maybe it varies on later models.
What I came up with was this template that nicely overlaid onto several photos giving me confidence I had nailed it. You can see a scaled ruler faded into background for reference, and a DB9 logo ghosted in as well from another users photo. Magic of photo editing, all merged together and scaled.
![]()
Now with a template in hand, time to get the badge installed.
Tools
You only need a few basic things to install the badging:
- Roll of 1″ wide blue painters tape
- Plastic bendy ruler (metric), or…
- Digital Caliper that has metric readout
- Pencil
- Microfiber Towel
- Isopropyl Alcohol
![]()
Parts
Well, you need an official Aston Martin DB9 logo kit. Aston Martin part number 4G43-001B40-BA.
You can source this from a couple of places:
- About $57 USD online here
- If you are in the UK or EU, HWM England can sell them to you a little cheaper. Contact their Parts Team and let them know you read about it here and they will hopefully hook you up with a good price.
I noticed that people are really trying to scalp them for nearly $200 USD on eBay. Don’t get suckered, just buy from the dealer or ScuderiaCarParts.com.
The come individually wrapped in bubble pack. You’ll discover that they are adhesive backed. They just stick onto the car with really good double sided tape that should last forever.
![]()
Procedure
Installing them will take about 10 minutes to do the layout and press them on.
This is another ‘seeing it’ is a lot better way to learn it project. I’d really suggest you watch the entire video below to see just how its done.
- Since they stick onto the paint directly, you MUST remove any wax that’s present. If you use wax (not ceramic coating), just take your microfiber towel and dab it with the Isopropyl alchohol Wipe the approximate area where the logo goes thoroughly to remove the wax.
- If your car is ceramic coated, well, it will be what it is. There is no getting that off. Install the badge before you get the car coated.

- If your car is ceramic coated, well, it will be what it is. There is no getting that off. Install the badge before you get the car coated.
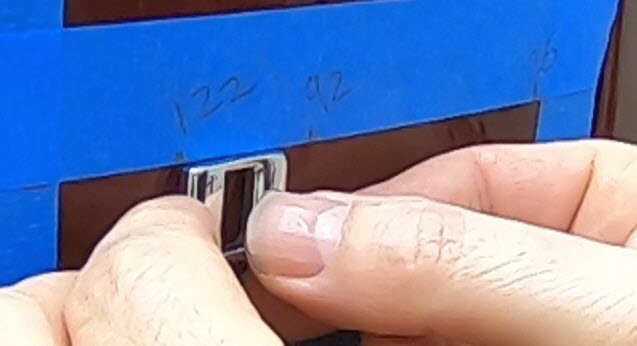
- Now its time to transfer the layout lines to the car.
- Start by overlapping a strip of blue tape along the bottom edge of the area. This is a rolled over edge, so is tough to eyeball where the flat portion ends. Press it over the curve to accentuate a datum line.

- Make two marks highlighting the bottom edge, one on the left, one on the right.

- Adjacent to the left mark install a vertical piece of tape 3″ long.

- Adjacent to the right mark install a piece of tape that closely follows the right edge of the boot lid.

- Using your ruler or Digital caliper, mark a spot on both sides 41 mm up from the bottom datum.

- Stretch a piece of tape above your two new marks, and this should make a nice new datum line exactly 41mm above your bottom one. Double check this in a few spots.

- Make a mark on the right edge of the new top datum. Call this zero reference point.
- Make a three marks to the left of the zero reference:
- 26mm
- 92mm
- 122mm
- These three marks will be used to align the letters.
- Your layout should look like this.

- Start by overlapping a strip of blue tape along the bottom edge of the area. This is a rolled over edge, so is tough to eyeball where the flat portion ends. Press it over the curve to accentuate a datum line.
- With your template transferred, time to stick’em on.
- Wash your hands so your fingers are clean and grease free. You don’t want this getting on the small amount of adhesive tape on the back of the badge.
- Peel the paper backing off the ‘D’

- Carefully align the D with its top left edge aligned with the 122mm mark.
- Keep the top edge of the D aligned closely to the top datum line.
- Very lightly press it on just enough to hold itself in place, but still give you a chance at peeling it off if things get wonky.
- Carefully align the B with its top left edge aligned with the 92mm mark.
- Keep the top edge of the B aligned closely to the top datum line.
- Very lightly press it on.

- To align the 9, you will be using the right edge, and its on an angle that matches the right edge of the boot lid, and intersects the 26mm mark. (I really suggest you look at the video)
- Very lightly press it on.
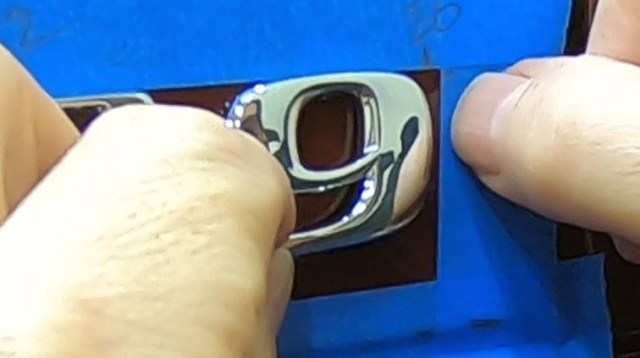
- Very lightly press it on.
- Stand back and view it as a set. Does it look right? Adjust as necessary (if possible).

- When you are satisfied, press the badges down with firm pressure for about 30 seconds each making sure it makes complete contact and has time to bond well.

- Use your Microfiber towel to polish them up!
- If you use wax on your car, you’ll want to carefully rewax around them on the area you stripped the wax off of.
That’s it – hopefully yours turned out looking like this.
Video
Watching me do the layout will make a lot more sense than reading about it. Check out this video on the process.

Why did you repaint it Steve?
LikeLike
Hi John. I bunch of stones fell off the top of a dump truck in front of me on the freeway. Bounced all over the road, and then up onto my car. Chipped up the front, the roof, even got a rear quarter. Cracked the windshield. Generally all bad things. Insurance covered it, but ended up being a full respray at an Aston Martin approved paint shop 2 hours from my home. Almost wrote off the car. But, that’s what insurance is for I guess. Car totally mended, plus I’ve not applied Paint Protective film to the entire front end and lower sides, and I had it ceramic coated after. Trying to keep the new paint job looking good for the future.
LikeLike
Oh wow dude! That is just crazy! I am glad the car is in good shape and that you are well. What ceramic coat did you apply?I am looking into that as we speak. I received 6L of Motul coolant today so will let you know how that one goes!
LikeLike
My DB9 had the badge delete option. Your’s can too now!
LikeLike
I did consider that. At least its nice to know they can be removed easy enough, its just tape. A little dental floss will handle the badge delete!
LikeLike
Has anybody else had the small LCD panel in the main instrument cluster go funky? It looks like a film is crinkling or something – the LCD reads out just fine but having the crinkle like film over it is annoying as hell! Any input or advice is much appreciated!
LikeLike