
Removing your Aston Martin DB9 Front Under Tray is part of many service events. It’s funny to note that although removing the front under tray is referenced at least 50+ times in the official Workshop Service Manual, there is no section anywhere within that manual that explains how, or lists the torque of the bolts [Aston are you listening?]. Taking it off may sound daunting, but it’s not too bad. Most of the work is in the prep which will probably take you 20-30 minutes. I’ve made posts for each of the prep steps:

Once you have the car up on jack stands, it’s just a matter of crawling under and removing the forty (40) T30 Torx screws holding the tray in place. Pretty simple actually, and only takes about 10 minutes.
I was a little particular about how I removed the screws, essentially removing them from back to front:
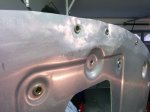
- First I removed the six along the front bumper. They were a larger head screw, but still a T30 Torx. As I learn later in the reinstall, these large headed screws actually belonged I different positions on the under tray, and the dealer installed them wrong.
- Next I removed the 4 large head screws holding a center air inlet duct. This step could probably have been omitted since the inlet was fully part of the tray, but I think it made access a little easier. I think this inlet might be on early cars only, I’ve seen pictures of other car under trays that don’t have the same inlet. I think this funnels air across the Oil pan/sump to help with cooling (referenced in the Aston Martin official parts manual as Sump NACA duct).
- I moved to the rear edge of the tray, and started to remove rows of the screws, moving from back to forward. The last screw I would remove from each row would be the center (where possible) so that it would support the weight as I was under it.
Eventually the tray begins to sag under its weight, and I used a high tech plastic bucket to support it while I continued to move forward row by row.
After I had the last screw removed, the final step was to gently pull the tray rearwards to slip it off the front bumper lip, and then it will drop free of the car.
I used an Air Wrench for the removal to speed up the process, but I would caution about using it on the reinstall since it would be easy to over tighten a screw and strip out the threads.
I would suggest checking the condition of the screws and giving them a quick degrease when you have them off the car. One of my screws was missing (rattled loose and dropped away I guess), and two of the large head ones at the bumper were worn down a fair bit from nose dragging the car leaving parking lots. I ordered these from my local Aston dealer to replace them as I reassembled.
I have made a YouTube video detailing the process:
Check out my post on How to Install the Front Under Tray for a few tips I learned putting it back up.
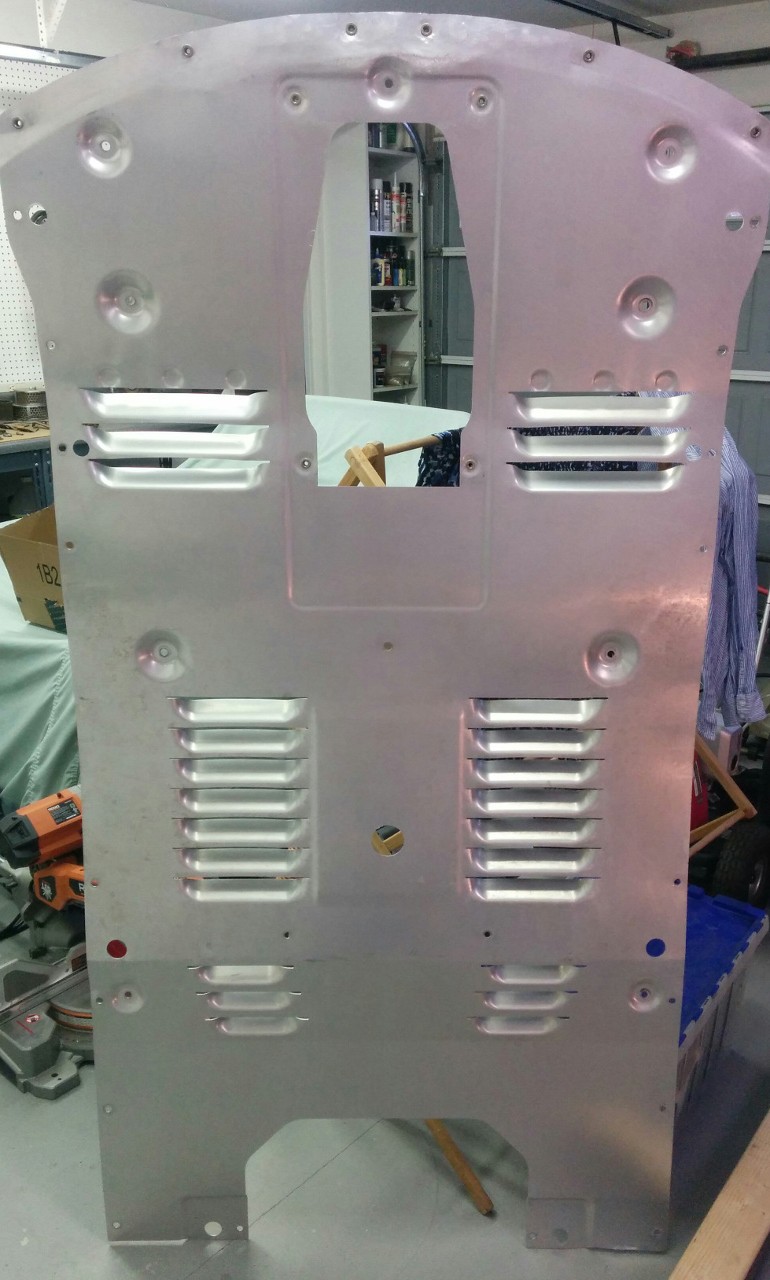
Here is a photo gallery of the Front Under Tray in case there is some view that helps you figure out something on your project.


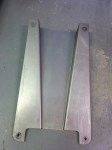
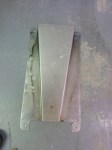

Thanks for a great tutorial on this task. For the information of others following in your footsteps, I should mentions that the under-tray on the 2007 model has changed somewhat from that on the 2005. It is in two sections, which makes it somewhat easier to remove. The rear of the two sections is made of heavy gauge aluminium close to 1/8″ thick. Most of the bolts that secure it are thicker and have a T40 head. The bucket trick works just as well! The front section is thinner, and uses a mixture of bolts with T30 and T40 heads. It is secured at the front by machine screws which pass through the alloy scrape guard first, and then through the front under-tray section. The rear section overlaps the front section with the rear section being underneath the front section at the overlap, so the rear must be removed first. I hope this helps future readers with 2007s.
LikeLike
Great! Thanks for taking the time to share this with me (and the rest of the readers). Glad the bucket still works ;>)
LikeLike
Steve (or some other benevolent soul),
Would you mind indexing the center holes for the plate for me next time you have it off? I just purchased 251321 and the previous owner must have hung it up on a parking curb or something and bent the pan. I plan to fix it when I have it off but it would save me A LOT of time if someone would measure the height from the bottom of the screw holes to the pavement on the front lip. That way I can index mine against that when I fix it and the lip will be straight.
Many thanks in advance,
Cheers!
LikeLike
Hi Joel. I can give this a whirl then next time I have the pan off. Not exactly sure what dimension you are after though, trying to imagine that. If you have a sketch or a photo, please email me at steve@aston1936.com.
LikeLike
Hi,….have you ever removed the front licence plate holder?
I have an ’07 DB9 and would like to remove the front plate holder.
LikeLike