
 This is a fairly frivolous post, but gives me a place to put the videos and photos I took when I had the front plastic inner wheel well arch liners removed (see my other post on how to remove them).
I find that if I can see a photo (or video) of what to expect when I am gearing up to tackle a project, I am better prepared. Trying to help you with “If only I had a picture of what was behind that to know if I should …..”
Maybe there will be something you’ll spot in these to help you with your project.
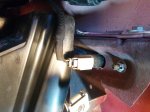
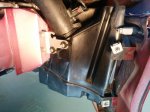
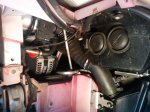
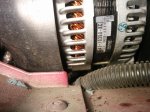
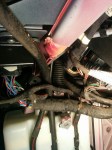
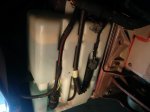
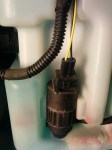
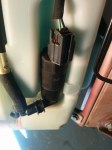
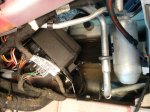
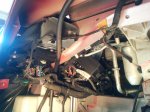
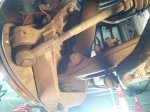
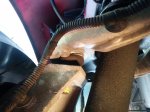
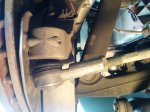
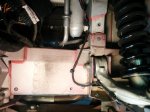
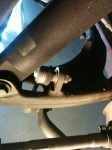
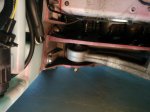
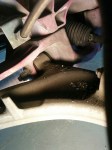
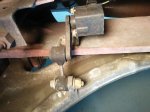
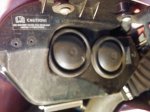
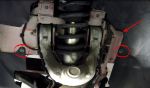
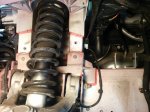
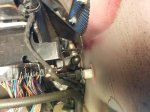
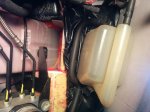
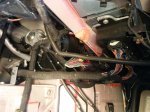
Videos below are of the left and right side wheel wells, plus a high resolution photo gallery as well (you can zoom the photos in a LOT if you are looking at some specific detail).


Hi Steve, well l made a start on removing the undertrays and offside front inner wheel arch well a few days ago on the DB9. far from the screws coming out in minutes, it has taken hours of careful effort to get a lot of dry and rusty screws out .the ones that wouldn’t move l have drilled the heads off to get the panels off, so l can then extract the rusty portion of screw later. a couple of brackets are only bonded to the plastic wing so l had to be very careful extracting the broken screw. I got two of them out by a combination of drilling, heat, mole grips and a tap wrench.
a lot of work which could have been avoided with a spot of grease on the threads. I still have a couple of screws to drill out in the chassis before l start on the nearside ! the servicing work will follow once all the underpants are off.
LikeLike
Oops ! Can you change underpants to underpanels ?
Regards,Martyn
LikeLike
I can’t edit it, but also can’t stop giggling. Autocorrect is awesome.
Sorry to hear about your struggles with the under tray screws. My car has lived its entire life in California so it’s been pampered when it comes to weather and rust. Yours being so bad certainly hints that the previous owner did little maintenance. If you get the 40+ screws out a new set will only cost about $40, and then I agree, coat them up with Anti-seize compound to prevent a reoccurrence. Good luck!
LikeLike