
 You’ve likely had the Front Inner Wheel Well Arch Liner out on your DB9 to do some service task, most likely Changing the Air Filter as part of your annual service.
Check out my other post and video on how to remove it.
Reinstalling is mostly a matter of reversing the removal steps, but I have a couple of tips that will help you along the way.
 Tools
Tools
The only tools you’ll need is the T30 Torx bit socket, and I used a 6″ extension as a handle while installing them loosely. You’ll need a ratchet or torque wrench to do the final snugging up.
Restoring it
Once arch liner was out, it was interesting to note the blanket of insulation/padding (?) on the back. Not sure what this is for, it’s not attached tightly enough to the plastic to really be an effective sound deadener. Anyone really know what this is for [please leave a moment]? If it was just for sound attenuation, might it be better to remove this stuff and replace it with Dynamat stuck directly to the entire back surface?
In a few places the tape used to hold it to the plastic liner was failing (I repaired that with some new double sided outdoor rated tape).
While I had it off the car, I used my pressure washer and gave the liner a serious deep cleaning (you can accomplish the same with a hose and a scrubby brush). Once it was clean and dried, I used some Meguiar’s Ultimate Black Plastic Restorer to make the liner look as good as new again.
Installation Tips
Here are my suggestions to make the process a little easier.
- Loosely position the entire arch liner before installing any screws at all. See my video below for a clear view of this.
- Fit the entire piece up over the brake
- Tuck the front lip up over the air dam lip
- Work the rear section into place up over the lower sill
- Ensure the rubber gasket along the top edge is fully engaged before you position it up into the fender / wing.
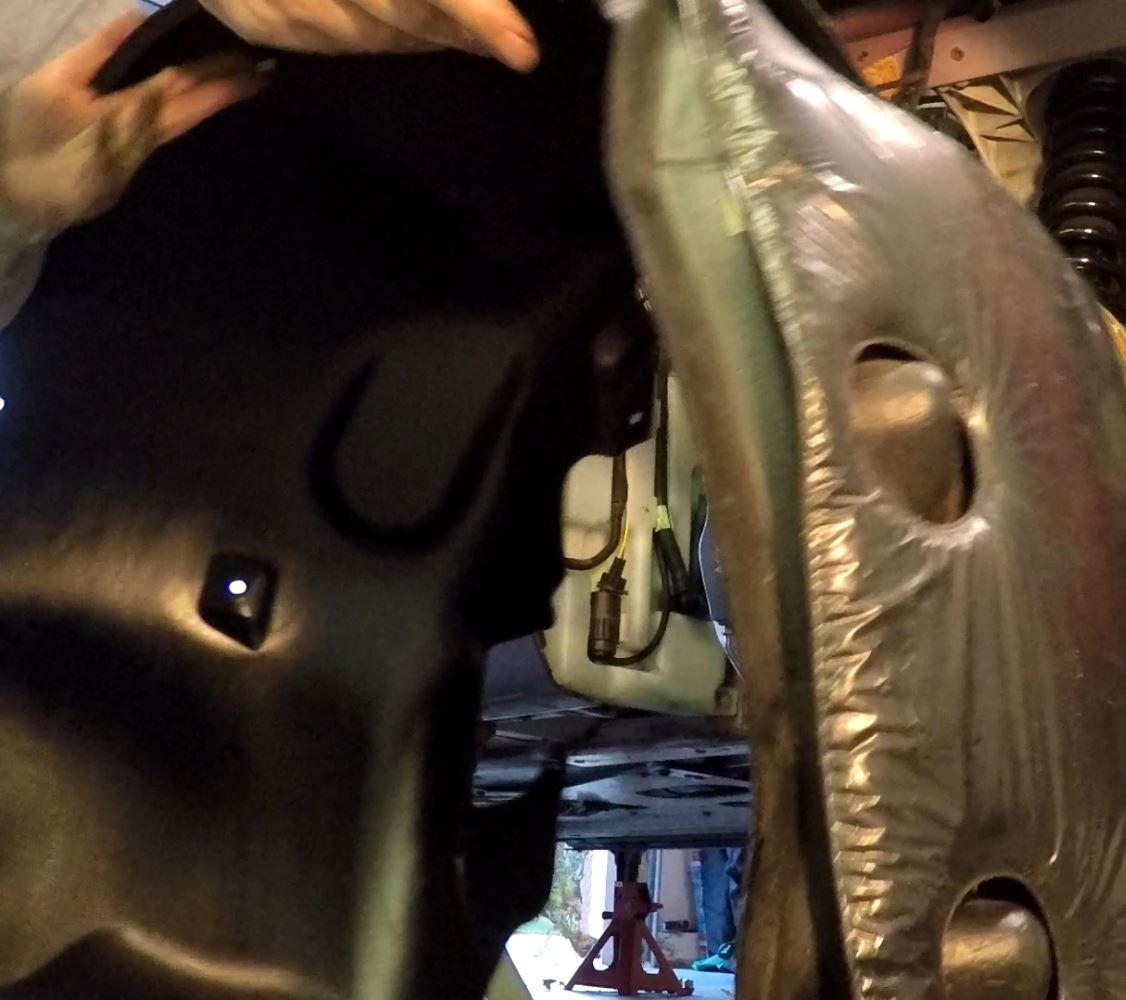
- Lift the arch line over the small amount of ‘lip’ on the vertical chassis frame just forward of the suspension spring.
- Look through your pile of screws you removed and find the four (4) with paint on them, these are for the front air dam lip.
- Plan to only loosely install all of the 17+ screws first before tightening. You’ll want to be able to wiggle and shift the arch liner around a little as you line up all the holes.
- Install the front four (4) painted air dam screws first.
- Move to the back and install the outer rear most wheel well screw next (see video) since this helps line up the front/back position of the three lower screws.
- Install the three (3) lower rear screws
- Finally install the remaining screws within the wheel well
Once you have all your screws loosely started, you can go ahead and tighten them up. I couldn’t find a specifically listed torque spec in the Official Aston Martin Workshop Manual (there is no section on installing the wheel arch liners – surprising since its referenced many times in other procedures), but in the back they listed the generic torque for an M6 screw (which these are) as 5 Nm (44 inch-lbs). I used my judgment and went with ‘firmly snug’ since the tray is just HDPE plastic.
Here is a video of the process I followed. I apologize for the absolutely crappy camera positioning and audio. I should have used the head mounted camera, but thought the ‘scene’ view might have turned out better. Lesson learned.
