You may be installing Coil Packs into your DB9 as part of a scheduled service or as part of some other service issue. I am swapping mine out as part of solving a Lumpy Idle issue (check out my post on this). Regardless of the reason, getting it done right is important. In this post I will cover preparing the coil packs plus how to install them properly.
To get to the point where you’re ready to install your coil packs you’ll need to have removed them first. This takes a fair bit of effort on a DB9 [understatement], and you can check out my post and video on Removing the Coil Packs.
Parts Needed

Depending on your situation you may be reinstalling your old Coil Packs or replacing them with new ones. If you are putting in new ones, I’ve already discussed this thoroughly in my other Post on Parts your need to Change your Coil Packs and Spark Plugs. Basically you’ll need twelve new Coil Packs (Aston Martin part number 4G4E-12A366-AA).
Tools
 You won’t need too many tools for this:
- 7mm 1/4″ drive socket
- Nut driver to help install the bolts more quickly
- Torque Wrench (1/4” drive) with a range that includes 6 Nm
- Oiling Can
Preparation of the Coil Packs
Before installing the coil packs I took the time to prepare them and the mounting bolts just a bit to make the install go a little smoother.
I put some clean engine oil on the threads of the bolts so that they will install smoothly. I used my oil can and put a drop on the first few threads and then spread it around (see my video below for the technique on how to do this cleanly on two at once).

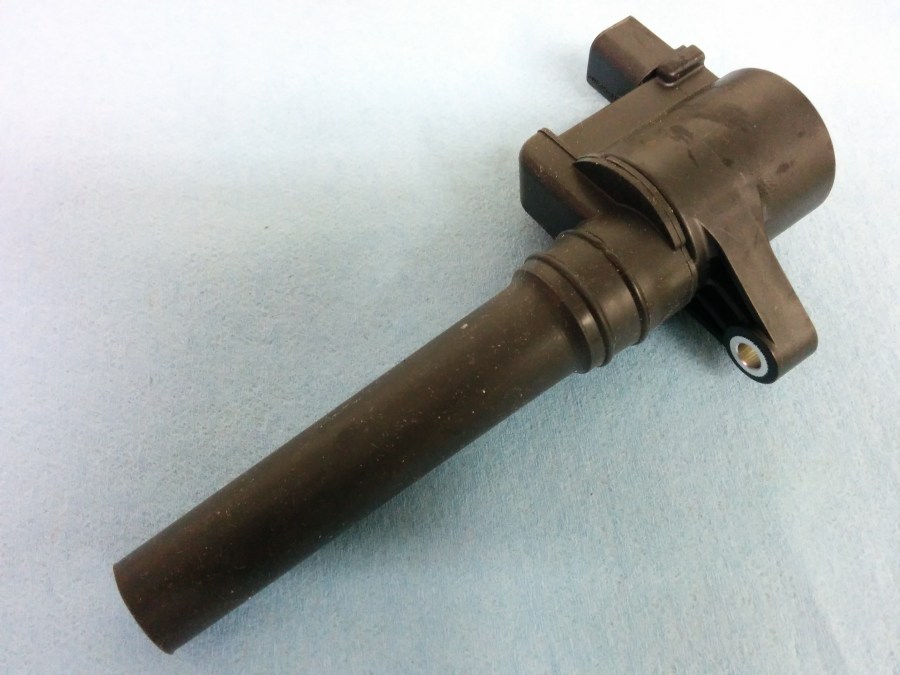
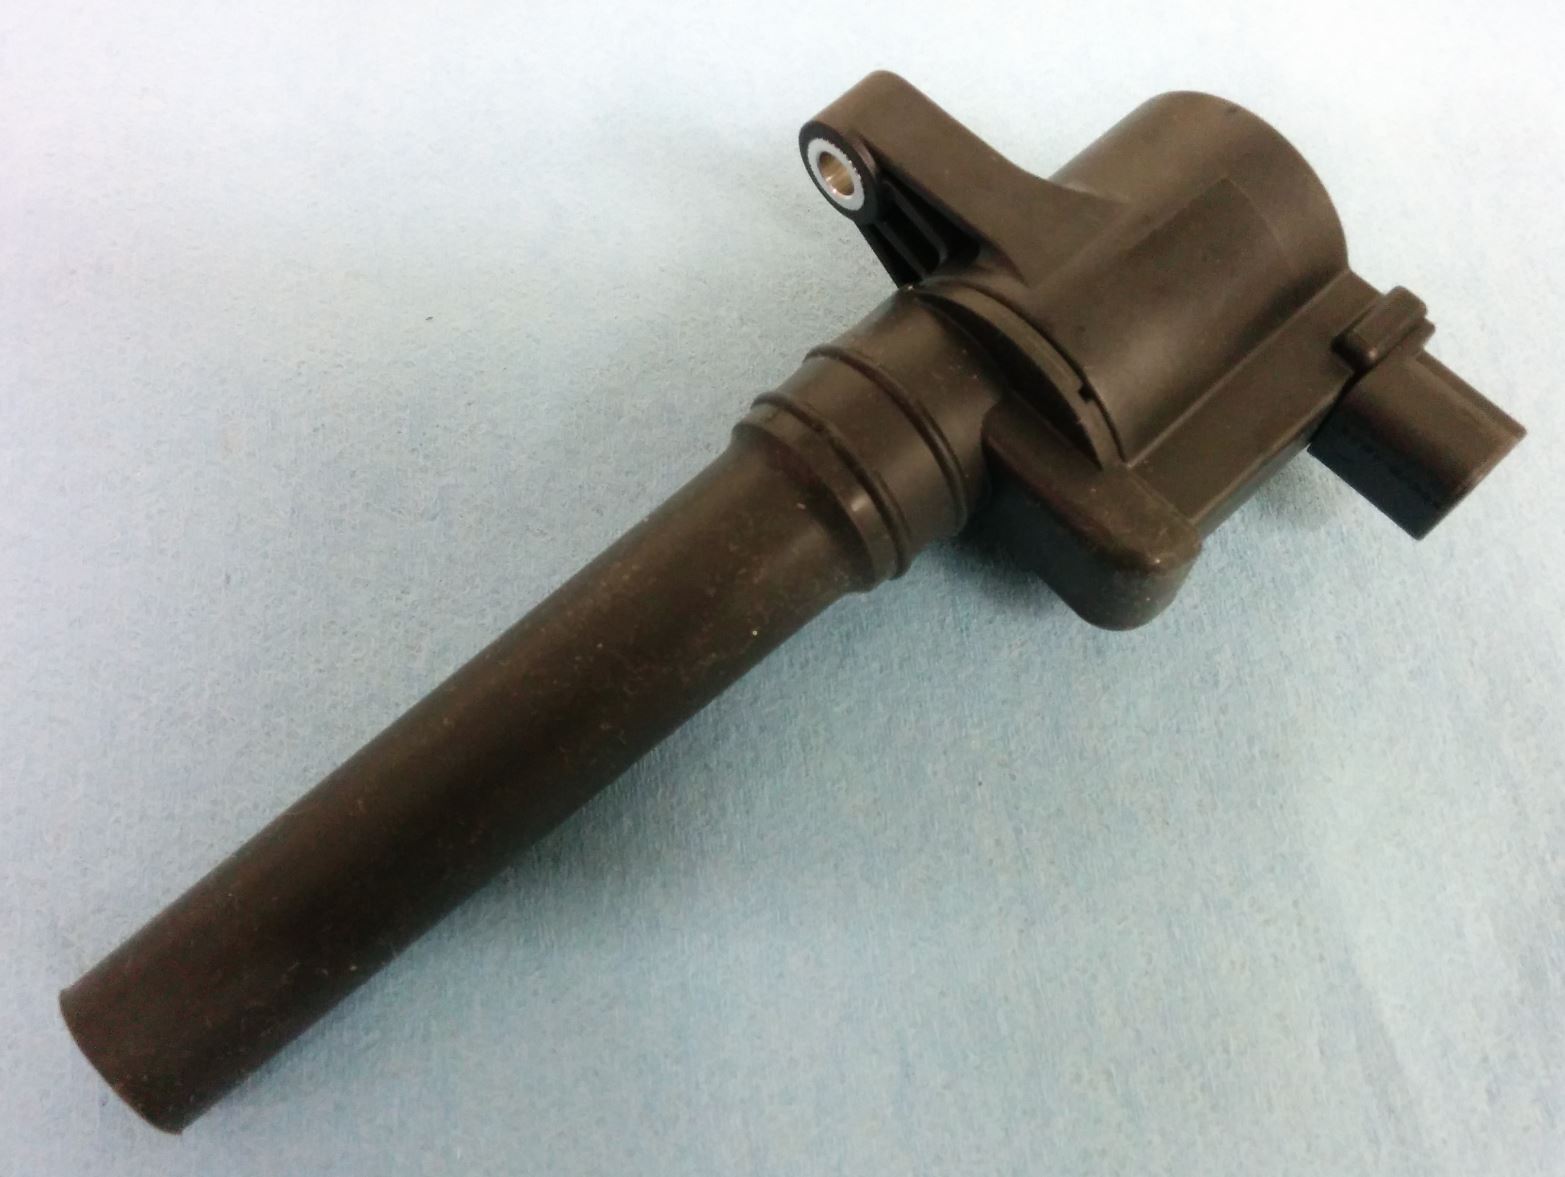
Next I also used my finger and spread a dab of oil around the two raised ribs on the stem of the coil pack boot, the ribs that press into the spark plug recess and seal the space (see photo). If the rubber is dry, they take a fair bit of effort to shove down the holes, but with a dab of lubricant they ease in nicer.
Install Procedure
 Installing all the coil packs will only take you about 10 minutes if you have all your tools and parts together. This is a pretty easy and rewarding task.
The Official Aston Martin Workshop manual section on this describes the process in just two succinct steps. My description below will be just a little more verbose and shares a few tips.
- The first step is to simply insert the coil pack down the spark plug opening until it fully seats into the opening.
-

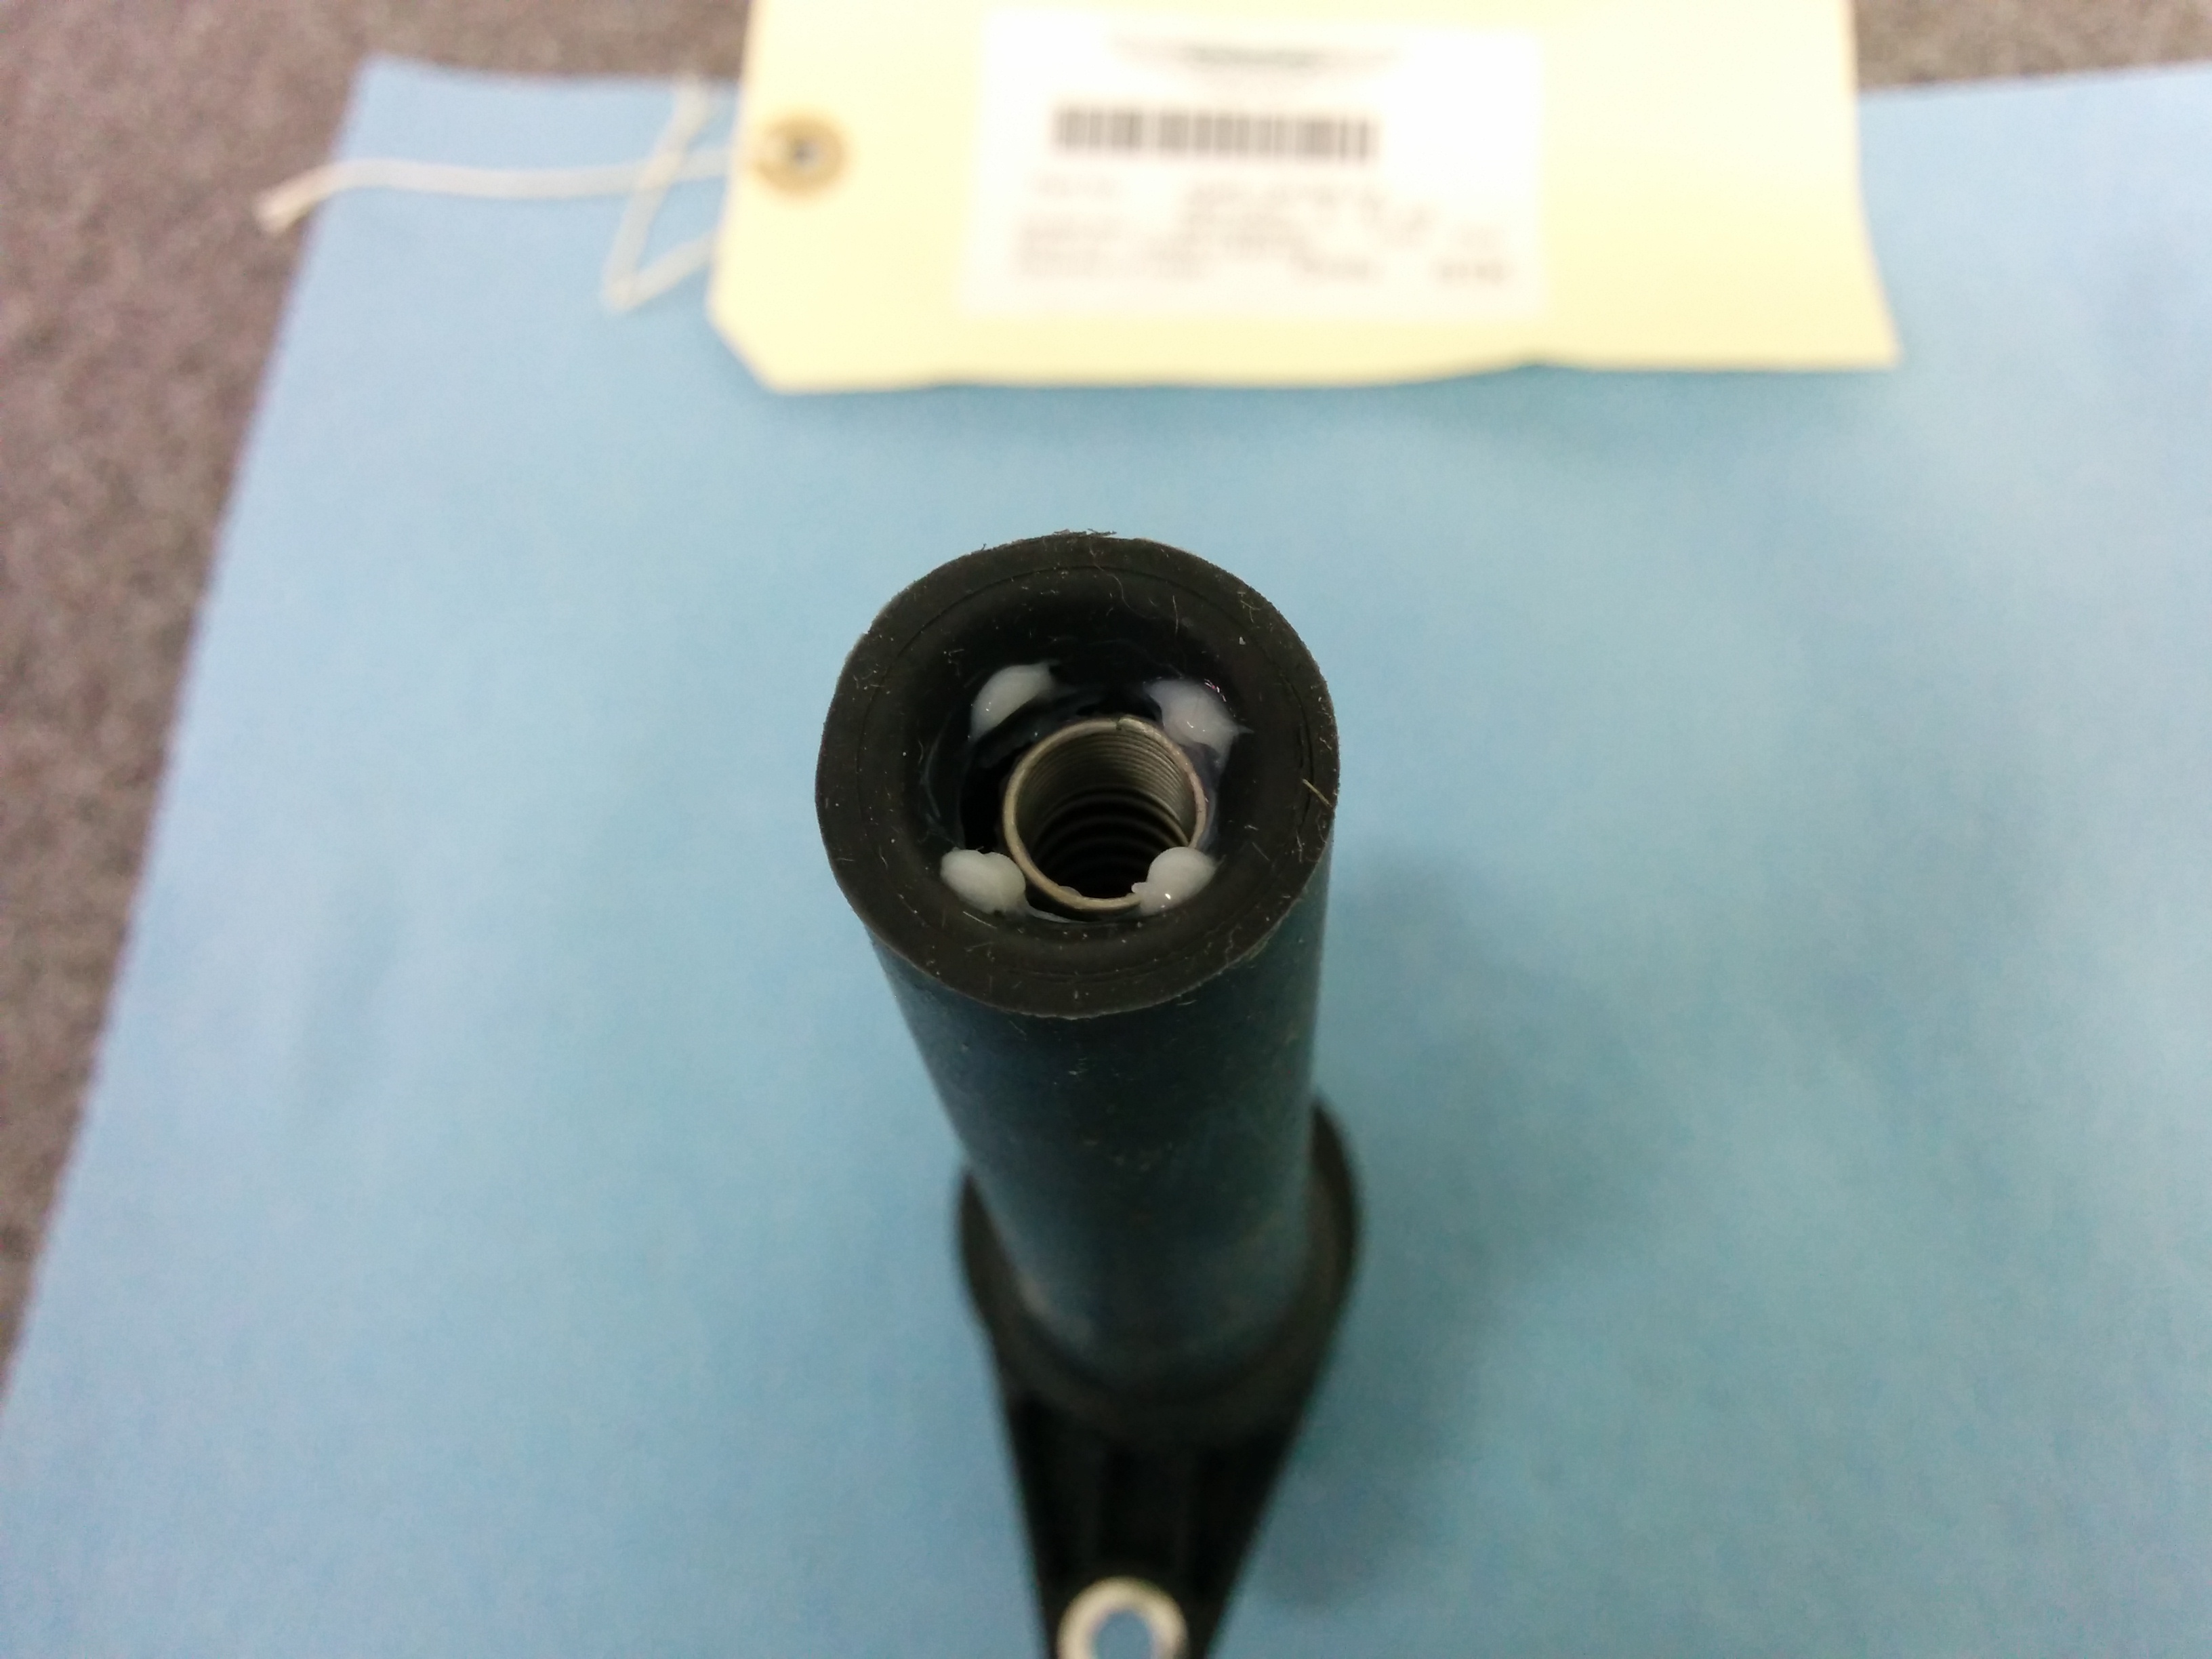
Spring connector at the bottom of the Coil Pack Boot You need to be sure it’s going straight in so that the spring metallic connector on the bottom of the coil pack boot opening engages with the top of the spark plug electrode. This isn’t hard, but you just don’t want the boot going in at an ‘off’ angle and missing the top of the spark plug. Before you put in your first coil pack, maybe mess around on the bench and see how the connector fits over one of your old spark plugs.
- You’ll encounter resistance as the two ribs we lubricated start to go into the opening. You’ll need to wriggle the coil pack in a bit until it bottoms out (as you can tell by watching where the bolt goes in).
-
- Install the coil pack retaining bolt. Use the 7mm socket and nut driver to install the bolt until its snug but not tight.
- Tip: Be careful NOT to cross thread the bolt as you start it. The valve cover is aluminum and the bolts are steel. If you cross thread it you will be wrecking the expensive valve cover and not the cheap bolt.
- Torque the bolt to the Aston Martin recommended 5 – 7 Nm. I set my torque wrench to 6 Nm (5 ft-lbs). Complete the final tightening with one smooth pull of the Torque wrench.
-

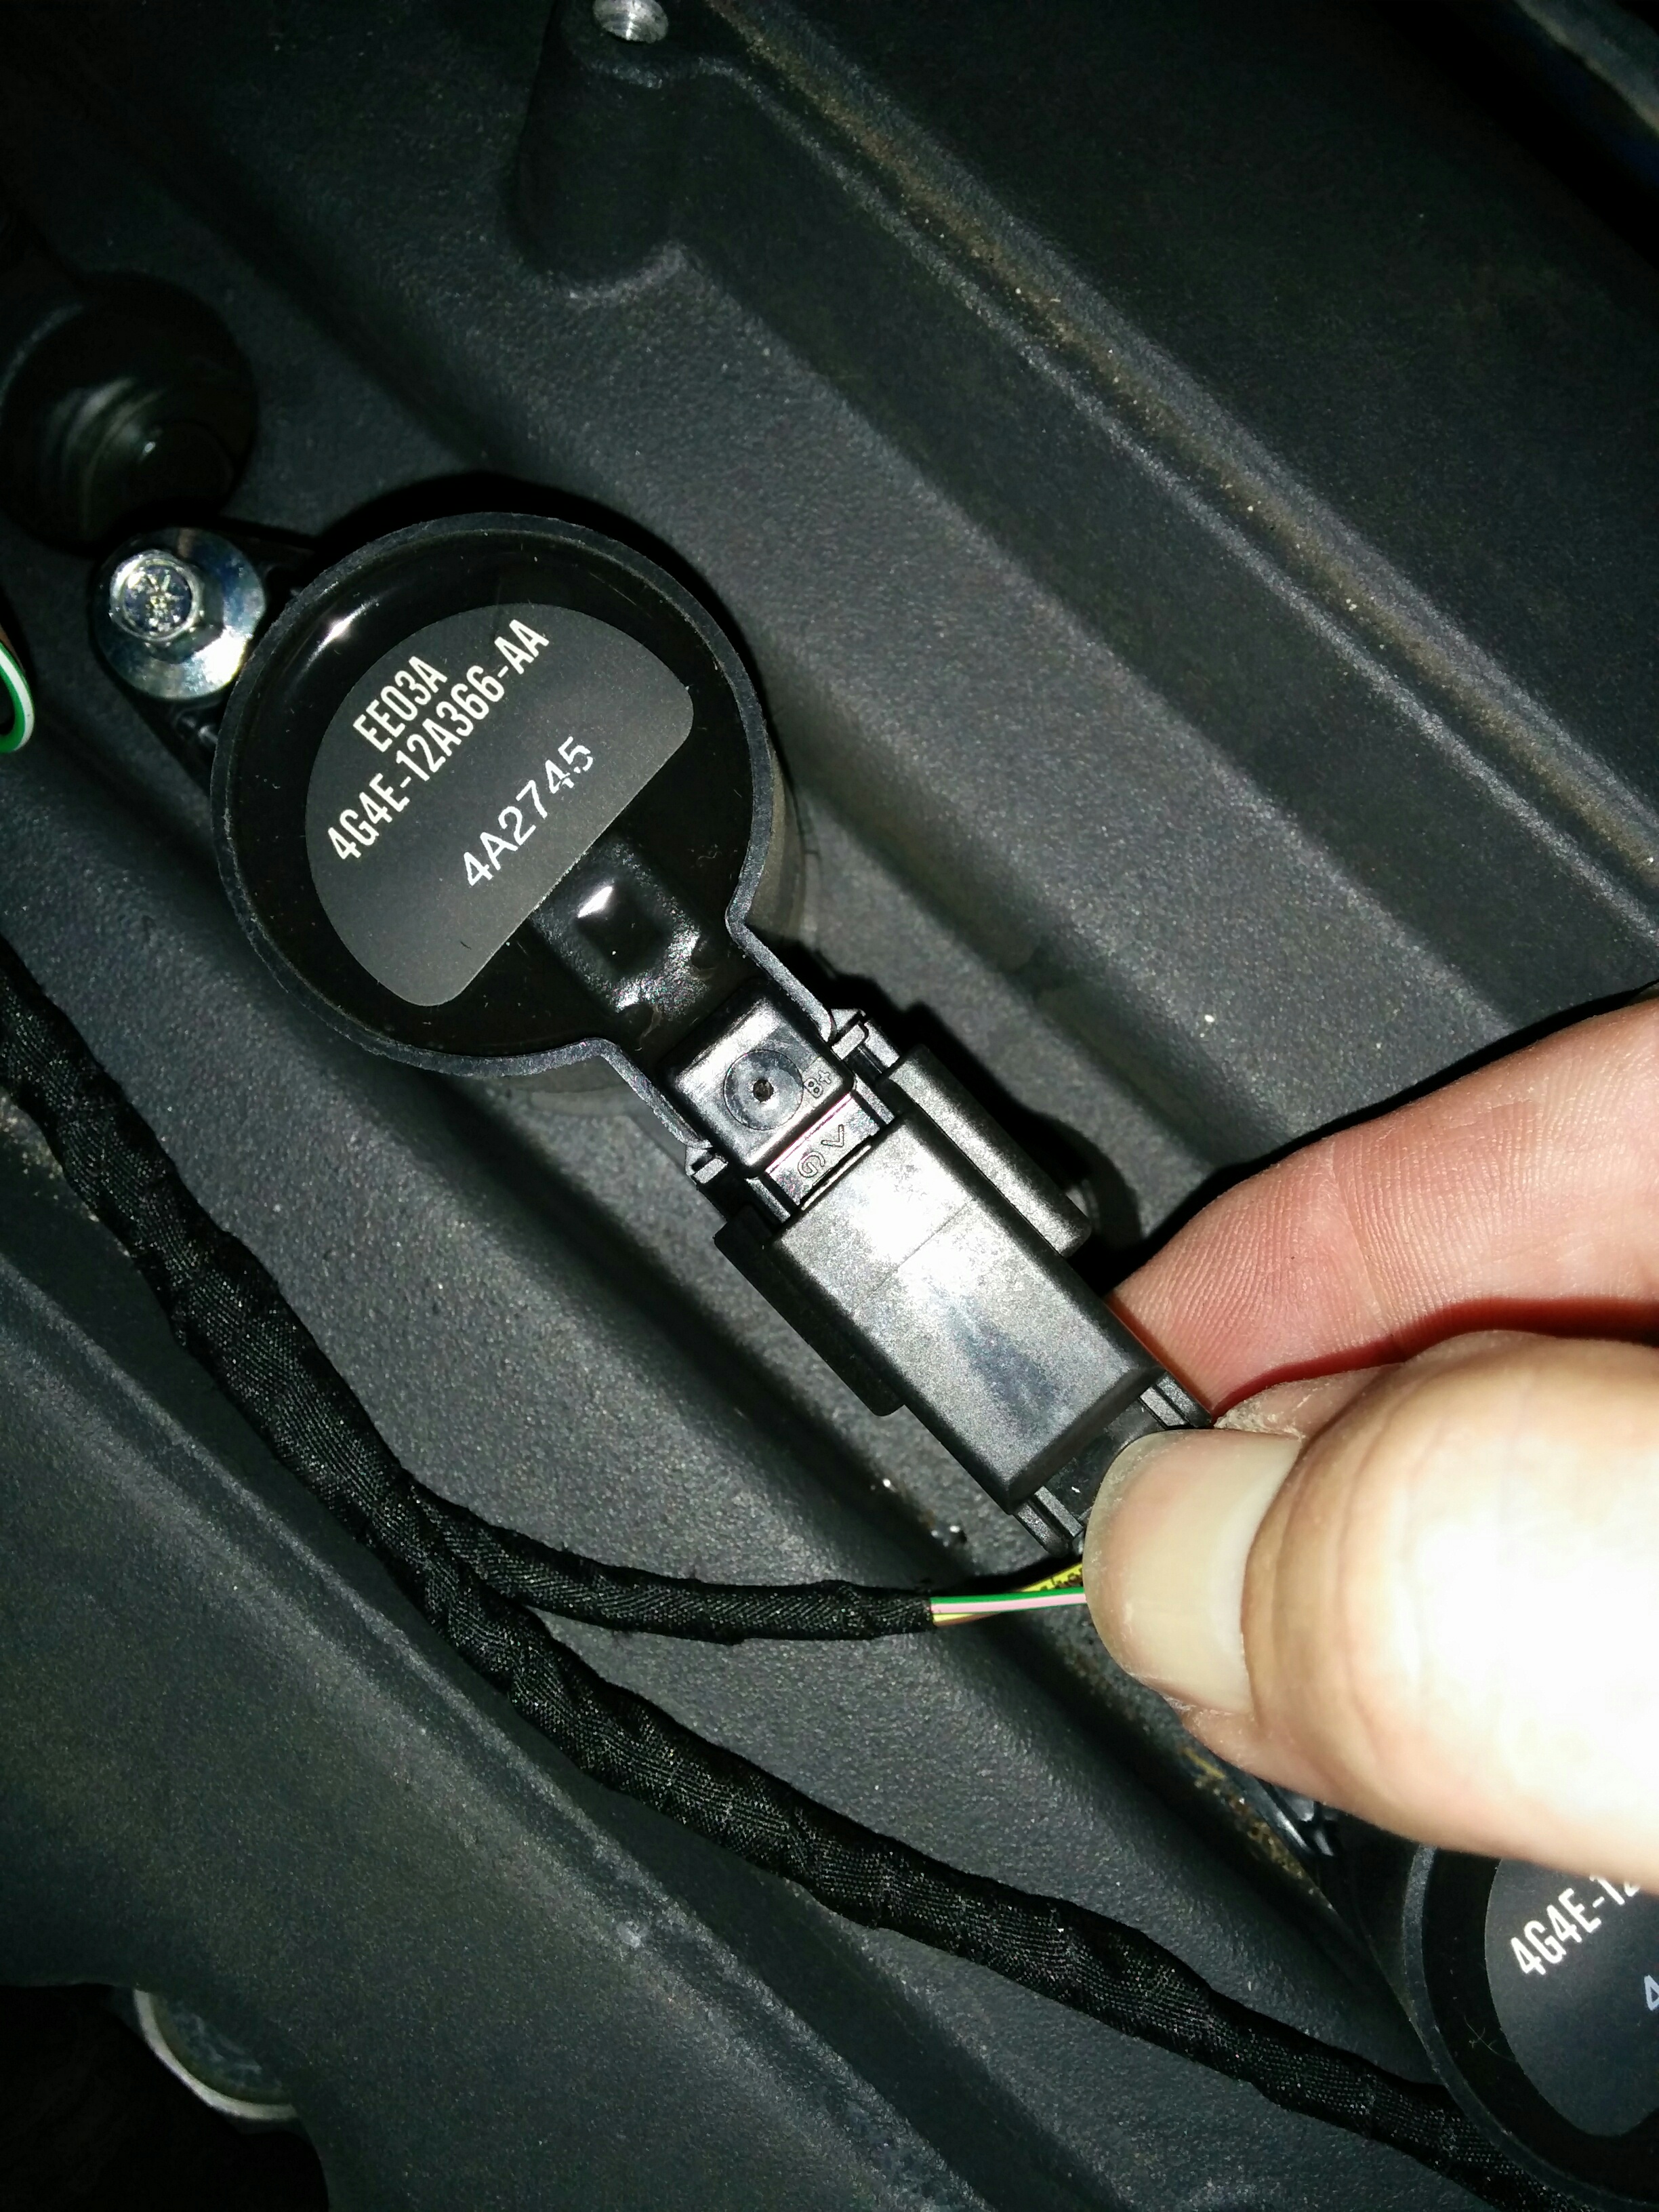
Push on the electrical connection until it ‘clicks’ Connect the electrical connector to the coil pack but simply pushing it on until it ‘clicks’ tight into place.
- Tip: On the front most coil pack of each bank, you need to connect the electrical connector BEFORE you fully seat the coil pack. This is because there won’t be enough clearance after it’s fully placed.
- Now complete all 11 other coil packs
- Do one final check of the electrical connections to make sure they are fully clicked in. It will be a ton of work to get back to these later to check if you have an issue after start up. Double check it all now.
That’s it! Now you can get on with reinstalling all the bits you had to rip off to get to these damn things!
Check out my short video below on this process:

Pingback: How to Change the Coil Packs and Spark Plugs in an Aston Martin DB9 – Aston 1936