
 You may be installing new spark plugs into your DB9 as part of a scheduled service or as part of some other service issue. I am swapping mine out as part of solving a Lumpy Idle issue (check out my post on this). Regardless of the reason, getting it done right is important. In this post I will cover preparing the plugs plus how to install them properly.To get to the point where you’re ready to install your new spark plugs you’ll need to have removed your old ones first. This takes a fair bit of effort on a DB9 (understatement), and you can check out my post and video on Removing the Spark Plugs.
Parts Needed
 I’ve already discussed this thoroughly in my other Post on Parts your need to Change your Coil Packs and Spark Plugs. I updated that article in June 2020 with a second and better option than the original plug, so be sure to check it out.
Tools
You won’t need too many tools for this:
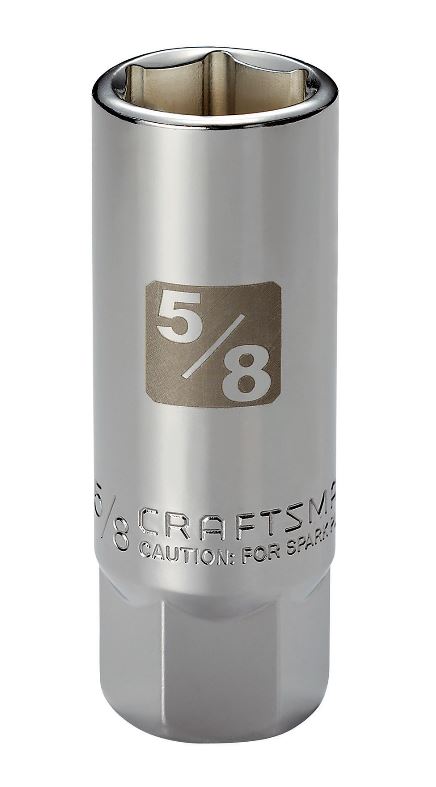
 5/8” Spark Plug Socket (3/8” drive)
- 6” long extension (3/8” drive)
- Two 3” long extensions (3/8” drive)
- Note: You can’t just do it with a 6” extension, you’ll need these two in order to do the work on the rearmost cylinders
- Torque Wrench (3/8” drive) with a range that includes 18 Nm
- Oiling Can
Preparation of the Spark Plugs
 I’ve read in a few online posts about people claiming there is no need to know or check the spark plug gap. Poppy Cock! This is ignorance. I believe it’s true that NGK has pre-gapped the Aston Martin branded and boxed plugs to Aston’s specifications, but lots can happen to tweak the gap and you’d never know it (a simple tap of the electrode on the bench will change the gap). If you don’t use official Aston supplied plugs and buy a ‘compatible’ model, you’ll have no idea what the gap is. You need to check the gap!
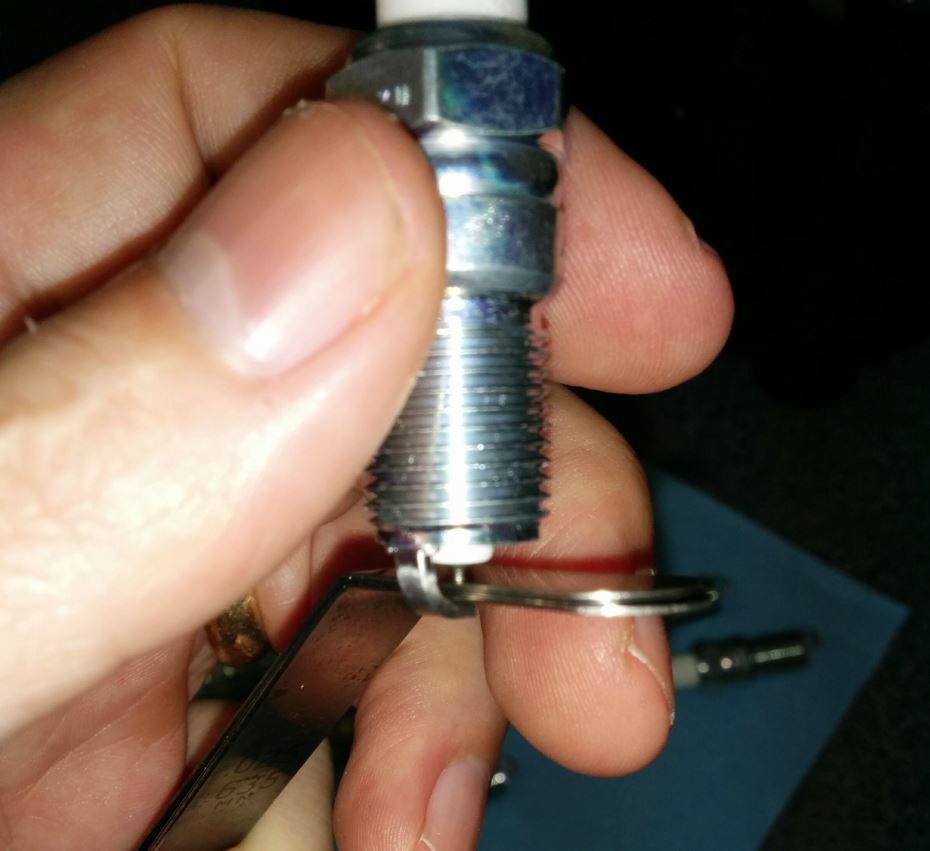
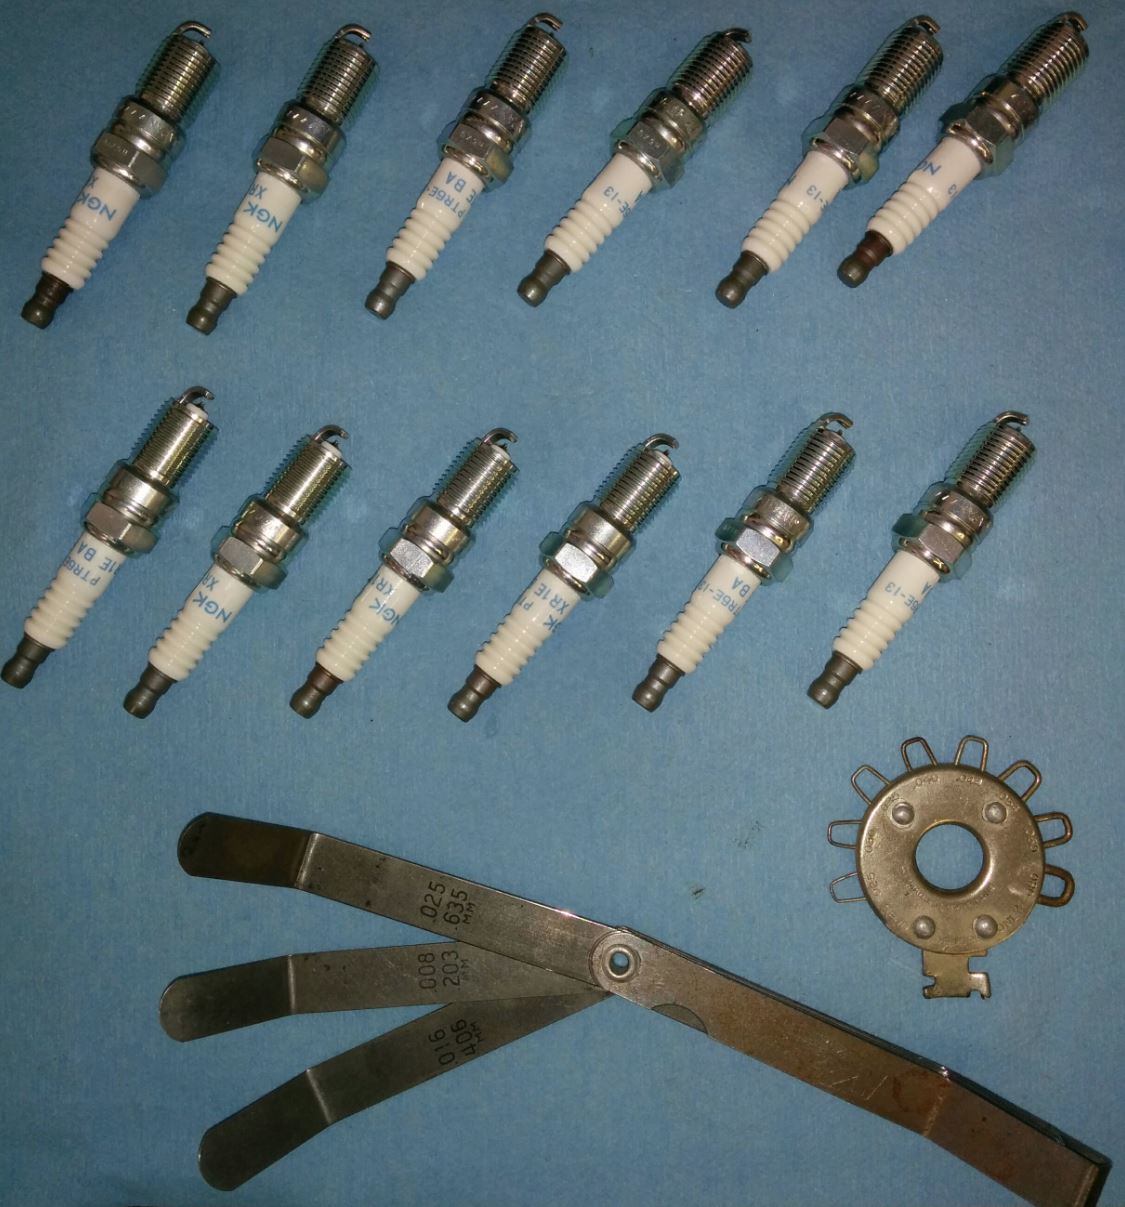
The Official Aston Martin Workshop Manual section 3.07 lists the ideal gap as 1.2 – 1.3 mm (0.047” to 0.051”). My spark plug gapping tool didn’t have a tooth in this range, so instead I used my feeler gauges and combined an 0.008″, a 0.016″ and finally a 0.025″ to add up to 0.049” (center of the desired range). I then carefully checked the gap on each plug. You want a ‘snug’ feeling easing the tool in and out of the gap. If it won’t fit, open the gap ever so slightly in baby steps. If it’s sloppy loose, a gentle tap on the tip will close it down slightly (again use baby steps). Fortunately all 12 of my plugs were gapped right out of the box.
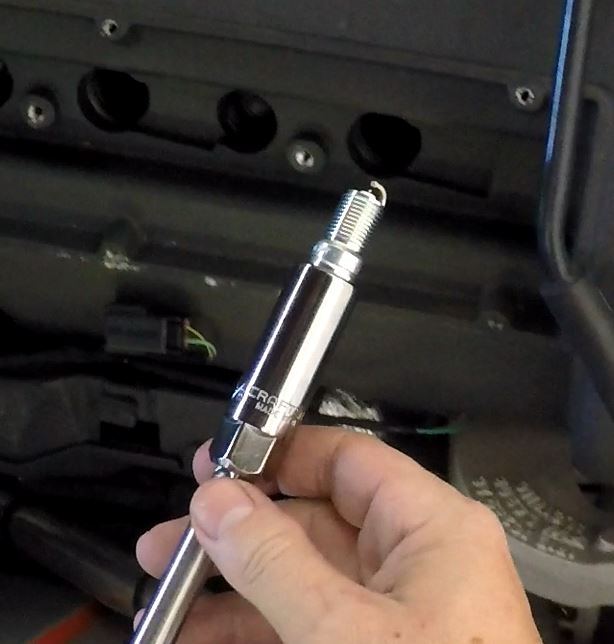
Before installing the plugs I also put some clean engine oil on the threads so that they will install smoothly. I used my oil can and put a drop on the first few threads and then spread it around (see my video below for the technique on how to do this cleanly on two at once).
With the plugs all gapped and oiled it’s time to get them installed!
Install Procedure
 Installing all the plugs will only take you about 10 minutes if you have all your tools and parts together. This is a pretty easy and rewarding task.
The Official Aston Martin Workshop manual section on this describes the process in one step “Install the Spark Plugs”. Succinct. My description below will be just a little more verbose and shares a few tips.
- Insert the Spark Plug into your 5/8” spark plug socket. I didn’t ram it all the way into the rubber portion of the socket, I actually insert as little as possible, just enough so it barely holds on (this is so I can extract the socket later). I attached the 6” extension to act as a handle as well.
- Carefully lower the Spark Plug and socket down into the spark plug well in the valve cover and cylinder head.
- NOTE: Be super careful to NOT bang the tip of the Spark Plug while doing this. If you accidentally to, lift the plug back out and recheck the gap. Better safe than sorry (and it will be a lot of work to get back to the plug later if you find the car isn’t running right after).
- Using just your hand start threading the Spark Plug into the cylinder head. Don’t use a ratchet until you have at least done several full threads by hand. I was able to use hand power to get them threaded most of the way down.
- NOTE: You need to be really-really careful here. The cylinder head is aluminum and the plugs are steel. If you cross thread the plugs as you install them and wreck the threads you will be facing a nightmare of replacing your cylinder head.
-
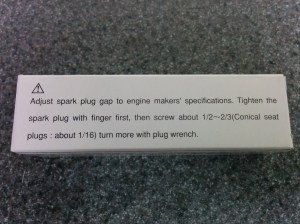
I ignored the torque method on the box Once you have the plug gently bottomed out (but not tightened) it’s time to properly torque the plugs. You could just wing it and make them snug, but honestly that’s not the right way for something this important. The official torque spec is 16 – 20 Nm (12 – 15 ft lbs). I noticed that the box the spark plugs came in had a different torque method, but I ignored it and went with the Official Aston Martin Workshop spec.
- I added a 3” extension to mix as well to get some additional clearance while torqueing them – check out my video below. Set your torque wrench to 18 Nm (14 ft lbs) and do the final tighten on the plug using one smooth pull until it ‘clicks’ to let you know its done. Don’t overtighten the plugs!
- NOTE: Be careful to not ‘cock’ the socket and extension over while tightening. It’s possible to crack the porcelain insulator on the plug and wrecking it. If this happens, remove and replace the plug. If you slip while tightening and aren’t sure if you cracked it I’d suggest removing and inspecting it (better safe than sorry).
- Remove your extensions and plug socket. I’ve had occasions where the extension comes out of the plug socket since the socket has a rubber insert that grips the plug. Usually with a little finagling I can connect the extension again and wiggle the socket off. Worst case remove the plug and start over, this time don’t press the plug so far into the socket (so it’s gripped less tightly).
- Now do the other 11 Spark Plugs!
- Tip: When you get to the two rearmost plugs on each bank you’ll find you don’t have the overhead clearance to lower the spark plug, socket and 6” extension since they are under the dash cowl. This is where the two 3” extensions come in. Insert the plug and socket partway first, then add a 3” extension and lower that part way, then add the second 3” extension. There should just be enough clearance under the cowl to do this and use your torque wrench.

Check out this video to see this process in action:

Pingback: How to Change the Coil Packs and Spark Plugs in an Aston Martin DB9 – Aston 1936
Steve
Should these gaskets be replaced with changing plugs?
Aston Martin part number 785366 is a gasket that is used to seal the spark plug hole in the cylinder head. The gasket helps to prevent leaks of combustion gases and fluids from the engine. It also helps to insulate the spark plug from the surrounding material, preventing electrical arcing.
It is important to use a new gasket whenever a spark plug is replaced. This is because the old gasket may be damaged or contaminated, which could lead to leaks or other problems.
LikeLike
Hi Steve,
I’m hoping to get some clarity on something that’s been bugging me. I’ve noticed that a lot of European parts suppliers list the NGK SITR7A‑11G plug as the “correct” fitment for the AM11 V12 (for example, my 2014 DB9.2). At the same time, the NGK ILTR6A‑8G — which matches the Aston Martin part number CD33‑12405‑AA / CD33‑12405‑AA‑PK — is often shown as “does not fit.”
From what I understand, the AM11 and AM29 engines were designed to run the ILTR6A‑8G with a 0.8 mm gap, and the 11G plug has the wrong reach and a much bigger gap (1.1 mm).
Given how much work it is to change plugs on these cars, I’m wondering if a lot of owners might be unknowingly installing the wrong plug — which could explain some of the misfire issues people report.
So my question is:
Is the ILTR6A‑8G the only correct plug for all AM11/AM29 engines, and is the 11G listing simply a catalogue error that keeps getting copied around Europe?
Would really appreciate any insight from those who’ve serviced these engines more extensively.
Thanks in advance.
LikeLike