
 Are you psychotic? Why would you want to remove the Drivers side dash panels from your DB9? I can think of a few reasons:
- There is a squeak or rattle driving you nuts and you want to see what’s loose under there
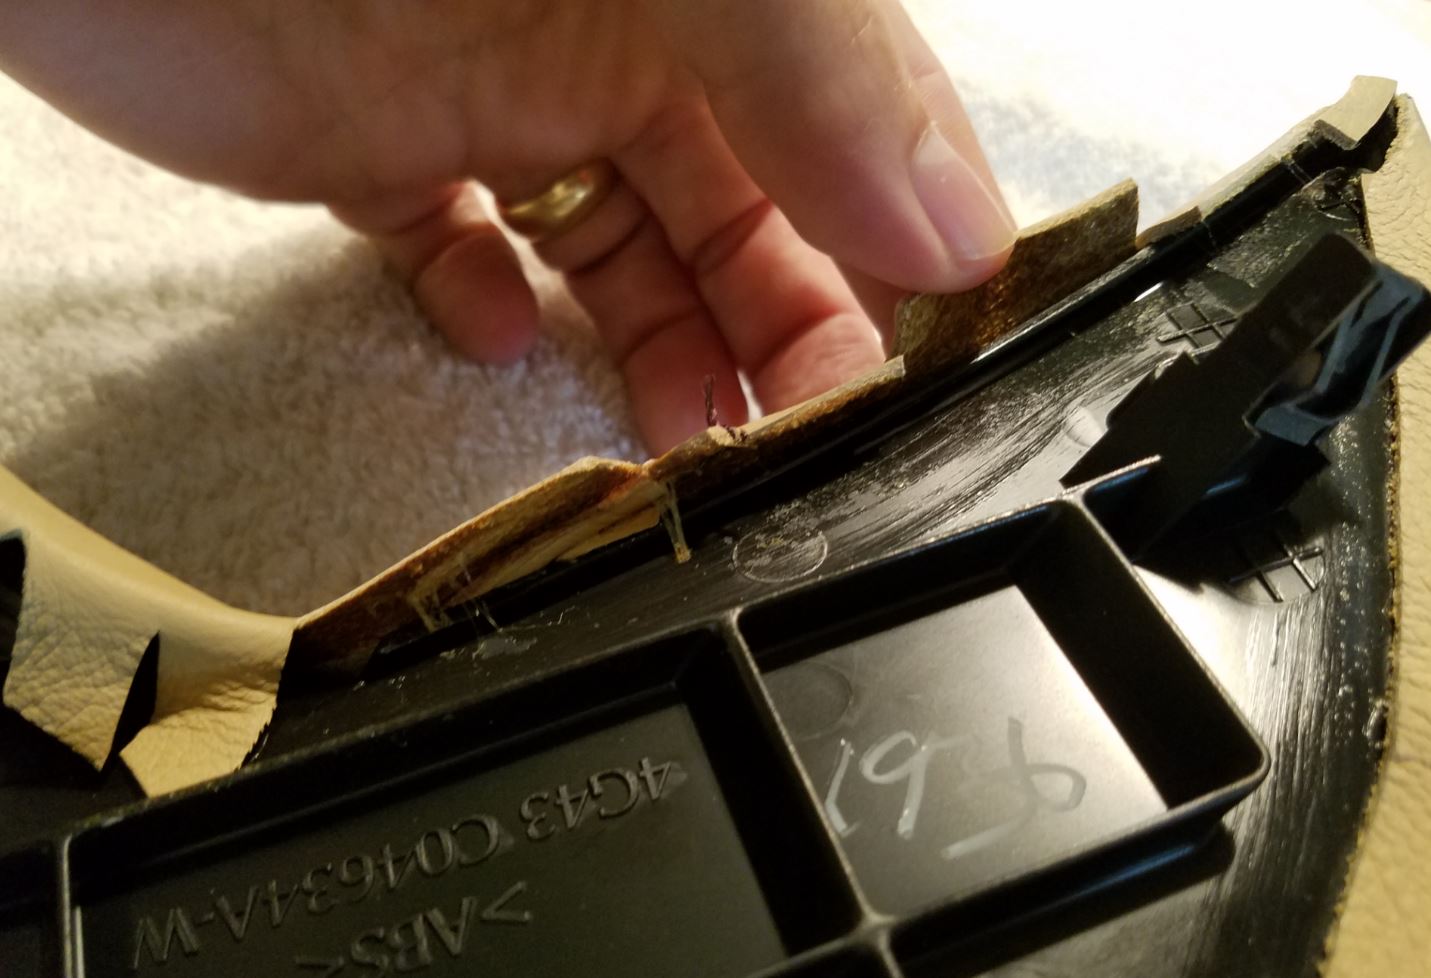
- The glue is failing and the leather is popping up on one of the panels and you need to get it off to take to the upholsterer
- You are trying to access or remove the A-Pillar cover perhaps to have it re-trimmed or to remove your headliner
For me, I was working on removing my Sagging Headliner (as it turns out you don’t have to remove the A-pillar trim cover so this was a bit of a lark for me). Whatever your reasons, I can show you how to do it below.
It’s relatively simple but this is definitely one of those articles where I STRONGLY suggest you just watch the video below to see it done.
Tools Required
 Just a few simple tools:
- Stubby Phillips Screwdriver
- Medium Phillips Screwdriver
- Soft Non-marring Interior Panel Pry Tool
- CLEAN HANDS
You need to keep your hands really clean else you risk getting sweaty dusty smudges all over your pristine leather. I kept a micro fiber towel nearby to wipe off the sweat/grime periodically.
As you will see in the video, I use the Interior Panel Pry Bar Tool in a non-standard way. You could probably use any similar sized rectangular handled tool you have around, but if you’d like to get the same tool its just $10 for a set from Pepboys.
Procedure
 I first reviewed the official Aston Martin Workshop Manual – Section 1.05 on Interior Trim. As usual, not a great deal of help. They do have a very pretty multicolored diagram of the dash panels. We are going to remove Panels 1, 2, 3, 4 and 5 shown in the diagram. Their procedure is spelled out in Steps 1 through 5, and “Pull off” isn’t perhaps enough detail for me. Their diagram shows a RHD layout, my car of course is a LHD layout.
Let me suggest again that watching the video below is the best way to learn how to do this, I am only doing a cursory write up just to highlight a few key points. Give this a quick read through, then watch the video for sure.
The entire process will take only about 15-20 minutes if you are being careful.
- Remove the Lower Knee Panel
- There are seven (7) clips total.
- There are three (3) clips along the bottom edge. Starting at bottom corner towards the drivers door, pull away PERPENDICULAR to the surface of the panel. When the first clip lets go, move your hand along the bottom of the panel and give it a tug near the next clip, etc.
- Note: I discovered the two clips closest to the center console had been broken off already by the previous owner. The chunks of the broken clips were still stuck in the sockets, so I was able to repair this. Check out my bonus article on how to do this. [Coming Soon]

- Remove the Instrument Pod Cluster Hood
- There are six (6) clips total. One on either side at the rear, the middle, and front.
- Start at the back of the hood and lift STRAIGHT UP.
- In my car the panel was snug and made very scary ‘creaking’ sounds. Just be careful and it will eventually comply.
- There is some sort of fabric safety strap that attaches at the front of the Instrument Pod. Use your medium Phillips screwdriver and remove the single screw connecting it.

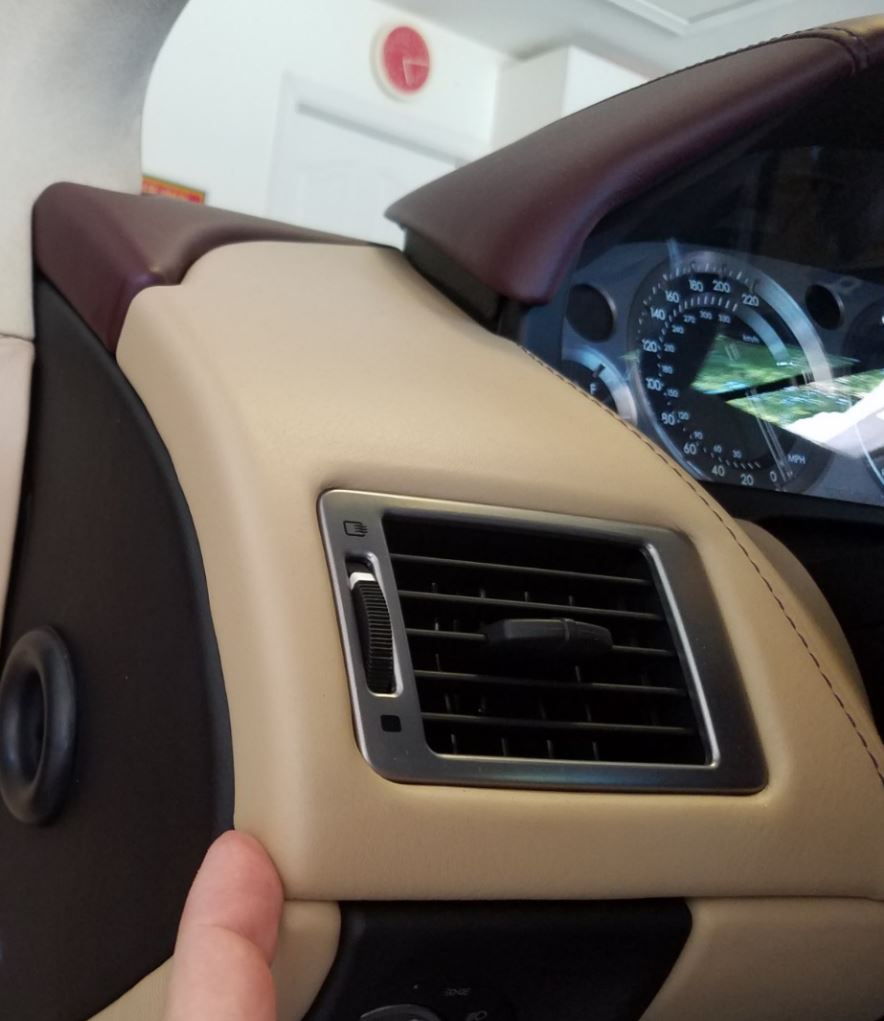
- Remove the Vent Panel
- There are four (4) clips total
- Try and grip the bottom edge at the corner towards the drivers door, and pull gently towards the BACK of the car. These clips are mostly horizontal.

- Remove the Right Side trim panel
- There are five (5) clips total
- Just like with the Vent panel in the previous section, grip the bottom edge and pull towards the BACK of the car. These clips are also horizontal.

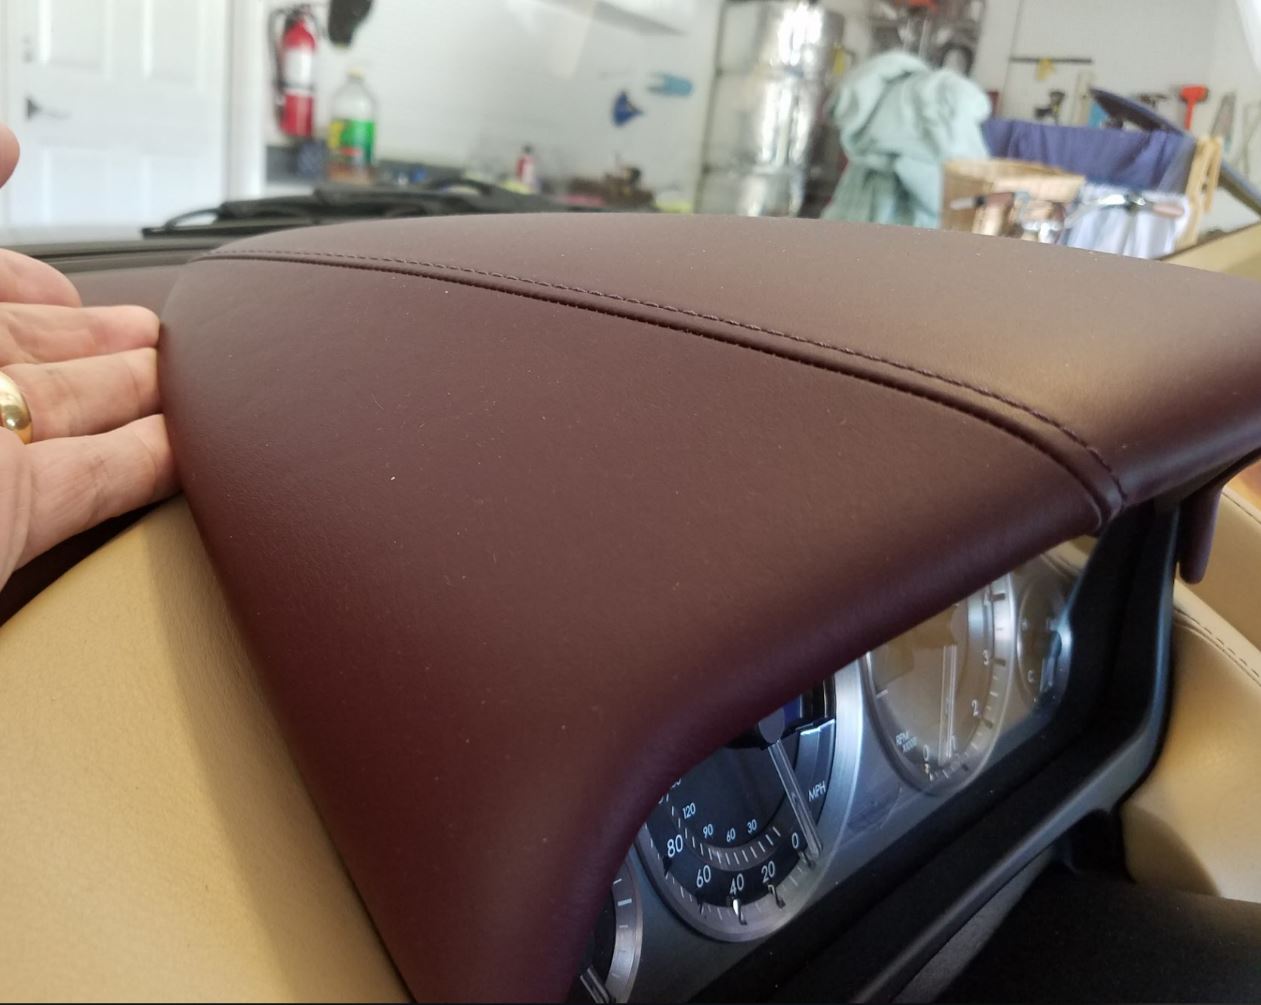
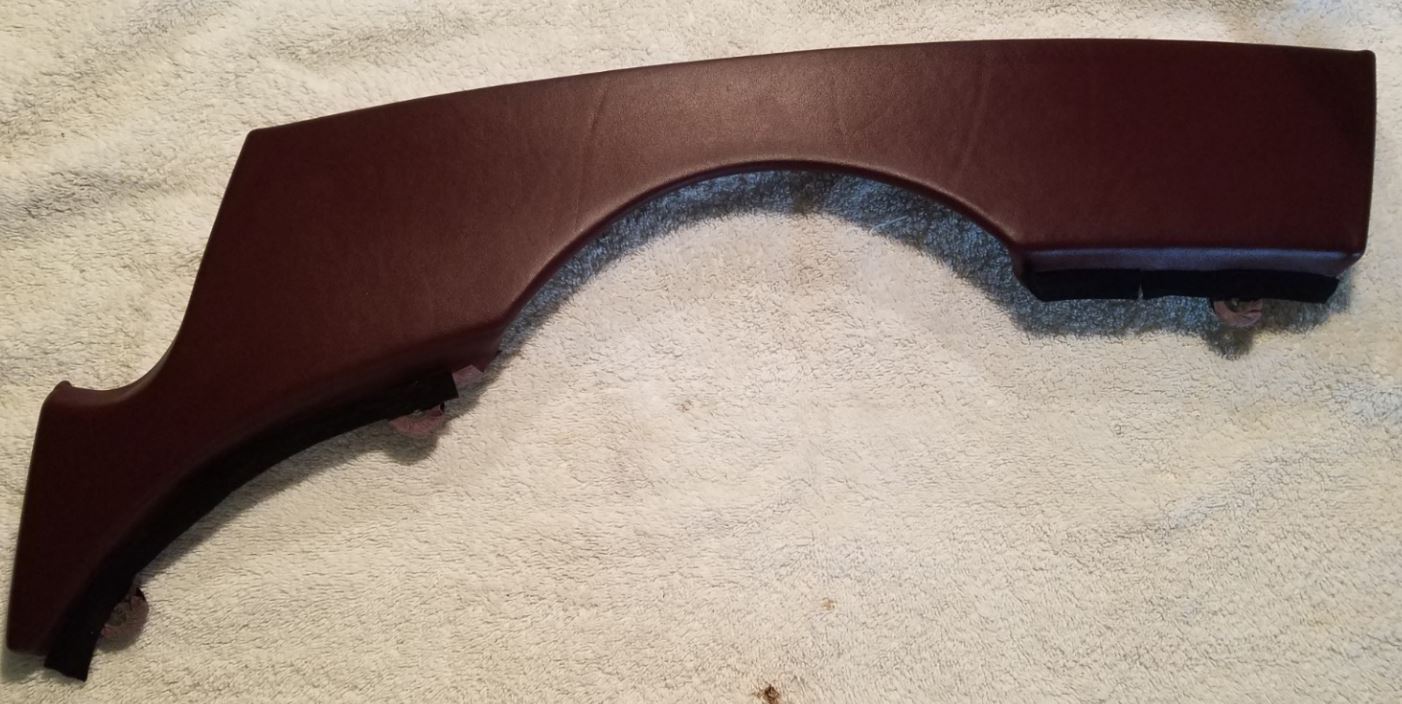
- Remove the Top Trim Panel
- This one will be the most challenging. Access is more difficult because it if far forward and has less clearance to the windshield.
- There are three (3) screws and four (4) clips total.
- Remove the three screws using your stubby Phillips screwdriver
- Gently lift up the edge of the panel an inch or so you can try and get access under it to the rear clips. NOTE: Be very careful here not to go Gonzo and end up snapping off clips.
- I did NOT pry in from above the panel.
- I used a technique where I took the rectangular butt of the non-marring pry tool and slipped it under the panel up near the clip I wanted to remove, wedging it in fairly snug. I then twisted the tool so that it put upward pressure on the panel, and this was sufficient to pop the clip loose. No risk of scratching the leather, no odd angle forces that could snap off the clip. Worked like a charm. Watch the video below for this to make sense.
- I used this technique to release the rightmost clip first. Then I could reach under with one hand and release the second and third clips. The most stubborn clip was the one adjacent to the A-pillar. You might be tempted to just reef on it with your hands, but be patient. This is the one most people snap off. Use the same technique with the pry tool and it should pop up easily.


With the panels off, this is the ideal time to snug up all the screws hidden under the panels. A few of mine were loose (yes, ‘I had a few screws loose’ for your punsters out there). Don’t over-tighten them, they could strip easily.
That’s it. A little scary along the way, but fairly easy skills wise.
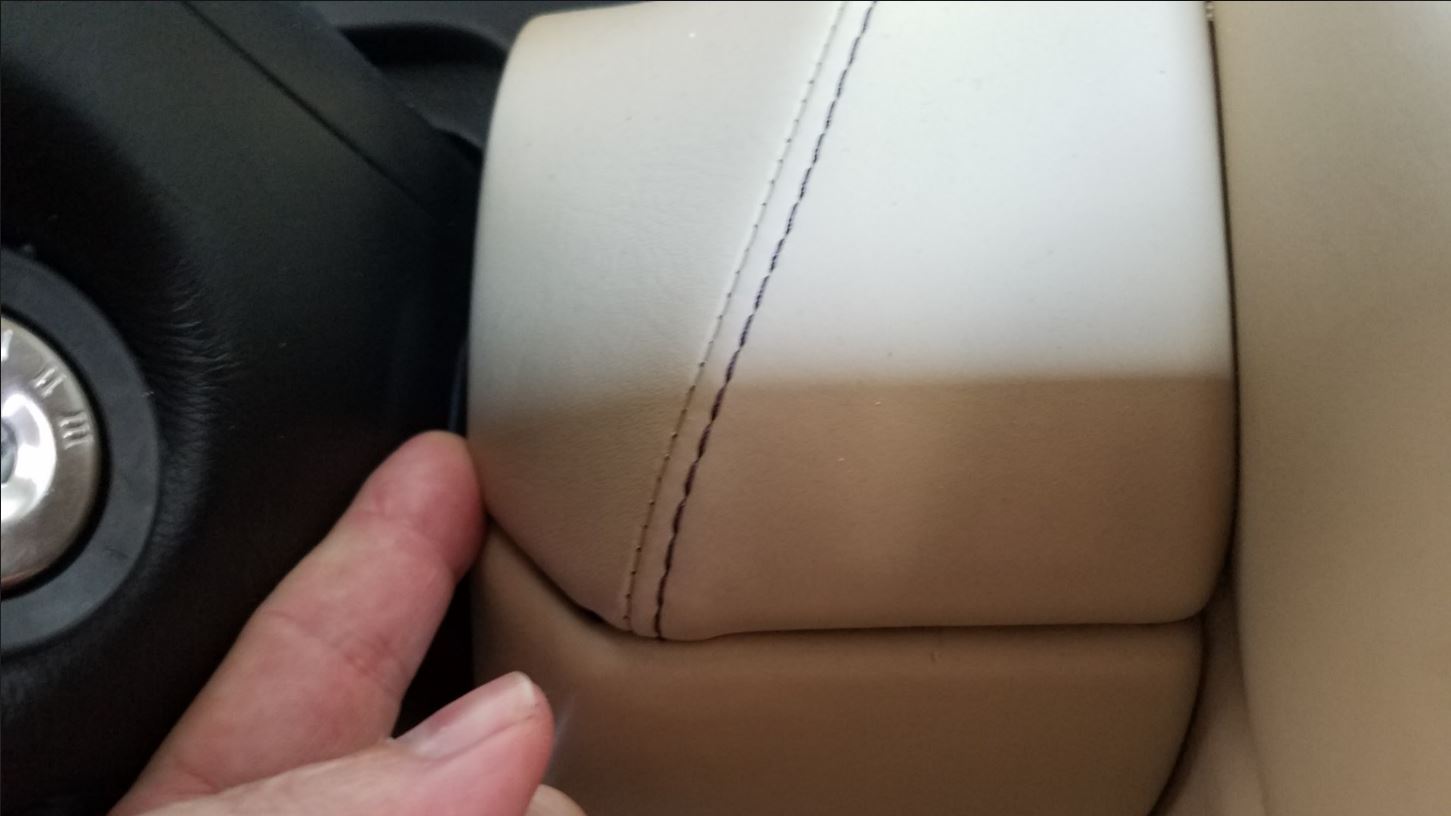
With your panels off, you can give them a good cleaning and inspection. I found the glue holding the leather at the edges was beginning to fail on my vent panel. In a future post I will detail how to deep clean all the panels and include detailed photos of each one.
Video
Here is the video showing how I did all this.

Hi Steve, I wish your great instructional for the dash R & R had been written when I did mine back in ’15. It would’ve been much less stressful! In my case, several of the upper dash panels on my ’05 DB9 had warped from the leather shrinking so badly which also made it impossible to reattach. So I matched the leather at a local auto fabric store and heated the plastic dash panels in the oven at 180 degrees for about 5 minutes until the panels became pliable. Then I carefully shaped them the back to normal. With new leather and straight panels, the dash looks good as new! Thanks again for all your cool info.
LikeLike
Wow, that’s a neat trick. You certainly get use from the oven! My dash ones have been fine, but I think I have something like that going on with the right parcel tray panel to the right of the rear center stop light.
LikeLike
Hi Steve, When I took the top curved panel off (the one with the “safety strap”) I discovered a square object with a wire attached which went down behind the dashboard. I don’t think I can attach a photo. My car is a DB9 2008 but 2009 spec. Any idea what the object could be?
LikeLike
Hi Colin,
Sorry, I’m no help. There isn’t a “safety strap” anywhere on my ’05 dash and I don’t remember seeing any wired square object when removing mine. Could it be a thermostat for the A/C?
LikeLike
That square objekt is most likely the antenna for the GPS.
LikeLike