
The headliner started to sag in my Aston Martin DB9 when the glue failed that bonded it to the shell underneath. I’ve covered the details of this in another article you can read here. Determined to fix it, I went about figuring out what parts I would need to accomplish the task.
 As with most automotive interiors, many of the DB9 panels are held on with hidden plastic clips. These clips are often fragile, and are usually ‘One Time Use’ meaning that even if they don’t break when you remove them, their function may be degraded when you try to reinstall them since they are stretched or mangled in some way. As you remove your headliner you will actually encounter about 18 of these types of clips, which Aston Martin calls “Fir Trees” since they resemble a Fir tree in the woods.
I should also note here that my approach is not to replace the entire headliner with a new factory one, but rather remove the existing headliner and give it to an upholstery shop to repair the failed glue. I wasn’t brave enough to try and scrape the Alcantara fabric off the formed shell where it was still attached, sand off the old glue material, and then reglue it all getting the hole alignments perfect again. I opted to outsource to a local specialist recommended by the dealer. I am doing all the work to remove it from the car and reinstall it. This article is not going to cover what glue to buy, or purchasing a new shell or fabric.
Parts Needed
 Aston Martin’s official parts diagrams shows a nice exploded view of the parts and is worth a peek.
The parts you will need then are:
-

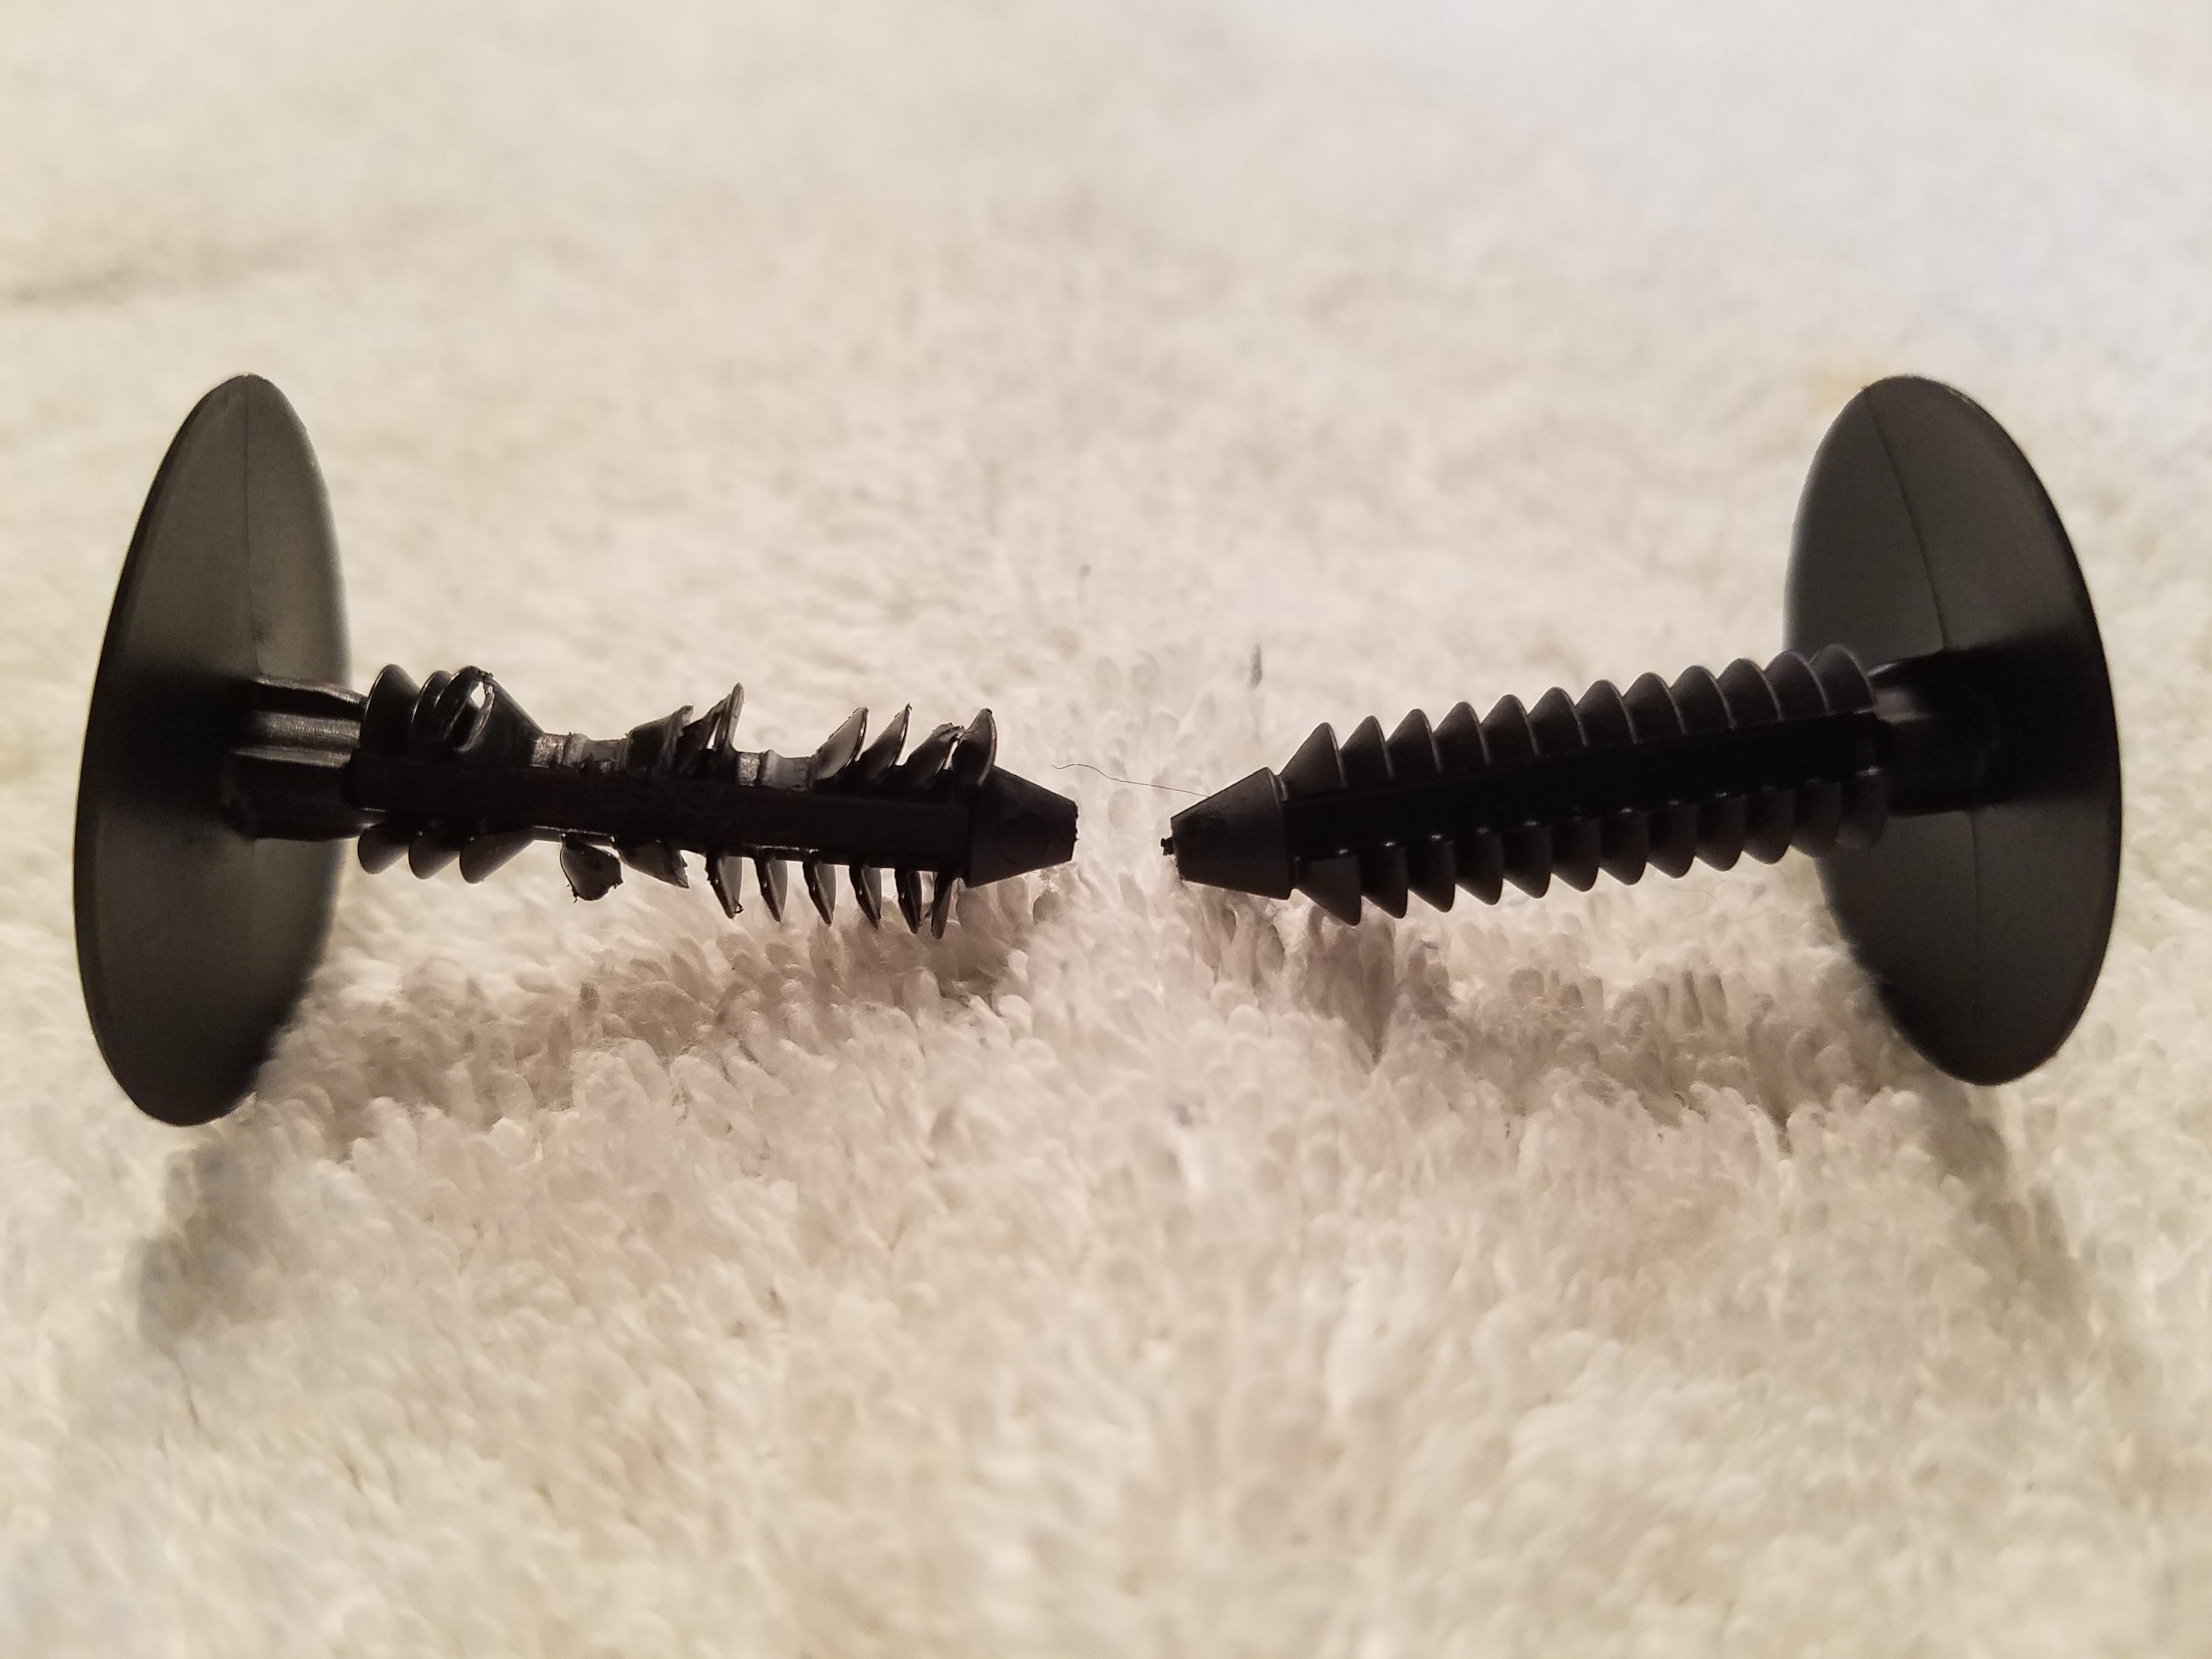
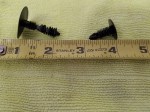
Used and New Fir Tree Fastener Tall Fir Trees – Qty 10 – Aston Martin part number 4G43-STC3710-AA (Fir Tree 8mm Fastener). These are used to attached the A pillar trim to the roof structure of the car. You need five (5) per side. The old ones get mangled during removal, the ‘branches’ on the fir tree are mashed flat from sitting in your car for years, and if you try to reinstall them they won’t bite (click in) to the holes like new ones.

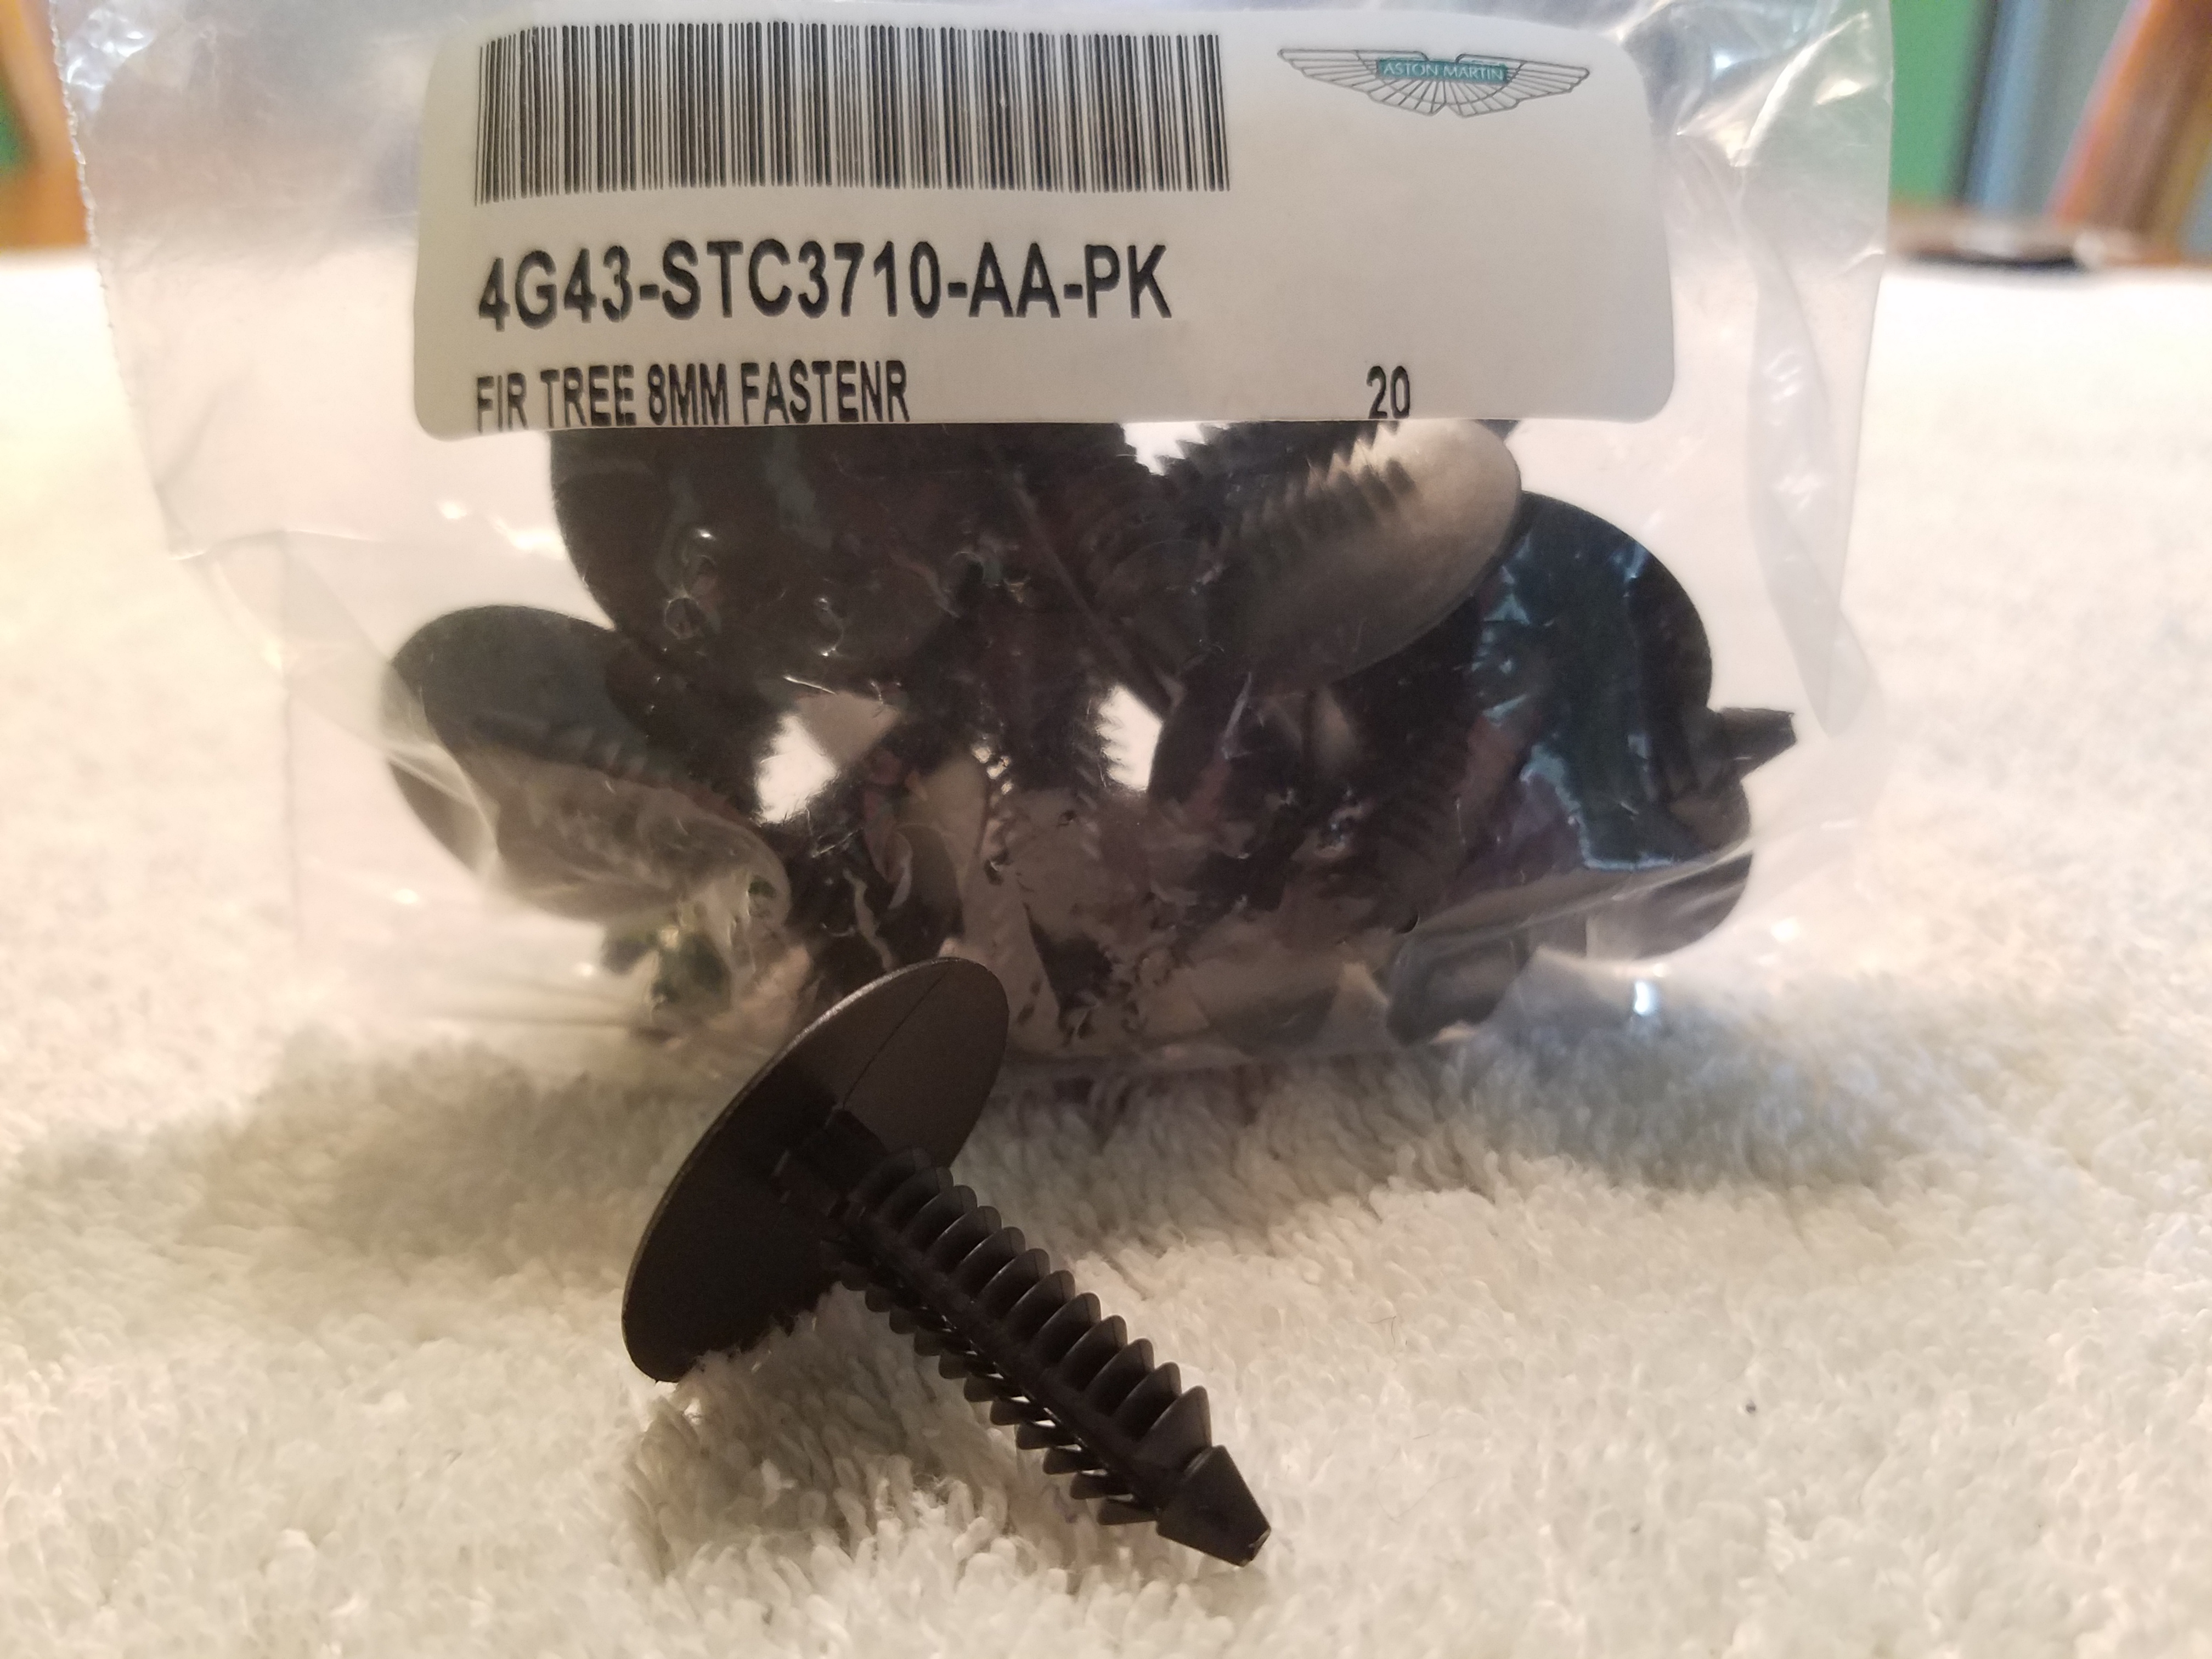
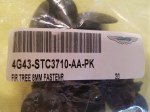
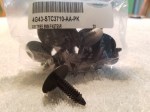
Fir Tree Fastener 20 Pack 4G43-STC3710-AA-PK The good news is that these aren’t expensive. You can find them online here for about $0.24 USD here. I’d recommend that you actually get some extras, I actually ordered a 20 pack Aston Martin part number 4G43-STC3710-AA-PK available online here for about $7.40 USD, or for $3.78 USD by contacting Rob Sims at HWM England.
-

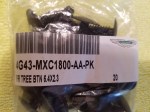
Used and New Fir Tree Button Small Fir Trees – Qty 8 – Aston Martin part number 4G43-MXC1800-AA (Fir Tree BTN 6.4×2.3). These are used to align and connect the headliner shell to the roof structure. You need six (4) per side. The old ones also get mangled during removal.

Fir Tree Button 20 Pack 4G43-MXC1800-AA-PK You can find them online here for about $0.17 USD here. As with the others I’d recommend that you actually get some extras. I actually ordered a 20 pack Aston Martin part number 4G43-MXC1800-AA-PK available online here for about $7.14 USD or for $3.68 by contacting Rob Sims.


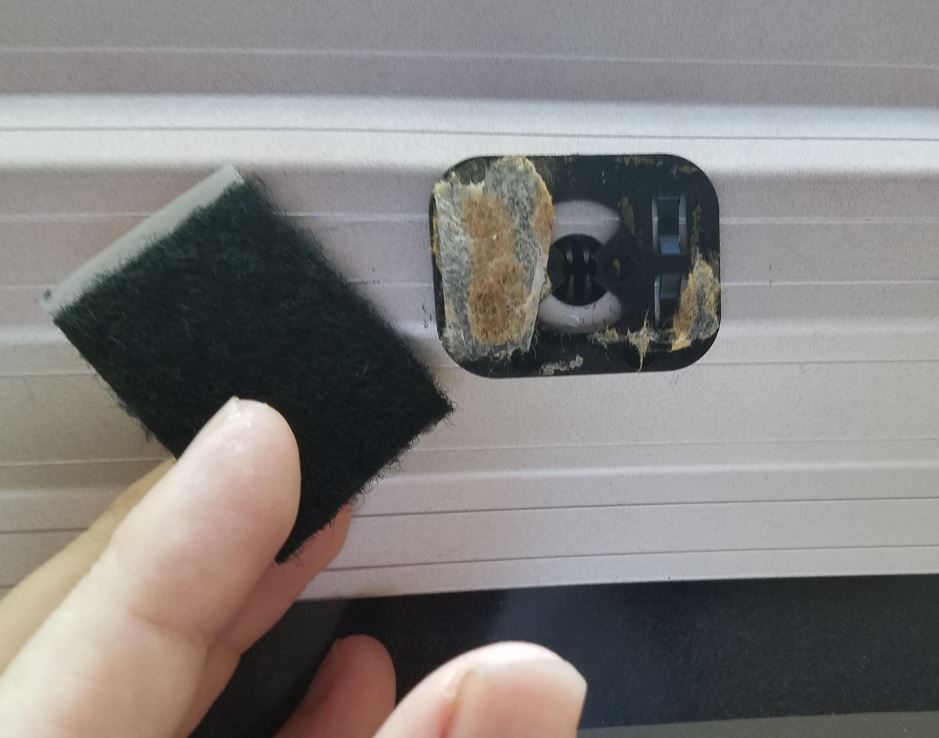
In addition, there are patches of Velcro that are NOT shown in the parts diagram. They are used along the rear edge of the headliner where it meets the top of the rear window. It was probably added as an afterthought in manufacturing, and its sole purpose is just to keep the shell snuggled up tight to the roof structure so you see a ‘clean line’ if you peer in through the rear window at this exposed edge of the headliner.
-

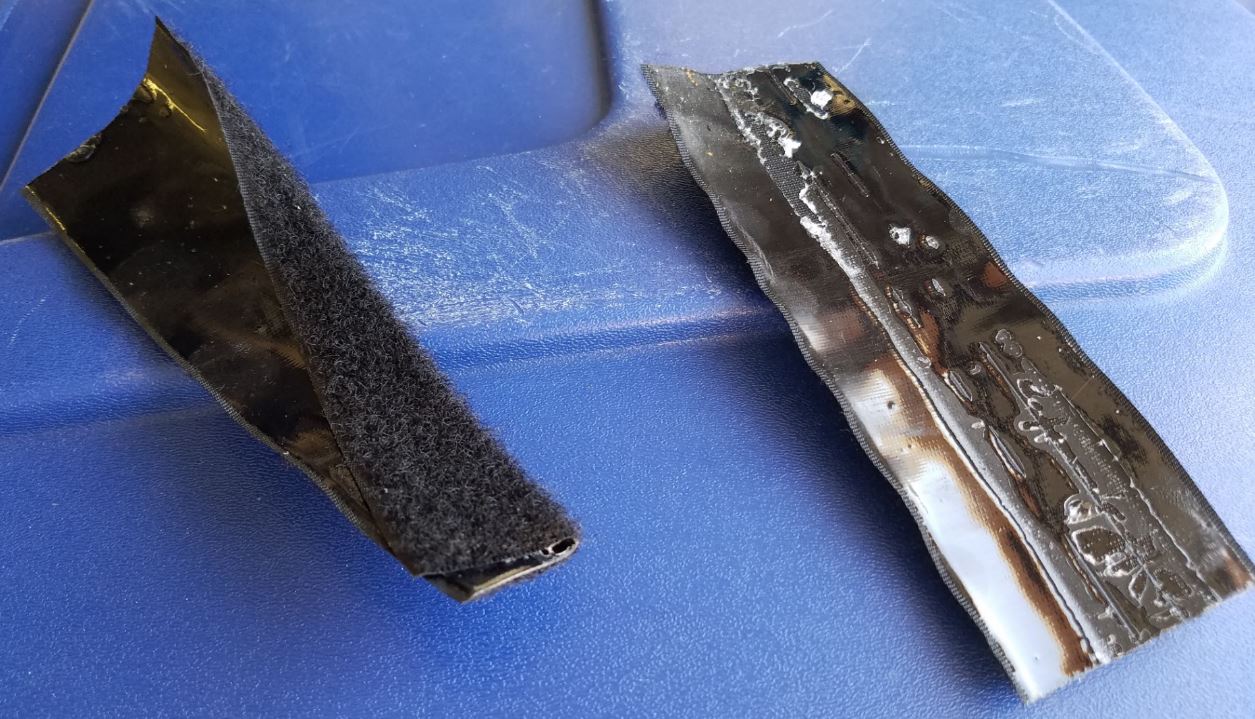
The old Velcro strips that had peeled away from roof In my upcoming article on removing the headliner it describes that you need to pull the headliner away, separating the shell from the roof structure, and the Velcro is supposed to split like you’d expect. But, Aston used far too wide Velcro designed to hold up a house, so when I pulled the headliner away it was easier for it to separate from the roof, essentially the adhesive peeling away from the roof structure rather than the Velcro unzipping. There are two patches of this, one to the left of center and one to the right. You might be able to salvage your old Velcro patch, on mine the adhesive was still super sticky and could be reused. If you have to purchase some, there is nothing really special about it, just typical 1” wide adhesive backed Velcro. It can be found at most hardware stores and even online here for about $10 USD with free delivery at Amazon.com.
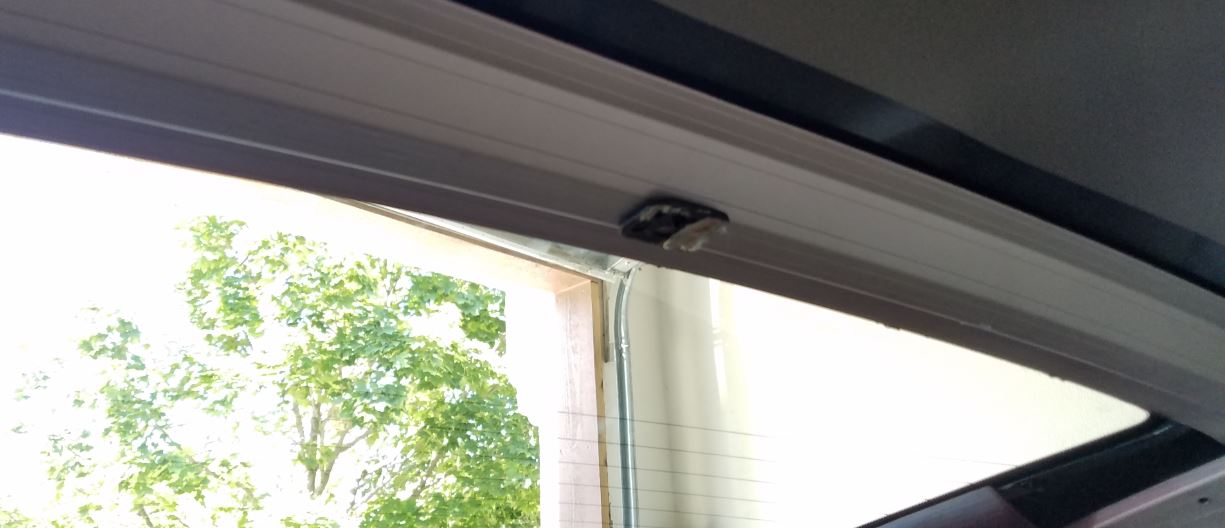
- There is a small ‘Alignment Clip’ dead center along the back edge of the headliner shell. I wasn’t aware the clip was there, and when I removed the headliner from the roof structure it too decided it was easier to fail where it was stuck with glue or double sided tape to the shell rather than the clip un-snapping from its hole in the roof structure. [Even afterwards, I could NOT get this damn clip to unsnap]

Headliner Alignment Clip still engaged, ripped away from headliner 
Underside of Headliner Shell where Alignment Clip ripped off This is not shown on the parts diagram, but is listed on the parts list underneath it. If you needed one it would be Aston Martin part number 2R83-519D36-AA and is available online for about $1.72 USD. I used a small portion of new Velcro (about 1.5” x 1.25” or 38mm x 32mm) to re-stick it to the shell.

I used a Velcro patch to re-stick the Alignment Clip to Headliner Shell

Thankfully that’s about it for parts and the total cost is under $10 USD.
Replacement Headliner Shell
If you are looking at replacing your whole shell I did touch base with Rob Sims at HWM about it. He says the shell is available online (Aston Martin part number 4G43-51916-ACW ) for about $1,242 USD, and this does NOT include the Alcantara fabric. You would still need to engage an upholsterer to find the correct color Alcantara fabric and wrap the shell. I don’t really have any idea what this would cost, but my biggest concern would probably getting an exact color match to the original. More motivation to just repair the original if at all possible.
Video
You might find this quick video interesting where I show the parts.
Bonus Feature
Are these parts bespoke to Aston Martin? I seriously doubt it and expect that they are likely some standard Ford or Volvo part. If you happen to know the exact equivalent part, please share the information by leaving me a comment down below. Here are some additional high resolution photos of the Fir Trees if you want to have a closer detailed look.


This might have been suggested earlier but would you consider doing an article on replacement parts that Aston use that come from other non-AM manufacturers (eg. Ford, Jaguar and Volvo) that can help keep costs down for the small proportion of Aston owners that like to DIY. I intermittently come across individual gems which can save significant sums but i still dream of a frequently updated wiki-like resource that i could turn to when faced with the figures quoted by main dealers!
For example, my own DB9 exhaust valve solenoid failed and I did an eBay search for that particular part number (based on the factory parts catalogue) and found one used, from a Ford Focus no less, for about 1/20th of the price quoted by the local dealer. I expect that even a new one would have been no more than a third to a quarter of the AM price. The problem is that there is no central repository for such information – it’s typically found all across the Internet in all sorts of places from enthusiast youtube videos to forum posts and even then, you may find a specific example but you just KNOW that there’s much more knowledge that is understood but not being voiced.
Keep up the great work. You are a godsend to many!
LikeLike
I’d love to collect all of these as well. I suppose I could start a blog page on the ones I (and perhaps you can send me your tips), and then ask readers to leave comments with more. Would you be up for that? I think for visual interest its always good to have proof they are the same, photos of the old and the identical non-AM branded part. Let me know!
LikeLike