
 The 11 year old glue failed between the Alcantara fabric and the headliner shell in my Aston Martin DB9 causing the headliner to sag (you can read about the details here). If this has happened to you and you are about to embark on repairing or replacing it, it’s always a good idea to make sure you have the right tools on hand before you start.
Tools Required
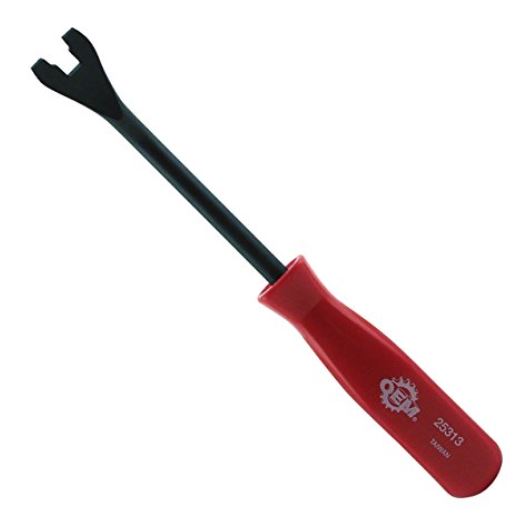 You need an Interior Upholster Clip Pry Tool. I don’t know if the name does it justice, so please check out the link and the photo. This is an essential tool to get this done properly. Once you have access to the headliner shell you’ll have 10 black plastic fir tree buttons to pry out that hold the headliner in place. You need to be able to uniformly slide under the clip and pry them out. If you don’t, you’ll mangle the pressed board headliner shell and damage the Alcantara fabric. If you don’t have one of these tools (I didn’t) I suggest you spend the few dollars and invest in one. You can get one from Amazon.com for about $11 with free shipping, or probably source one locally in your auto supply shop.
The rest of the tools are pretty normal and include:
 T25 Torx bit plus a ratchet and speed driver to use with it. You will be using this to remove just one bolt that holds the Rear View mirror in place.
- Inspection Light for peering into the gaps while you fumble around trying to engage the clips.
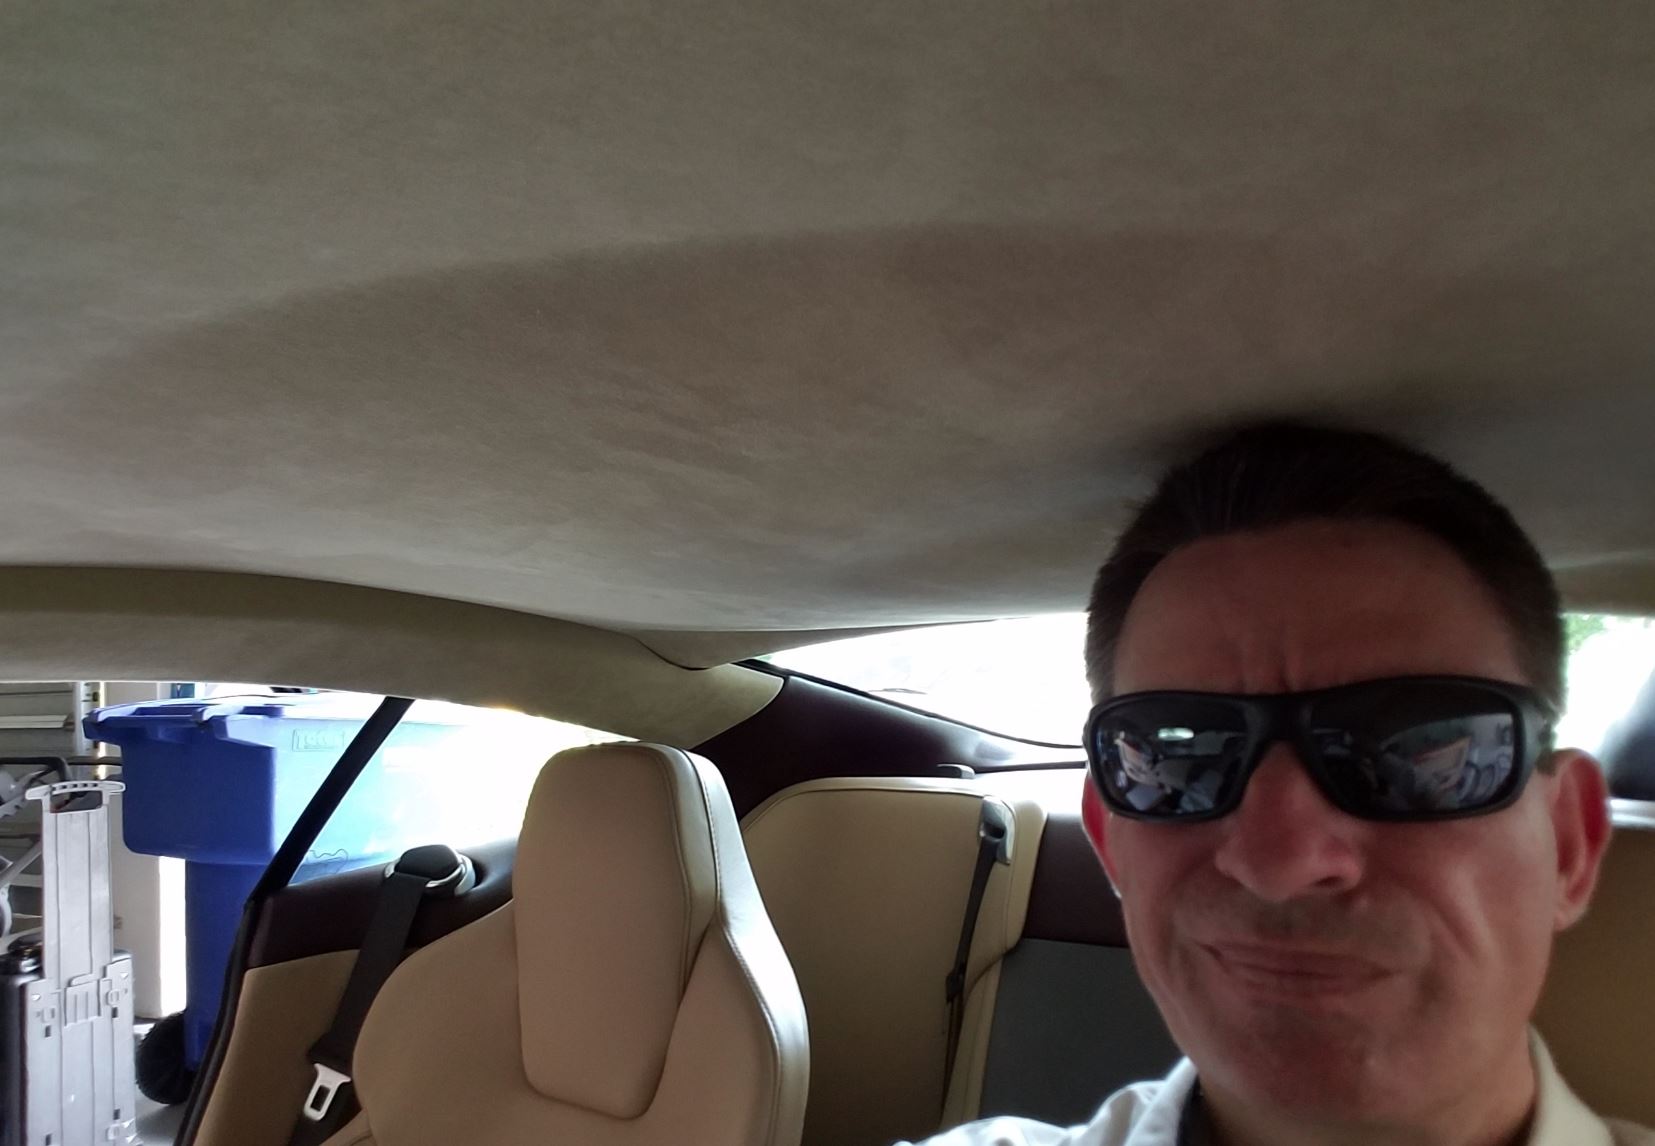
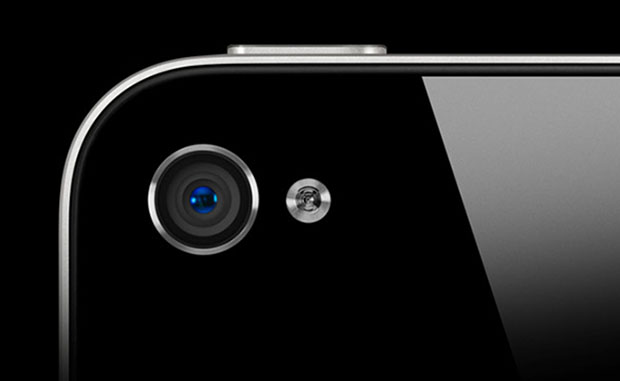
- A cell phone camera. I know this is a little odd, but when I was trying to align the rearmost A pillar fir tree clips I just could NOT see where the hole was because the gap was down to just a fingers width and I couldn’t get my head into the space.
 After 10 minutes of getting really frustrated, I finally thought about turning on my smart phone camera and holding it peering into the narrow gap allowing me to see what was going on in full HD color. Worked like a charm.
One final note will be to keep your hands super clean the entire time you are working on the headliner. One sweaty, greasy, dusty fingerprint on your expensive Alcantara fabric will ruin your whole project. I started by washing my hands thoroughly then I kept a microfiber towel handy and wiped my hands frequently.
Using gloves isn’t really the point here, you aren’t trying to keep the dirt off of you exactly, you are wanting to keep the interior parts clean. Wearing and changing gloves frequently with new clean ones might keep the sweat at bay.
Up next I will cover the parts you’ll need to have on hand for the project.
Check out this short video about the tools.

I removed the headliner which turned out to be pretty easy with the tools you recommended, and I used your shortcut (no dash panel removal). I bought the correct fir trees from Aston, and I also bought the replacement clip by the rear window area. The headliner cost me $600 to get the material removed, the shell sanded, and the foam material taken off the fabric (all done at an automotive interior restoration company here in Atlanta). I wanted to make sure to use the original fabric so that I did not have color match issues. I don’t think it is the glue that broke down in my case from the heat, but rather the 1/8 inch layer of foam that is between the fabric and the shell…that just became more of a gummy mess. To align the new fir trees into the car body, I used an automotive endoscope to see where the holes and fir trees needed to be. I also used new industrial velcro for the rear of the headliner. Great success, glad I did it, and probably will never have to do it again on this car. Thanks for the tips, saved a lot of time
LikeLike
Hi Steve, I just removed the headliner following your guide thank you. I used fingers and a Voche scissor trim removing tool rather than the lever type (which I also had bought) and things went really well. Only one issue, I made a tiny cut in my finger, must have been on one of the metal fastener brackets but luckily spotted the blood before touching the lining again!
You might consider adding this scissor type to your tool list as it removes the outer cant rail fasteners and headlining fasteners very well. Now off to the upholsterers who unfortunately are not quite as cheap as your one.
Martin
LikeLike
Hi Martin. Ouch! Hope the finger is OK. Blood stains would be unwelcome for sure.
Yes, I’d agree that is a better tool to use, I’ve seen those on TV shows as well (Edd China).
For those that read the comments, here is one that might fit the bill on Amazon.
LikeLike