
 I repeat, are you crazy? Why would you want to take out the Dash Panels of your DB9? As I mentioned in my other article on Removing the Drivers Side Dash Panels, there could be lots of reasons:
- There is a squeak or rattle driving you nuts and you want to see what’s loose under there
- The glue is failing and the leather is popping up on one of the panels and you need to get it off to take to the upholsterer
- You are trying to access or remove the A-Pillar cover perhaps to have it re-trimmed or to remove your headliner
For me, I was working on removing my Sagging Headliner (as it turns out you don’t have to remove the A-pillar trim cover so this was a bit of a lark for me). Whatever your reasons, I can show you how to do it below.
The process on the Passengers side is similar to the Drivers side, but is more difficult. You have more challenges to deal with, namely the Airbag and Glove box. In this article I will share the tips you’ll need to tackle this.
This is definitely one of those projects where I really, really, really suggest you spend the time and watch the video below. Seeing how each panel pops off is much more helpful than reading my descriptions. They are still worth reading to get the tips and links to the tools, but watch the video afterwards.
Tools Required
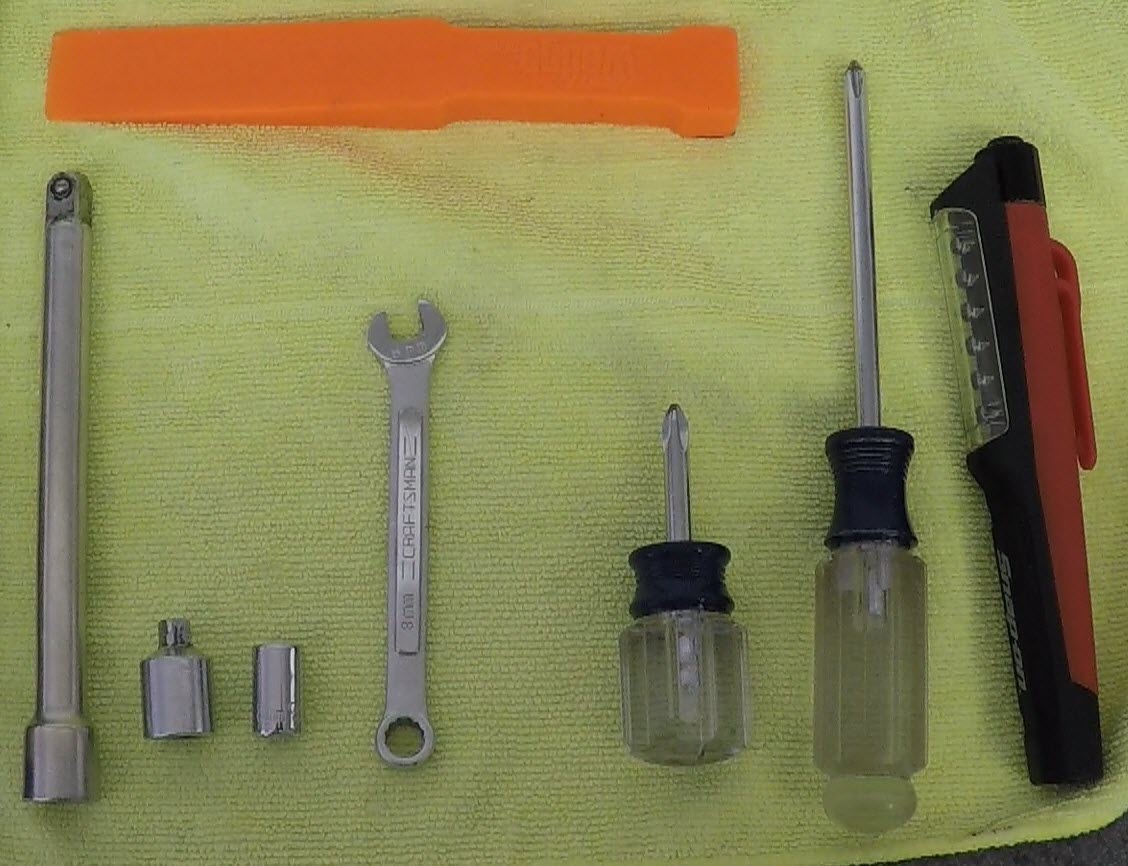 Just a few simple tools:
- Stubby Phillips Screwdriver
- Medium Phillips Screwdriver
- 8mm Box End Wrench
- 8mm 6-point socket with 6 inch extension to use as a handle
- Soft Non-marring Interior Panel Pry Tool
- Very long handle screw driver (read below why)
- CLEAN HANDS
You need to keep your hands really clean else you risk getting sweaty dusty smudges all over your pristine leather. I kept a micro fiber towel nearby to wipe off the sweat/grime periodically.
As you will see in the video, I use the Interior Panel Pry Bar Tool in a non-standard way. You could probably use any similar sized rectangular handled tool you have around, but if you’d like to get the same tool its just $10 for a set from Pepboys.
Procedure
 I first reviewed the official Aston Martin Workshop Manual – Section 1.05 on Interior Trim. As usual, not a great deal of help. They do have a very pretty multicolored diagram of the dash panels. We are going to remove Panels 6, 7, 9 and 10 shown in the diagram. Their procedure is spelled out in Steps 6 through 10 (skipping step 8 about removing the airbag), and there isn’t enough detail for me. Their diagram shows a RHD layout, my car of course is a LHD layout.
Let me suggest again that watching the video below is the best way to learn how to do this, I am only doing a cursory write up just to highlight a few key points. Give this a quick read through, then watch the video for sure.
The entire process will take only about 20-30 minutes if you are being careful.
Removing the panels must be done in the correct order, it’s like a layer cake. You must remove one panel in order to gain access to the screws to remove the next panel.
Prerequisite
 In a previous article I have covered How to Remove the Lower Dash Panel and Glove Box Surround. You need to do this anytime you are changing your Cabin Air Filters (usually as part of your 2 Year Annual Service). This is your first step in this process, remove the lower dash panel and glove box surround.
The rest of the procedure is as follows:
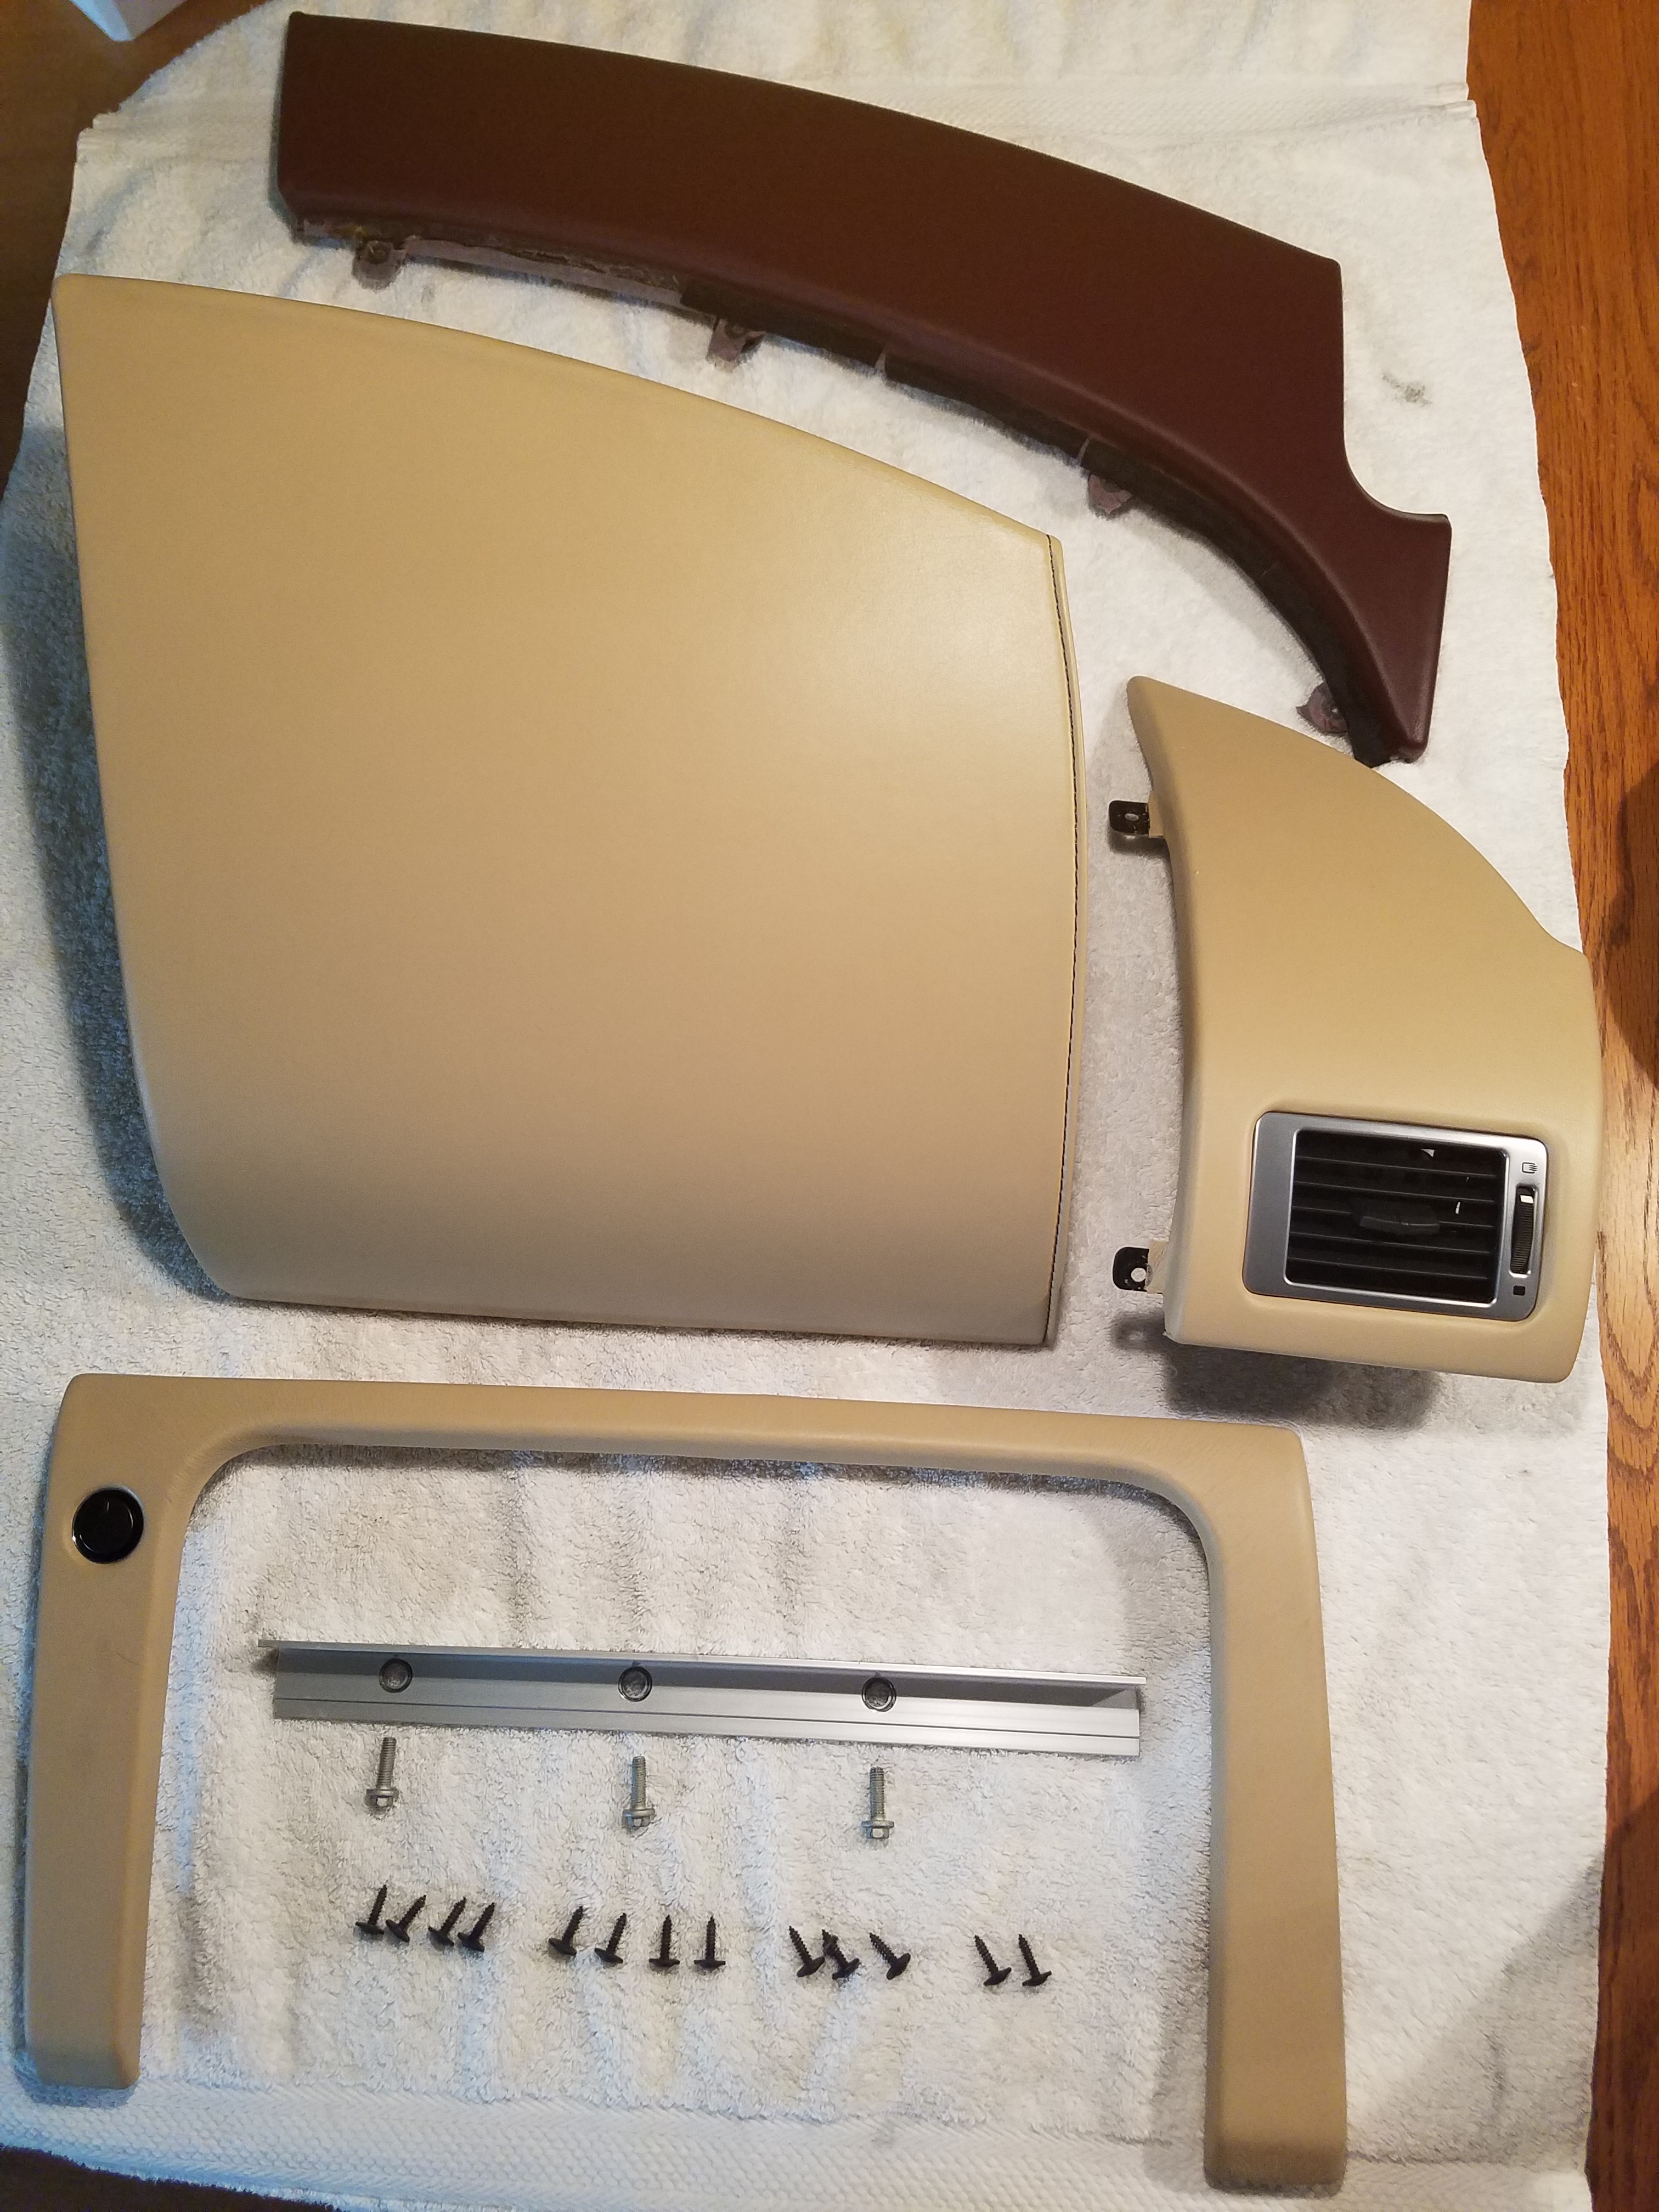
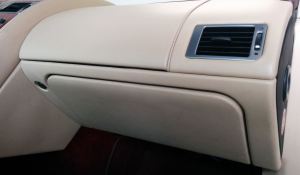
- Remove the Air Bag Panel
- We aren’t touching the airbag, we are only removing the leather covered trim panel that covers it.
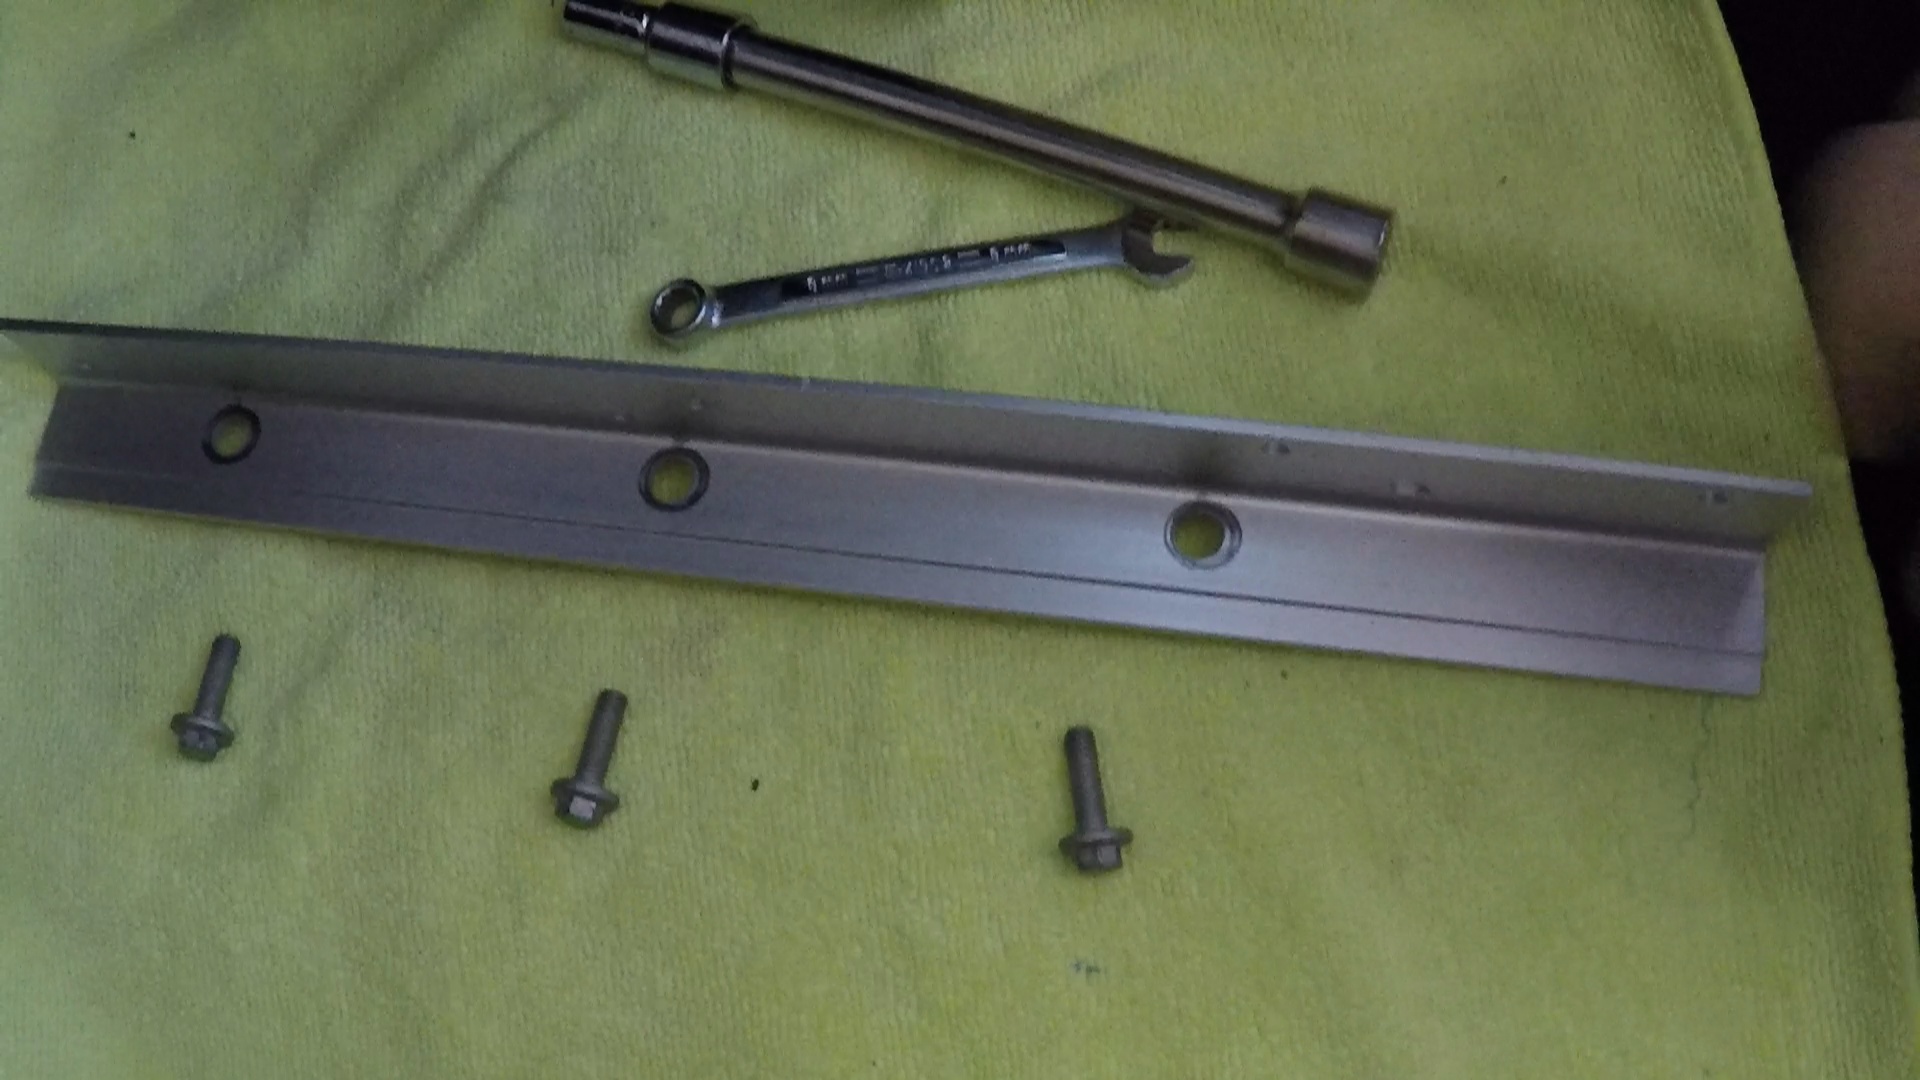
- Remove the three 8mm bolts and bracket under the dash.
-
- Access is difficult since you are on you are working up under the dash near the air filter compartment

- Use the 8mm box end wrench to crack the bolts loose
- Use the 8mm socket and extension to easily finish removing them.
- There is a small aluminum plate that will fall away with the last bolt so be ready to hold it

- Access is difficult since you are on you are working up under the dash near the air filter compartment
-
- Pull up and back on the front lip of the air bag trim panel to release the two Velcro patches
- There is one on left and one on the right
- This is pretty easy, just be gentle
- Do not lift it way up, the clips at the back edge are still attached. Just lift it up until it releases.

- Release the three rear clips
- They are along the back edge
- You need to lift straight up
- You can snap them off [which is bad], so be very careful
- Reach under the dash with one hand and apply some pressure ‘up’ on the vertical plate we unbolted (honestly, see the video to understand what this means).
- On the top, work your other hand in along the edge and towards the back, and try and ease the closest clip up. It should release without a huge fight.
- Work your hand across the front edge to the middle clip and do the same and try and ease it straight up until it releases.

- The last clips was more of a challenge for me. In the video, it just pops out easily, BUT, that was my second run through. I had already done a dry run to be sure I knew what I was filming. Initially I could not get the clip to release, and it really seems easy to snap this one off. It’s also a bugger since its up much closer to the windshield and tough to get your hands and arms into a position of leverage. My solution was to use the butt end of my long handled (14″) screwdriver. I just eased it under the trim panel and pushed it towards the final clip. As I pushed it in and it was wedging, this puts upward pressure on the panel and it eventually popped up. Sorry its not in the video, but hopefully you get the idea.
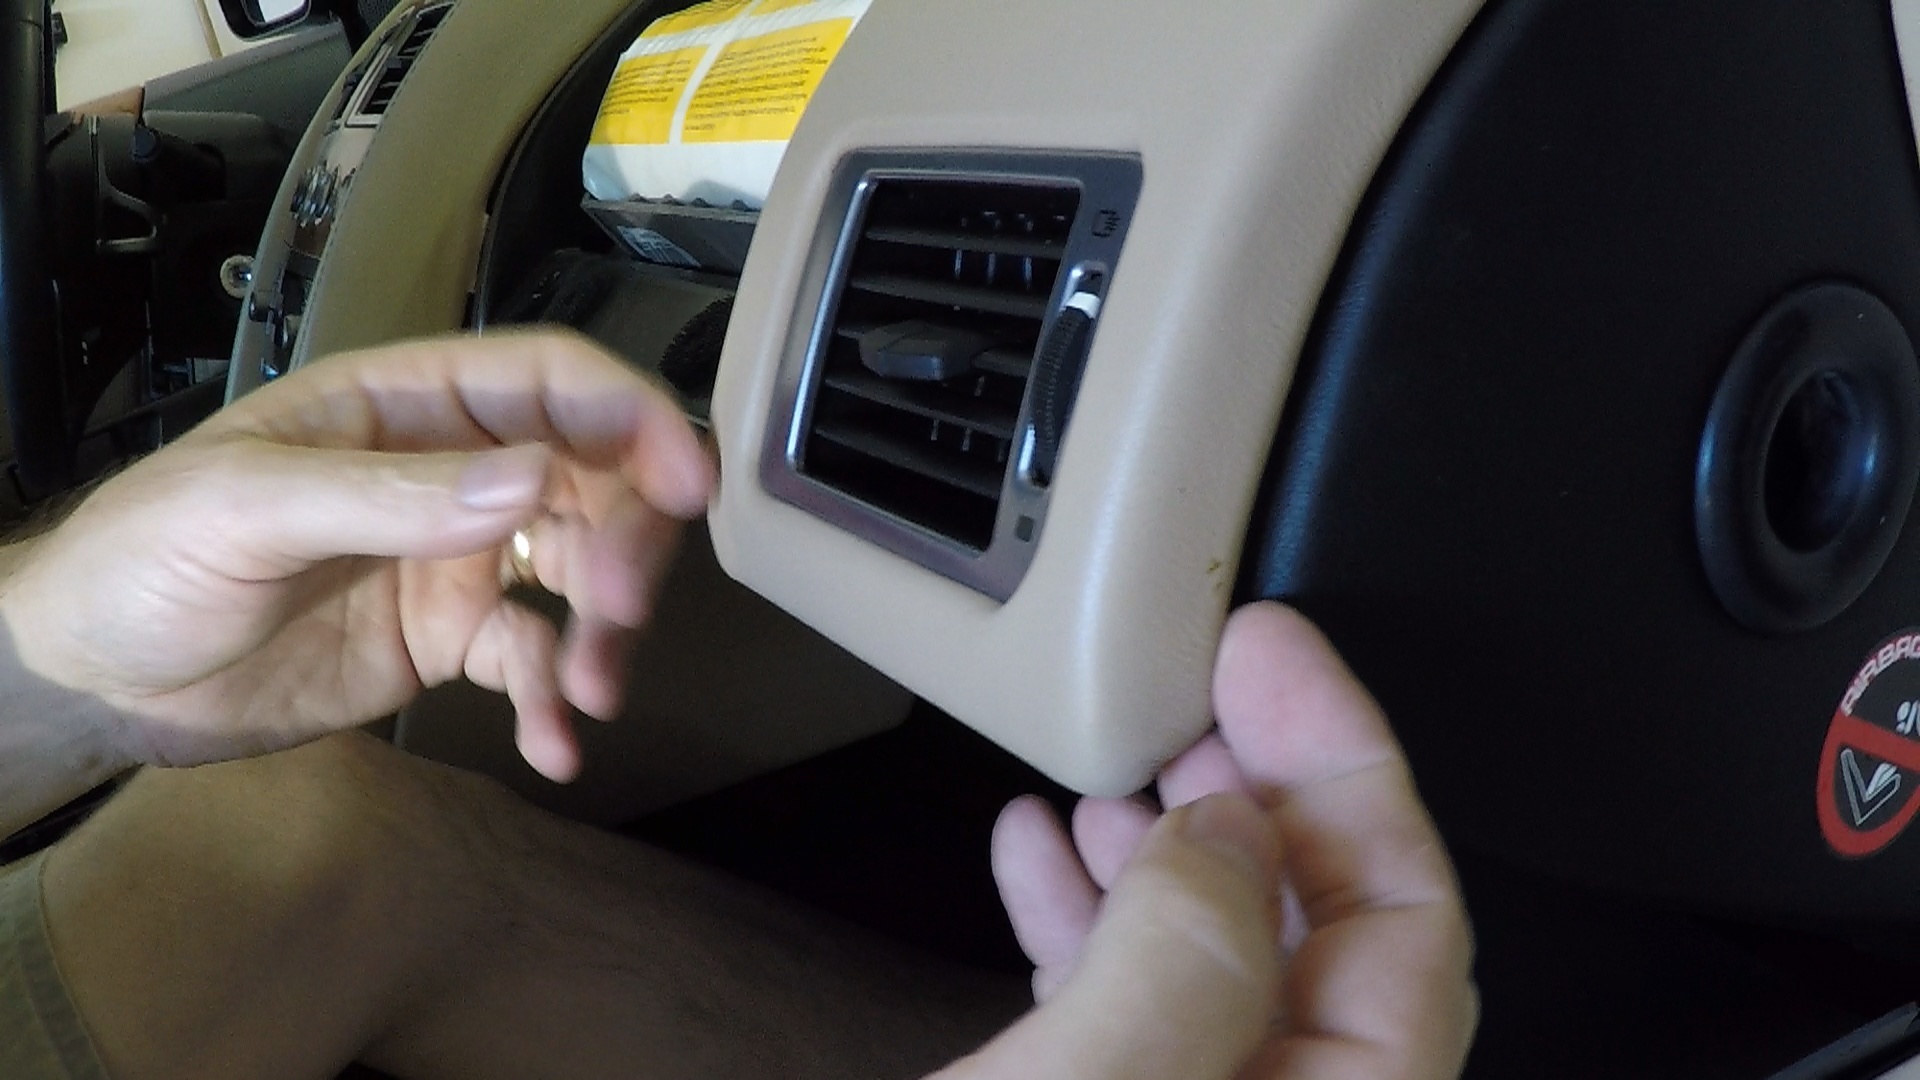
- Remove the Vent panel
- Unlike the drivers side vent panel that just pulls off, the passenger side panel has two screws that must be removed first.
- Remove the two Phillips screws that were revealed when we removed the Airbag panel.

- There are still two clips that are holding the panel in place
- Work your fingers under the bottom edge on the door side and pull horizontally towards the rear of the car. NOT UP!

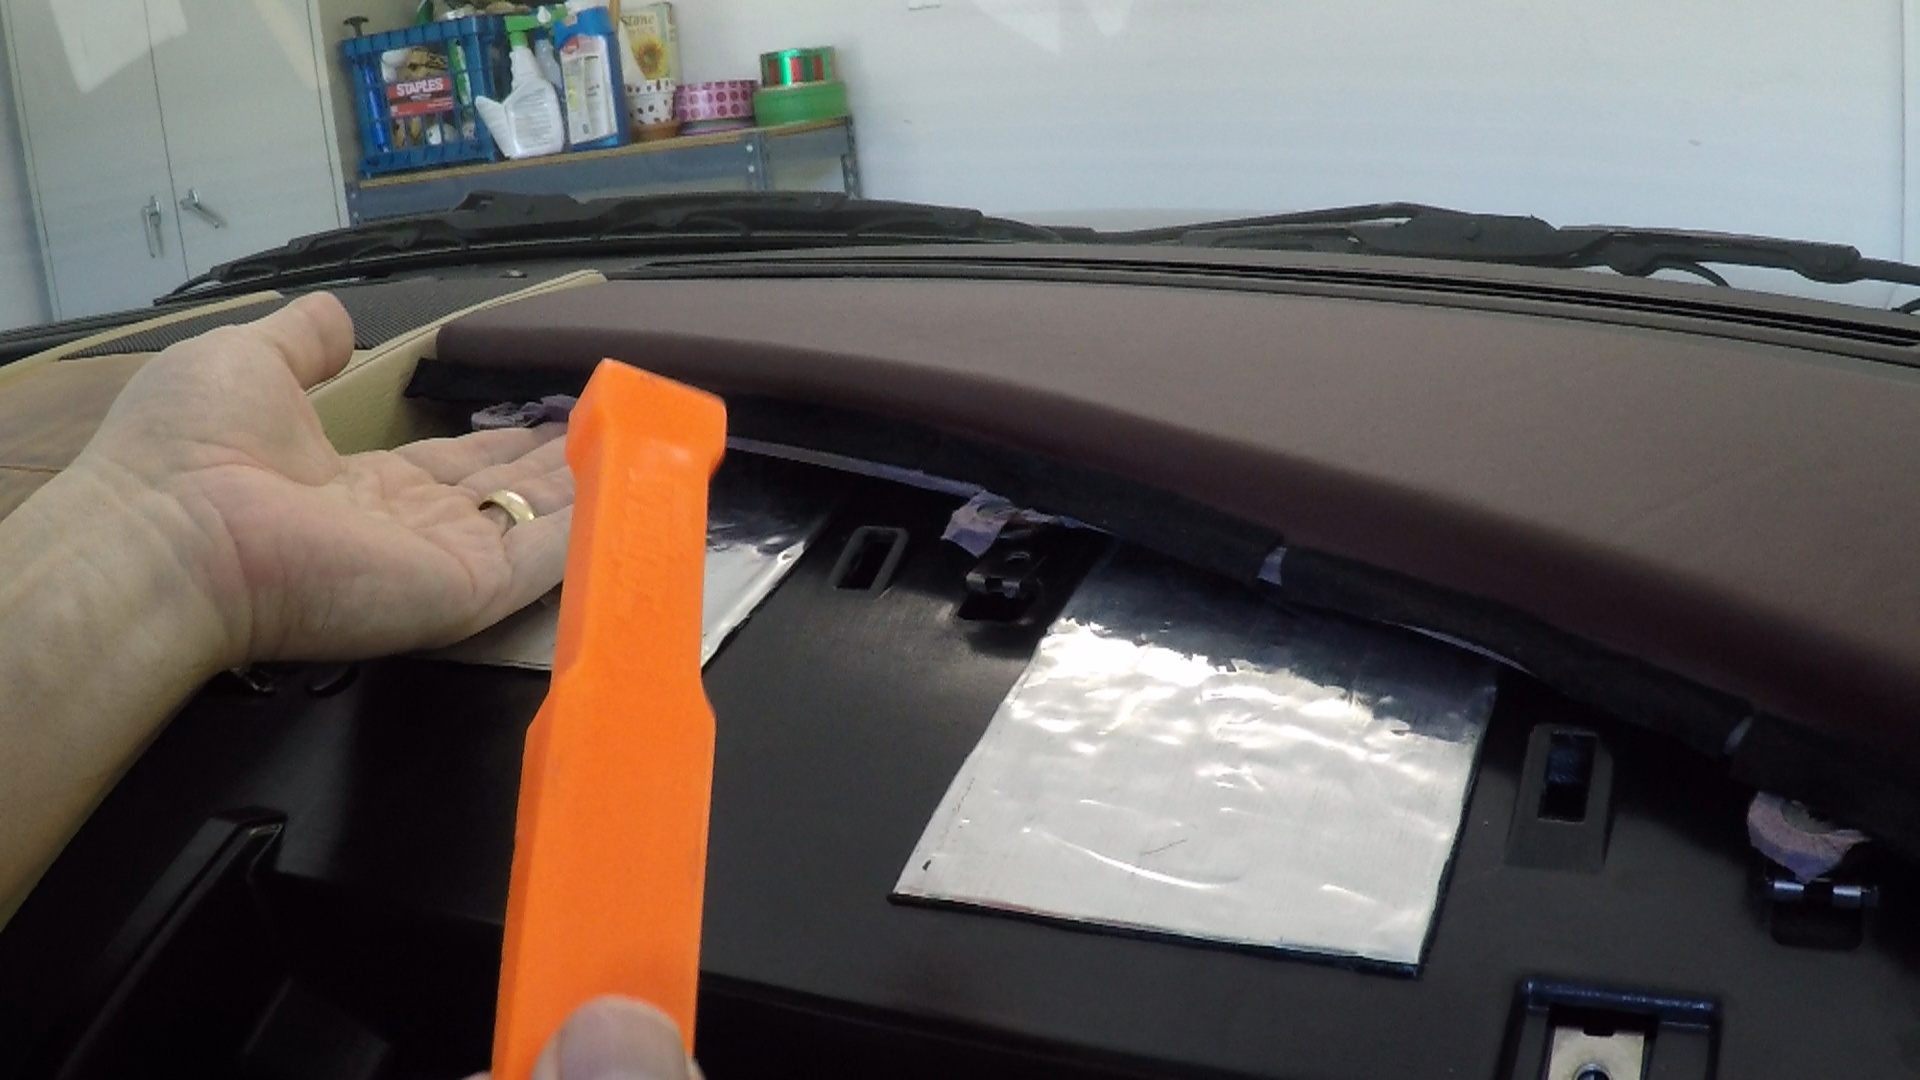
- Remove the Top Trim Panel Panel
- With the Airbag and Vent panels removed you can now see the four (4) Phillips screws that hold one edge of the top trim panel.
- Remove the screws with your stubby Phillips screwdriver.
- There are still four (4) clips along the forward edge of the panel.
- Lift up on the rear edge of the panel and work the butt end of the non-marring interior pry tool in towards the clips towards the center of the car. As it wedges in near the clip, twist the tool so that is produces an upward thrust on the panel, and this should release the clip. Honestly, this is really best seen demonstrated in the video below to really understand what I am talking about.

- Do this for each clips as you work your way across.
- The final clip nearest the A pillar was the toughest. I used the same technique, it just seemed to hang on harder. Be really carefully not to be over zealous and lift the panel up on an angle, this is where many people crack or break off the clip. Just be gentle and persistent.

That’s it!
This is the ideal time to snug up all the screws hidden under the panels. Don’t over-tighten them, they could strip easily.
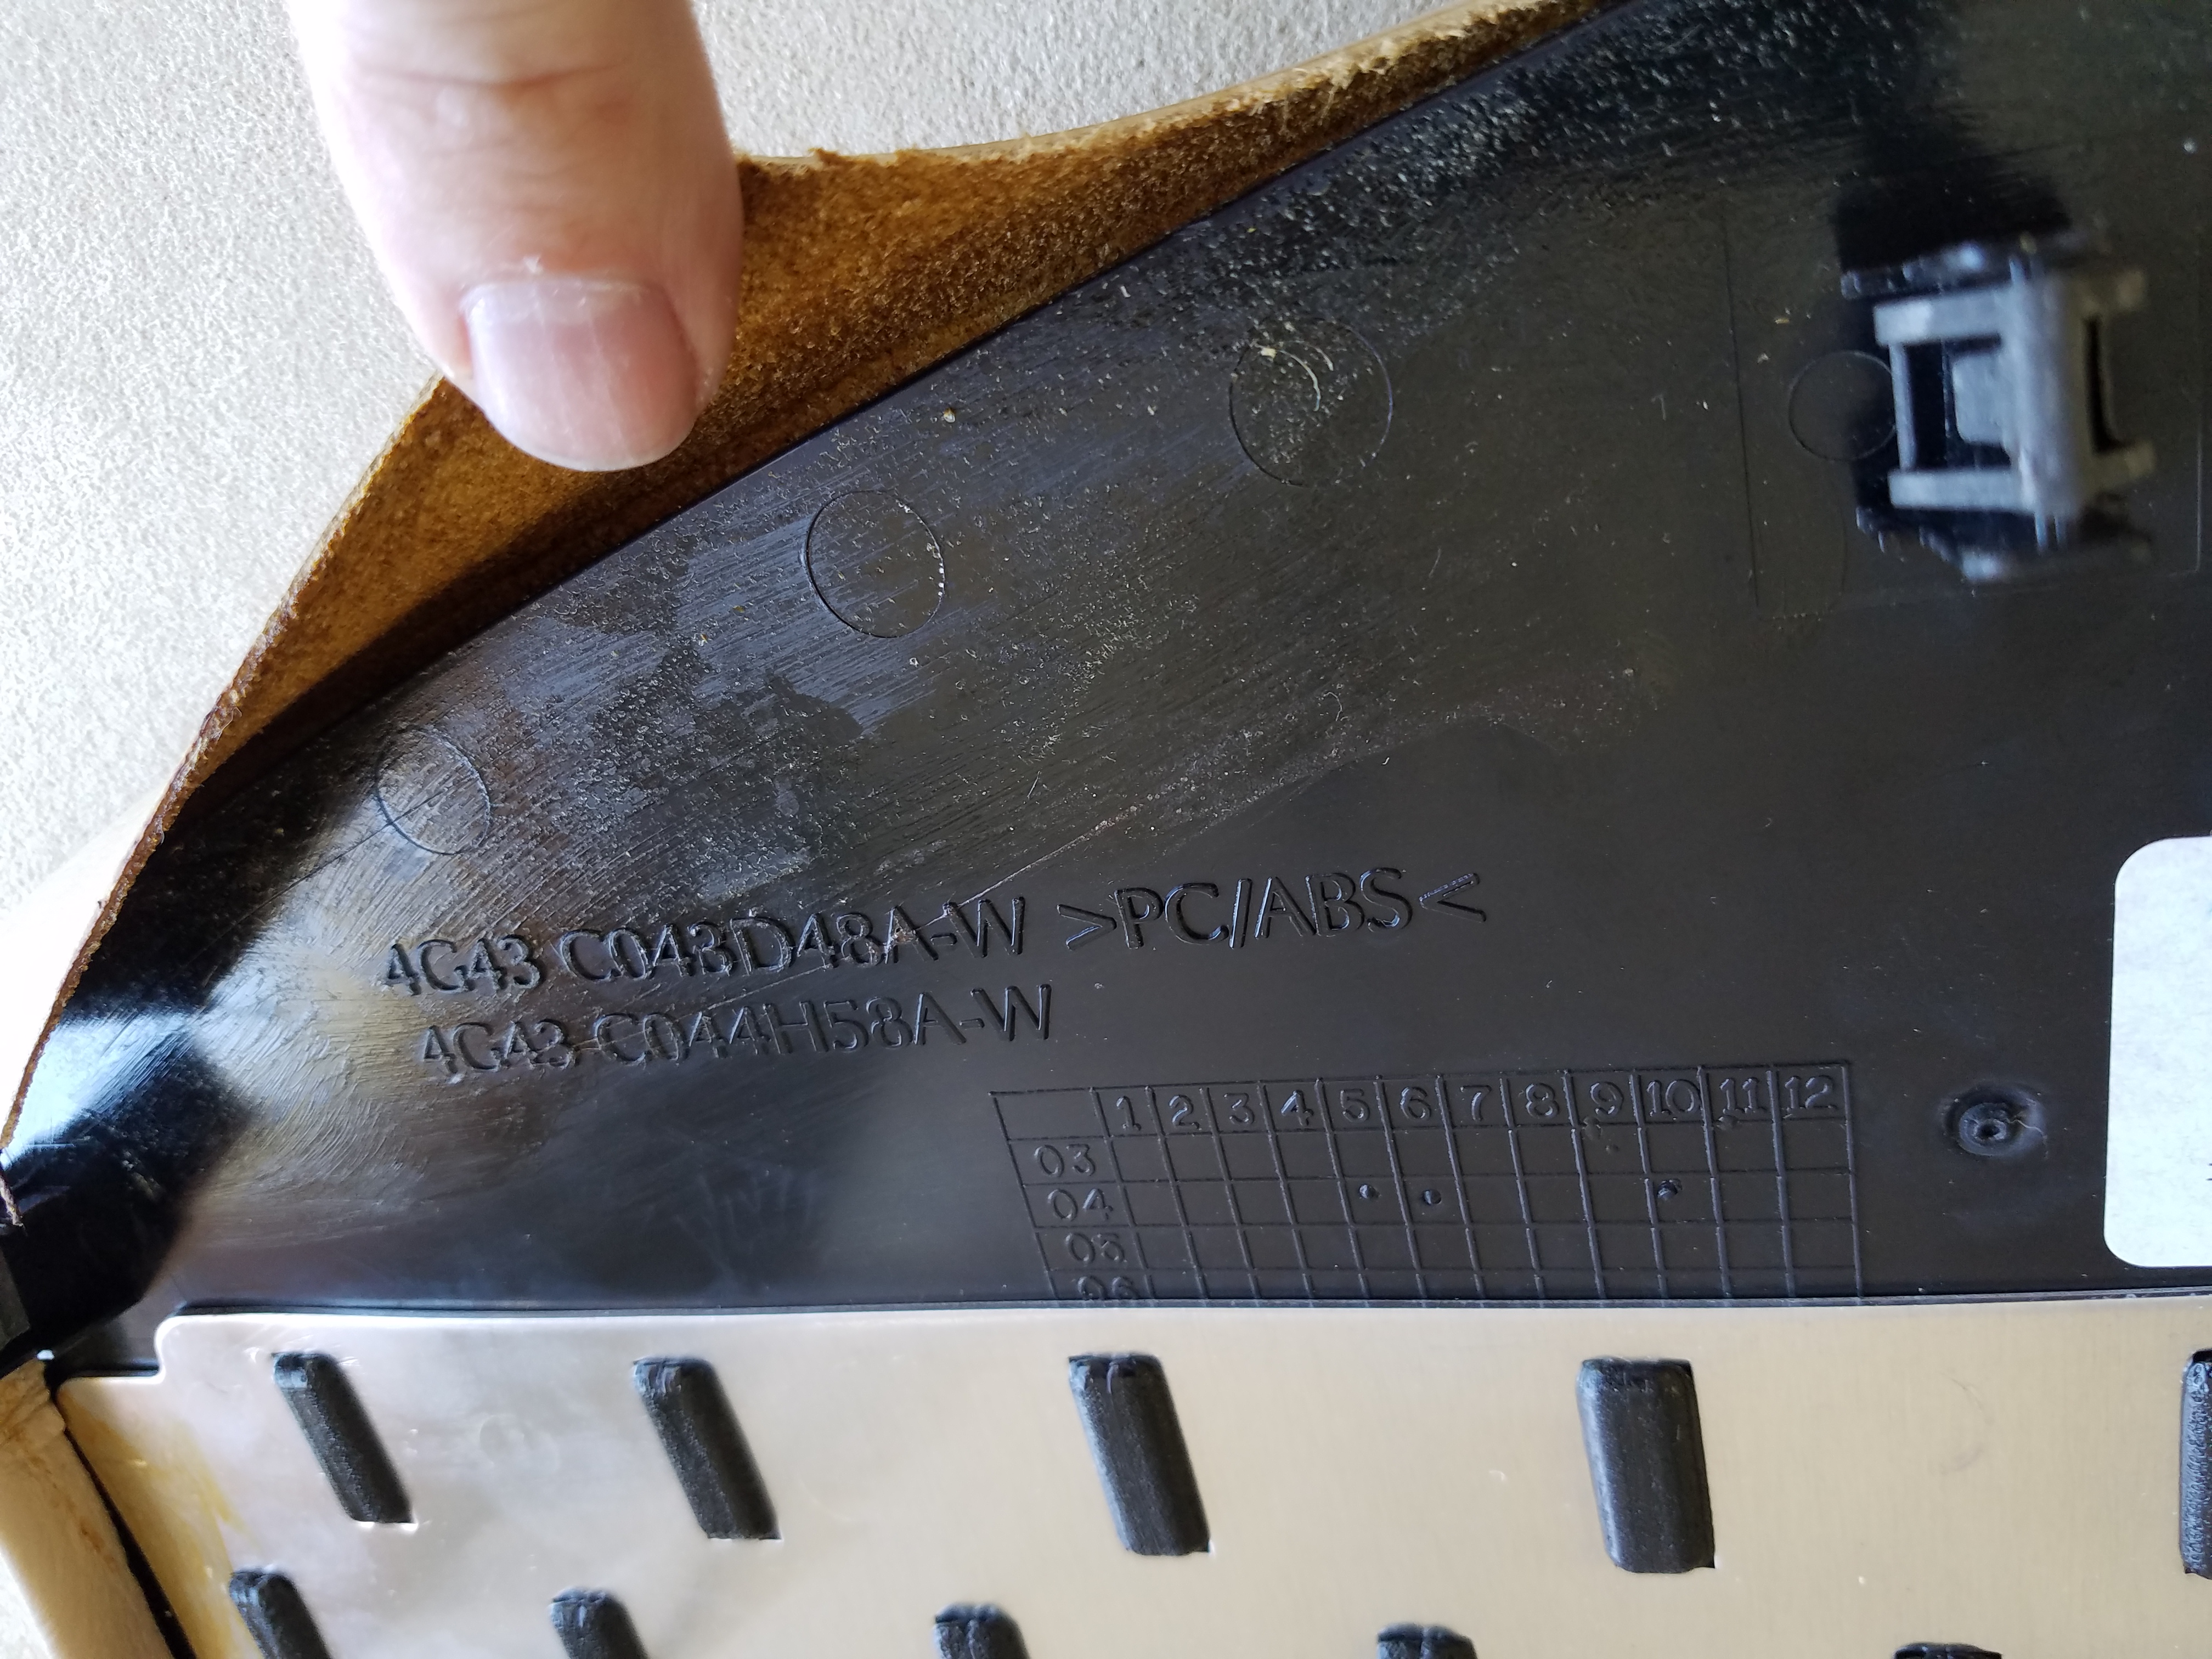
With your panels off, you can give them a good cleaning and inspection. I found the glue holding the leather at the edges was beginning to fail on my airbag and top dash panels. In a future post I will detail how to deep clean all the panels and include detailed photos of each one.
Video
Here is the video showing how I did all this.

This site is amazing. Thank you! You have made owning a Aston Martin a pleasant experience. I am a car enthusiast. I had to trailer my car 350 miles to dealer for diagnosis of no start and engine warning lights etc. Turned out to be accelerator pedal. I asked how much for oil change. They wanted a thousand dollars!!!! I actually saw your video before going down. Boy do they try to blow smoke up your butt! I purchased all parts I needed air filters,cabin filters,brake fluid for replacement, diff oil and copper washers, gas struts for hood,doors,trunk. Its a 2006 DB9 with 18K miles. They wanted a whopping $6200 to do what i needed. I bought parts and a discount because we have a re-sell permit. Parts cost approx $740. I could have purchased for a little less elsewhere but they had them in stock. I just wanted to say Thank you again. These are great videos and narrative.
LikeLike
Hi Rick. Excellent to hear the information has been helpful. Accelerator pedal, hadn’t heard about that one yet. I guess if its sensor dies, nothing works right. Hopefully wasn’t too expensive. Glad you were able to save a bundle doing it yourself.
LikeLike
Hey Steve! Any chance you’ve removed your center stack waterfall? It looks straightforward to get out but i wanted to know how the PRND and engine start buttons are attached to that panel along with the HVAC vents. My center stack needs to be re-veneered so everything has to come off.
LikeLike
I have the EXACT same issue. Is your veneer peeling up at the windshield edge where the glue is failing due to age/heat/sun?
I have a whole segment planned around it.
I’m actually doing my 1 year service this long weekend, and doing a new topside only oil change. (sucking the oil up the dipstick tube).
Please let me know what’s happening with your veneer, wondering if its going to be a common failure with the older cars. What year is yours?
LikeLike
Your video and instructions were perfect… i had some leather shrinkage of that top panel passenger side dash…and I had it off (correctly) in 15 mins with your videos and instruction…
thanks so much
joe
LikeLike