
One of the most common maintenance items on any car, the DB9 and Vantage included, is servicing your brakes. When your service includes either changing the brake pads, the brake rotors, or both, it is necessary to properly ‘mate’ the two components together for optimal performance and, in the case of an Aston Martin, to reduce or eliminate brake squeal.
The bedding in process is tackling two things at the same time:
-

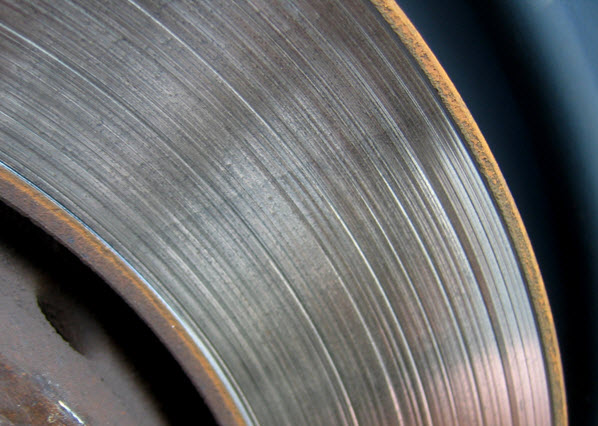
Worn and Uneven Brake Rotor Surface It shapes the surface of the pad to match the rotors surface. If you’d ever looked at the surface of a used brake rotor you will notice that the wear isn’t completely even. A used rotors surface will have waves and perhaps grooves in it. If you change just the pads on your Aston without resurfacing or replacing the rotors, the new pads are flat and will only be making contact with the tops of the ridges or waves, significantly reducing the braking friction area and your braking ability. Bedding in the pads immediately after installation will match these up under more controlled conditions so your brakes are ready when you need them.
 There is some science at work. When you bed your pads in to old or new rotors, it chemically deposits (bakes) some of the pad material onto the surface of the rotor. The friction coefficient (grippiness) of the pad to rotor increases once this is accomplished, and gives you better braking.
- It should be noted that this is one of the conditions that can lead to the annoying brake squealing that Aston Martins are typically vexed with. Most harder brake pad materials (available on the aftermarket) will reduce brake dust, but are harder to bed in properly (and keep bedded in).

Applies to

Heads Up – READ THIS
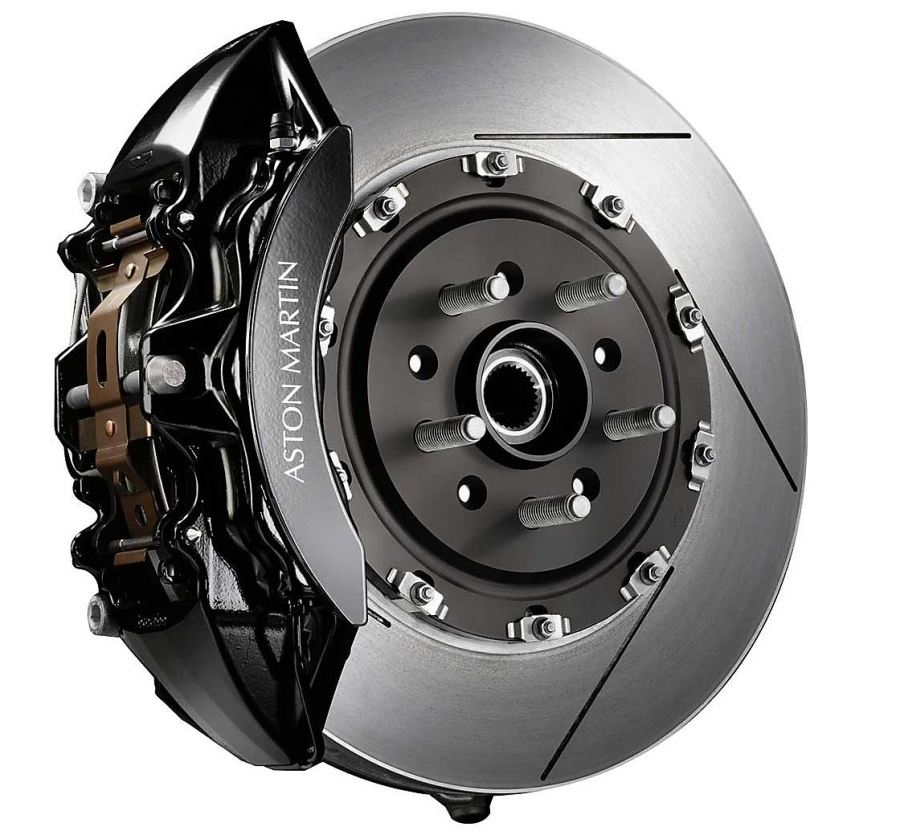
Aston Martin has fitted the DB9 and Vantage with a mighty set of steel brakes from Brembo. This article is NOT covering the even mightier optional Carbon Ceramic (CCM) brakes that were an option on some vehicles (and they have their own bedding in process).
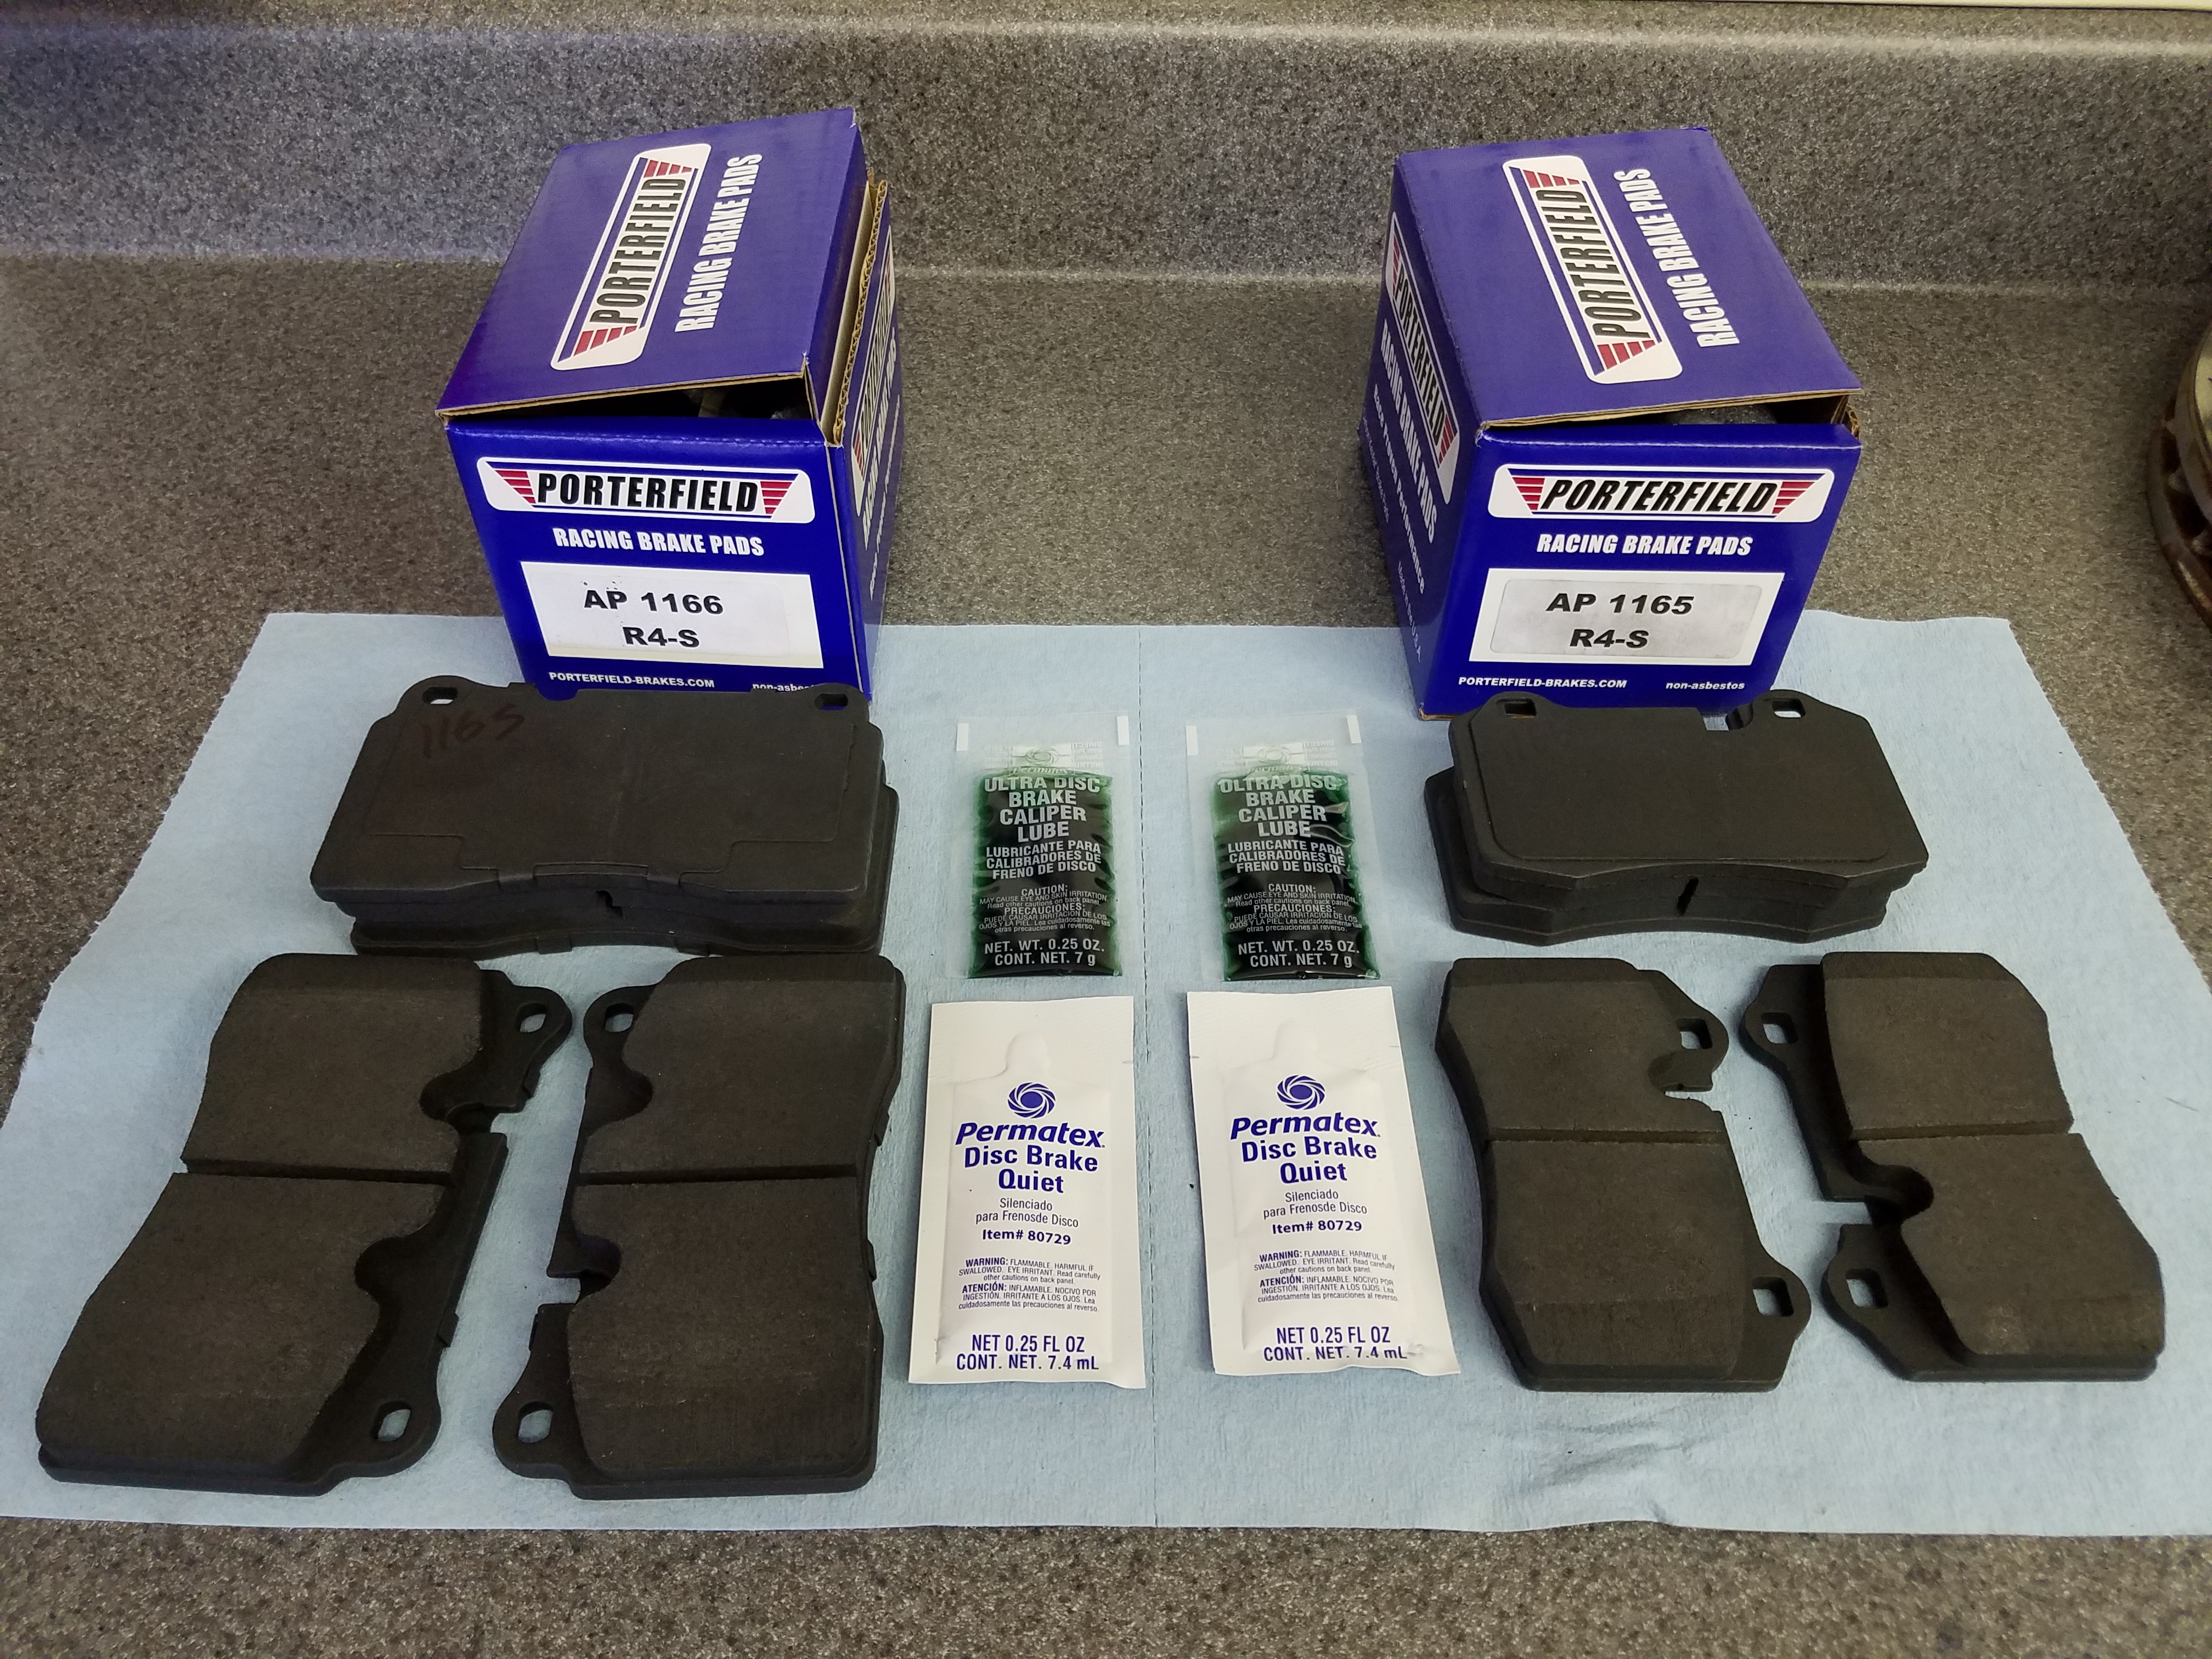
This article ONLY covers the bedding in process for Porterfield R4-S brake pads. For my 2005 DB9, that is Porterfield part number AP1165 for the Fronts, and part number AP1166 for the Rears.
 I regularly run Porterfield R4-S street pads for reduced brake dust (rather that the very, very dusty OEM pads made by Pagid), I contacted Porterfield for their specific recommendations for bedding in. Porterfield R4-S are a more high performance pad for performance ‘Street’ driving, meaning you can use in your daily driver AND on an occasional track day (like me!). As it turns out the process for the Porterfield’s is completely opposite of the Aston Martin OEM recommendations, and following the Aston Martin recommended process below will actually SPOIL the Porterfield R4-S pads and lead to glazing and brake squeal (I know this first hand now).
NOTE: This article is NOT for the OEM original Aston Martin supplied brake pads (made by Pagid).
Here are two other bedding in procedure articles I have created if you are using these aftermarket pads:
Prerequisites
To get to this point you’ll probably have done either a ‘Pads Only’ or ‘Full Brake Service’. I have a few videos that might help you with those tasks:
- Everything you’d want to know about Aston Martin Brakes
- Doing a Pads Only Brake Service
- Doing a Full Brake Service [Coming Soon]
Tools Needed
None!
Procedure
I first checked out the Porterfield Brakes website figuring that I would be able to find their recommended bedding in procedure. No luck at all.
I then reached out directly to the company asking for the procedure for the R4-S pads for my Aston, and I promptly got a nice reply from representative Wendy Charlier who stated:
The R4-S is a street pad. Street pads really need to be able to go out of the box as skill levels vary across street drivers. I have attached our info on bedding.
If you’ve just changed your brakes:
- Be sure to pump the brake pedal a few time BEFORE you back out of the garage right after the brake pad change. This will close the gap between the pads and rotors to normal. You’ll probably notice a ‘long pedal’ on the first pump, and by the 2nd or 3rd the pedal feel and stroke should be normal again. If it isn’t, DON’T put it into gear until it is.
- Drive cautiously as you begin bedding them in. Leave lots of space for stopping, remember that your brakes won’t be at the full and normal performance level.

After that, the official Porterfield bedding in procedure for R4-S street pads is:
- Street pads are pre-bedded.
- Just install and drive normally and they will bed themselves in within about 100 miles.
- [Not 100 miles of freeway driving without using the brakes – but 100 miles of normal city stop and go traffic where you use the brakes often but not very hard]
- Please avoid the 60+-0 absolute stops upon first installation to see how well they stop. (Obviously if it is required for safety do so.)
- This can lead to glazing of the parts.
- Please allow the 100 or so miles to pass before being more aggressive with them.
Essentially they DON’T want us to work the crap out of the brakes immediately, and overheat them. They want a gentle bedding in without the heat shock -which could ruin them. Note that this is the complete opposite of the Aston Martin OEM pad procedure that say to go out and do lots of 60 – 0 stops. Don’t use that procedure here.

The glazing is what happened to me with the Porterfield pads. New rotors and pads all around including the e-brake. What would you suggest the solution be? I am considering having the rotors cut and either new pads, or lightly sanding the existing pads to remove the glaze. Thanks as always for your diligence!
LikeLike
Thank you for this guide Steve! I found that my Porterfields actually started squealing after the gentle 100 mile bedding in driving. I removed all the pads, cleaned and regreased, but still had the same issue.
I did a track day following this, and the squealing was gone after a couple of laps (and the brakes have remained quiet since). So once the pads are bedded in, it might be worth some hard stopping (after the 100 miles of gentle driving) if you’re still struggling with noise.
LikeLike
I should have added – it’s the R4-S pads that I fitted all round that I had this experience with.
LikeLike
Installed Porterfields R4-S on my 1983 Toyota Supra and did a few 60 to 0 stops and the pads were smoking and my rotors were starting to glaze. Luckily I stopped after 2 miles and went back home. Was able to take everything apart, clean everything off, do some online research, and try to break them in properly the second time lol. Thanks for the write up. Seems like I did the break in VERY wrong. Luckily I didn’t keep going. Brakes work good now.
LikeLike