
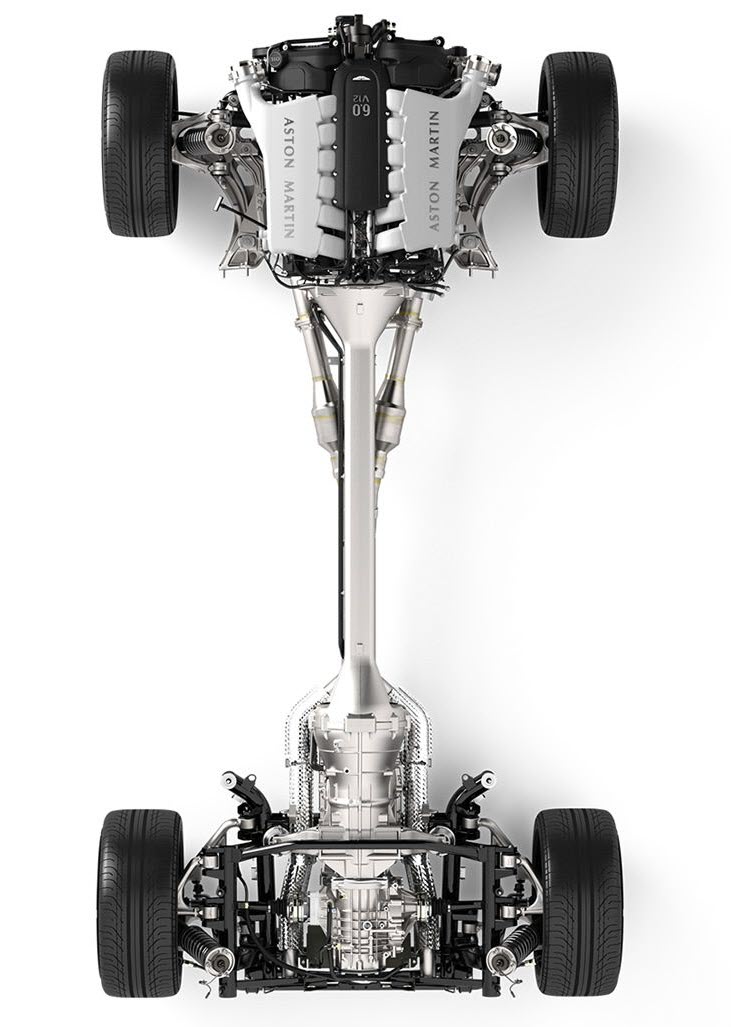
The Aston Martin DB9 has a very cool drivetrain support system. At the front the engine and suspension system is all mounted to a subframe. At the rear the transmission, differential and suspension system is mounted to a rear subframe. Connecting the Front and Rear is the ‘Torque Tube’ that comes off the back of the engine and links to the front of the transmission. All together you can literally drop the entire power train out of the car by disconnecting the subframes. Why talk about this now?
At the rear of the car if you need to do some work on the transmission or suspension, it’s all mounted to that rear subframe. One component of the rear subframe is a lower crossmember that links the bottom right and left sides together making it more rigid, and also providing something to mount the rear plastic aerodynamic undertray to. This article is about how to safely remove that crossmember so you can get to what you need to work on.
Prerequisites
To get the rear crossmember off you have some work to do first. I have already done articles on these steps:
- Get the car off the ground and level up on jack stands (check out this article)
- Remove the rear undertray (check out this article)
Tools Required
This list is pretty simple:
- 16mm 6-point socket (1/2″ drive)
- Breaker bar (1/2″ drive)
- Ratchet (1/2″ drive)
- 6″ extension (optional)
You might also want to have a little penetrating fluid on-hand (like WD40, etc.). The bolts on even my California car were fairly rusty and difficult to get loose.

Procedure
This is easy and will take less than a few minutes once you have access to it.
You want to make sure the car is level and not twisted on the jack stands – you are removing part of the core support so you don’t want it to be stressed.
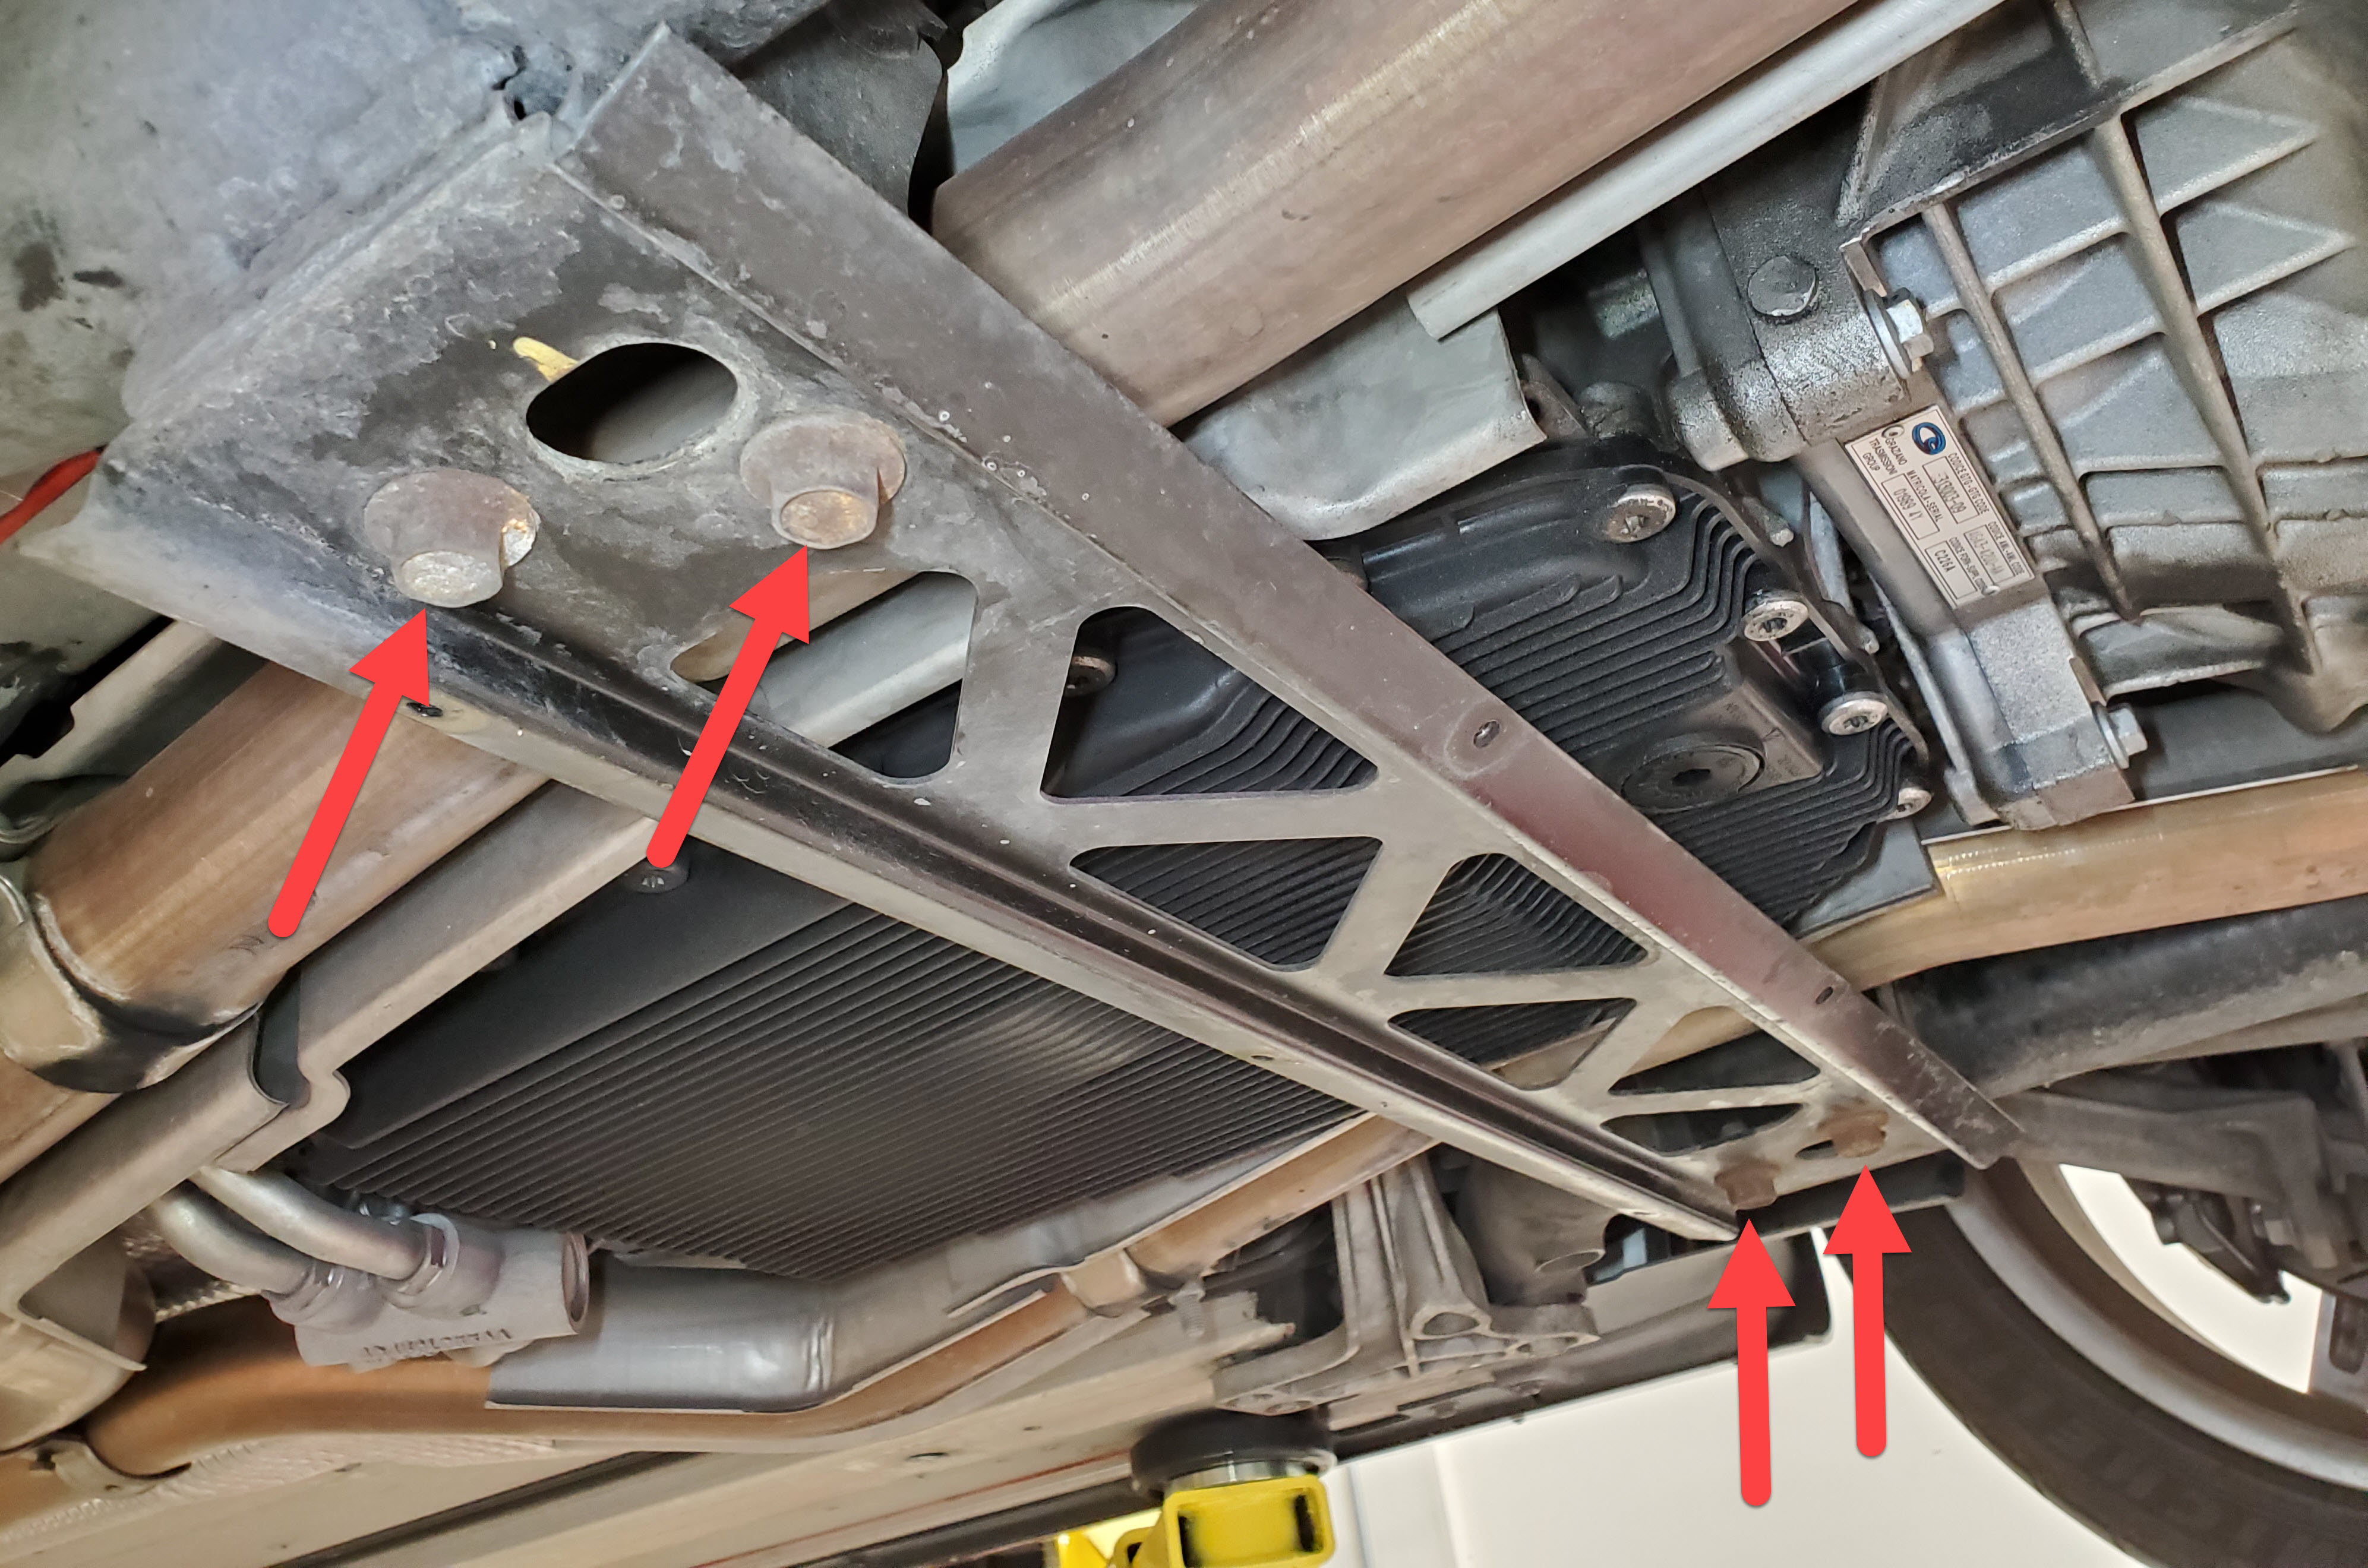
- Inspect the four bolts and apply penetrating fluid from above (onto the threads) if they looks rusty and crusty. Give it an hour to soak in.
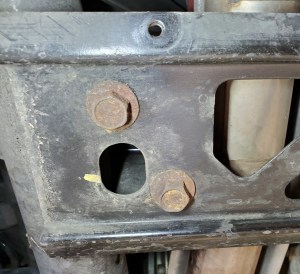
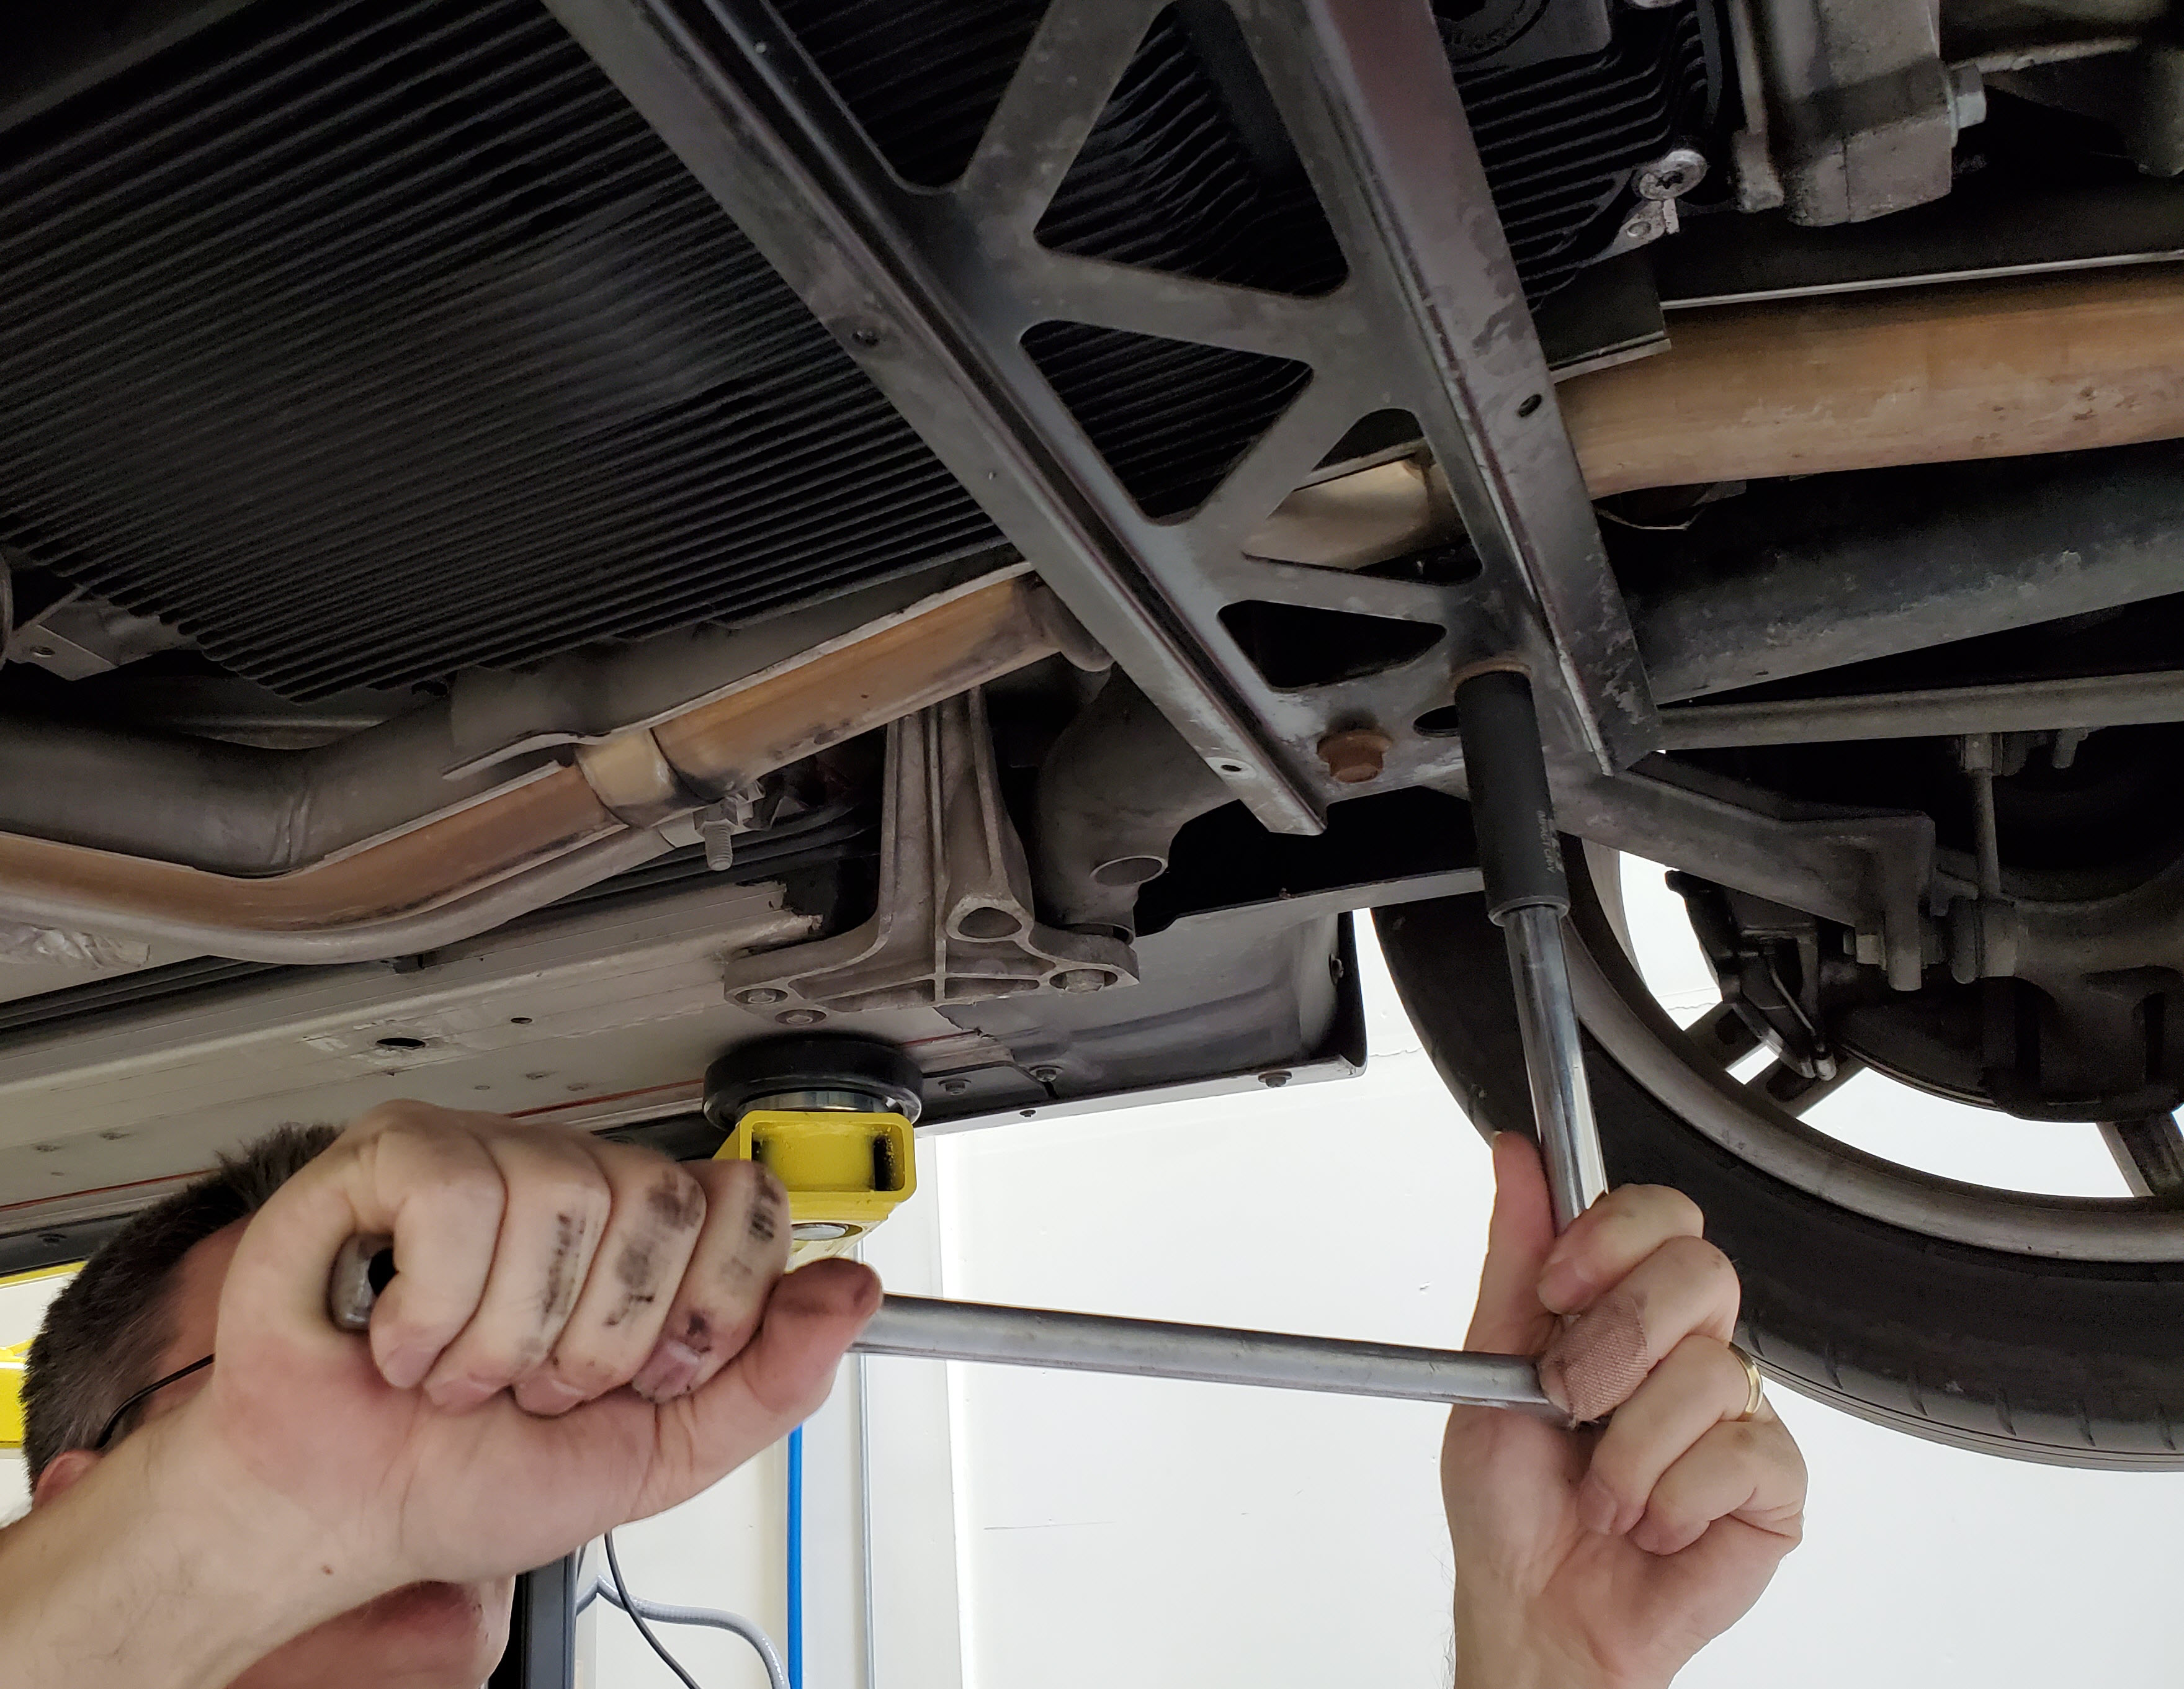
- Use the 16mm 6-point socket, extension and breaker bar to crack them all loose. I had to use the breaker bar and considerable force to get them started.

- Remove one bolt completely from each side.
- Almost remove the last bolt on one of the sides, leaving it slightly in place to keep taking the weight (so you don’t let it hit you in the head as you pull all the bolts off).
- Remove the last bolt on the other side, and use your hand to hold it up.
- Remove the last bolt completely and lift the crossmember away.


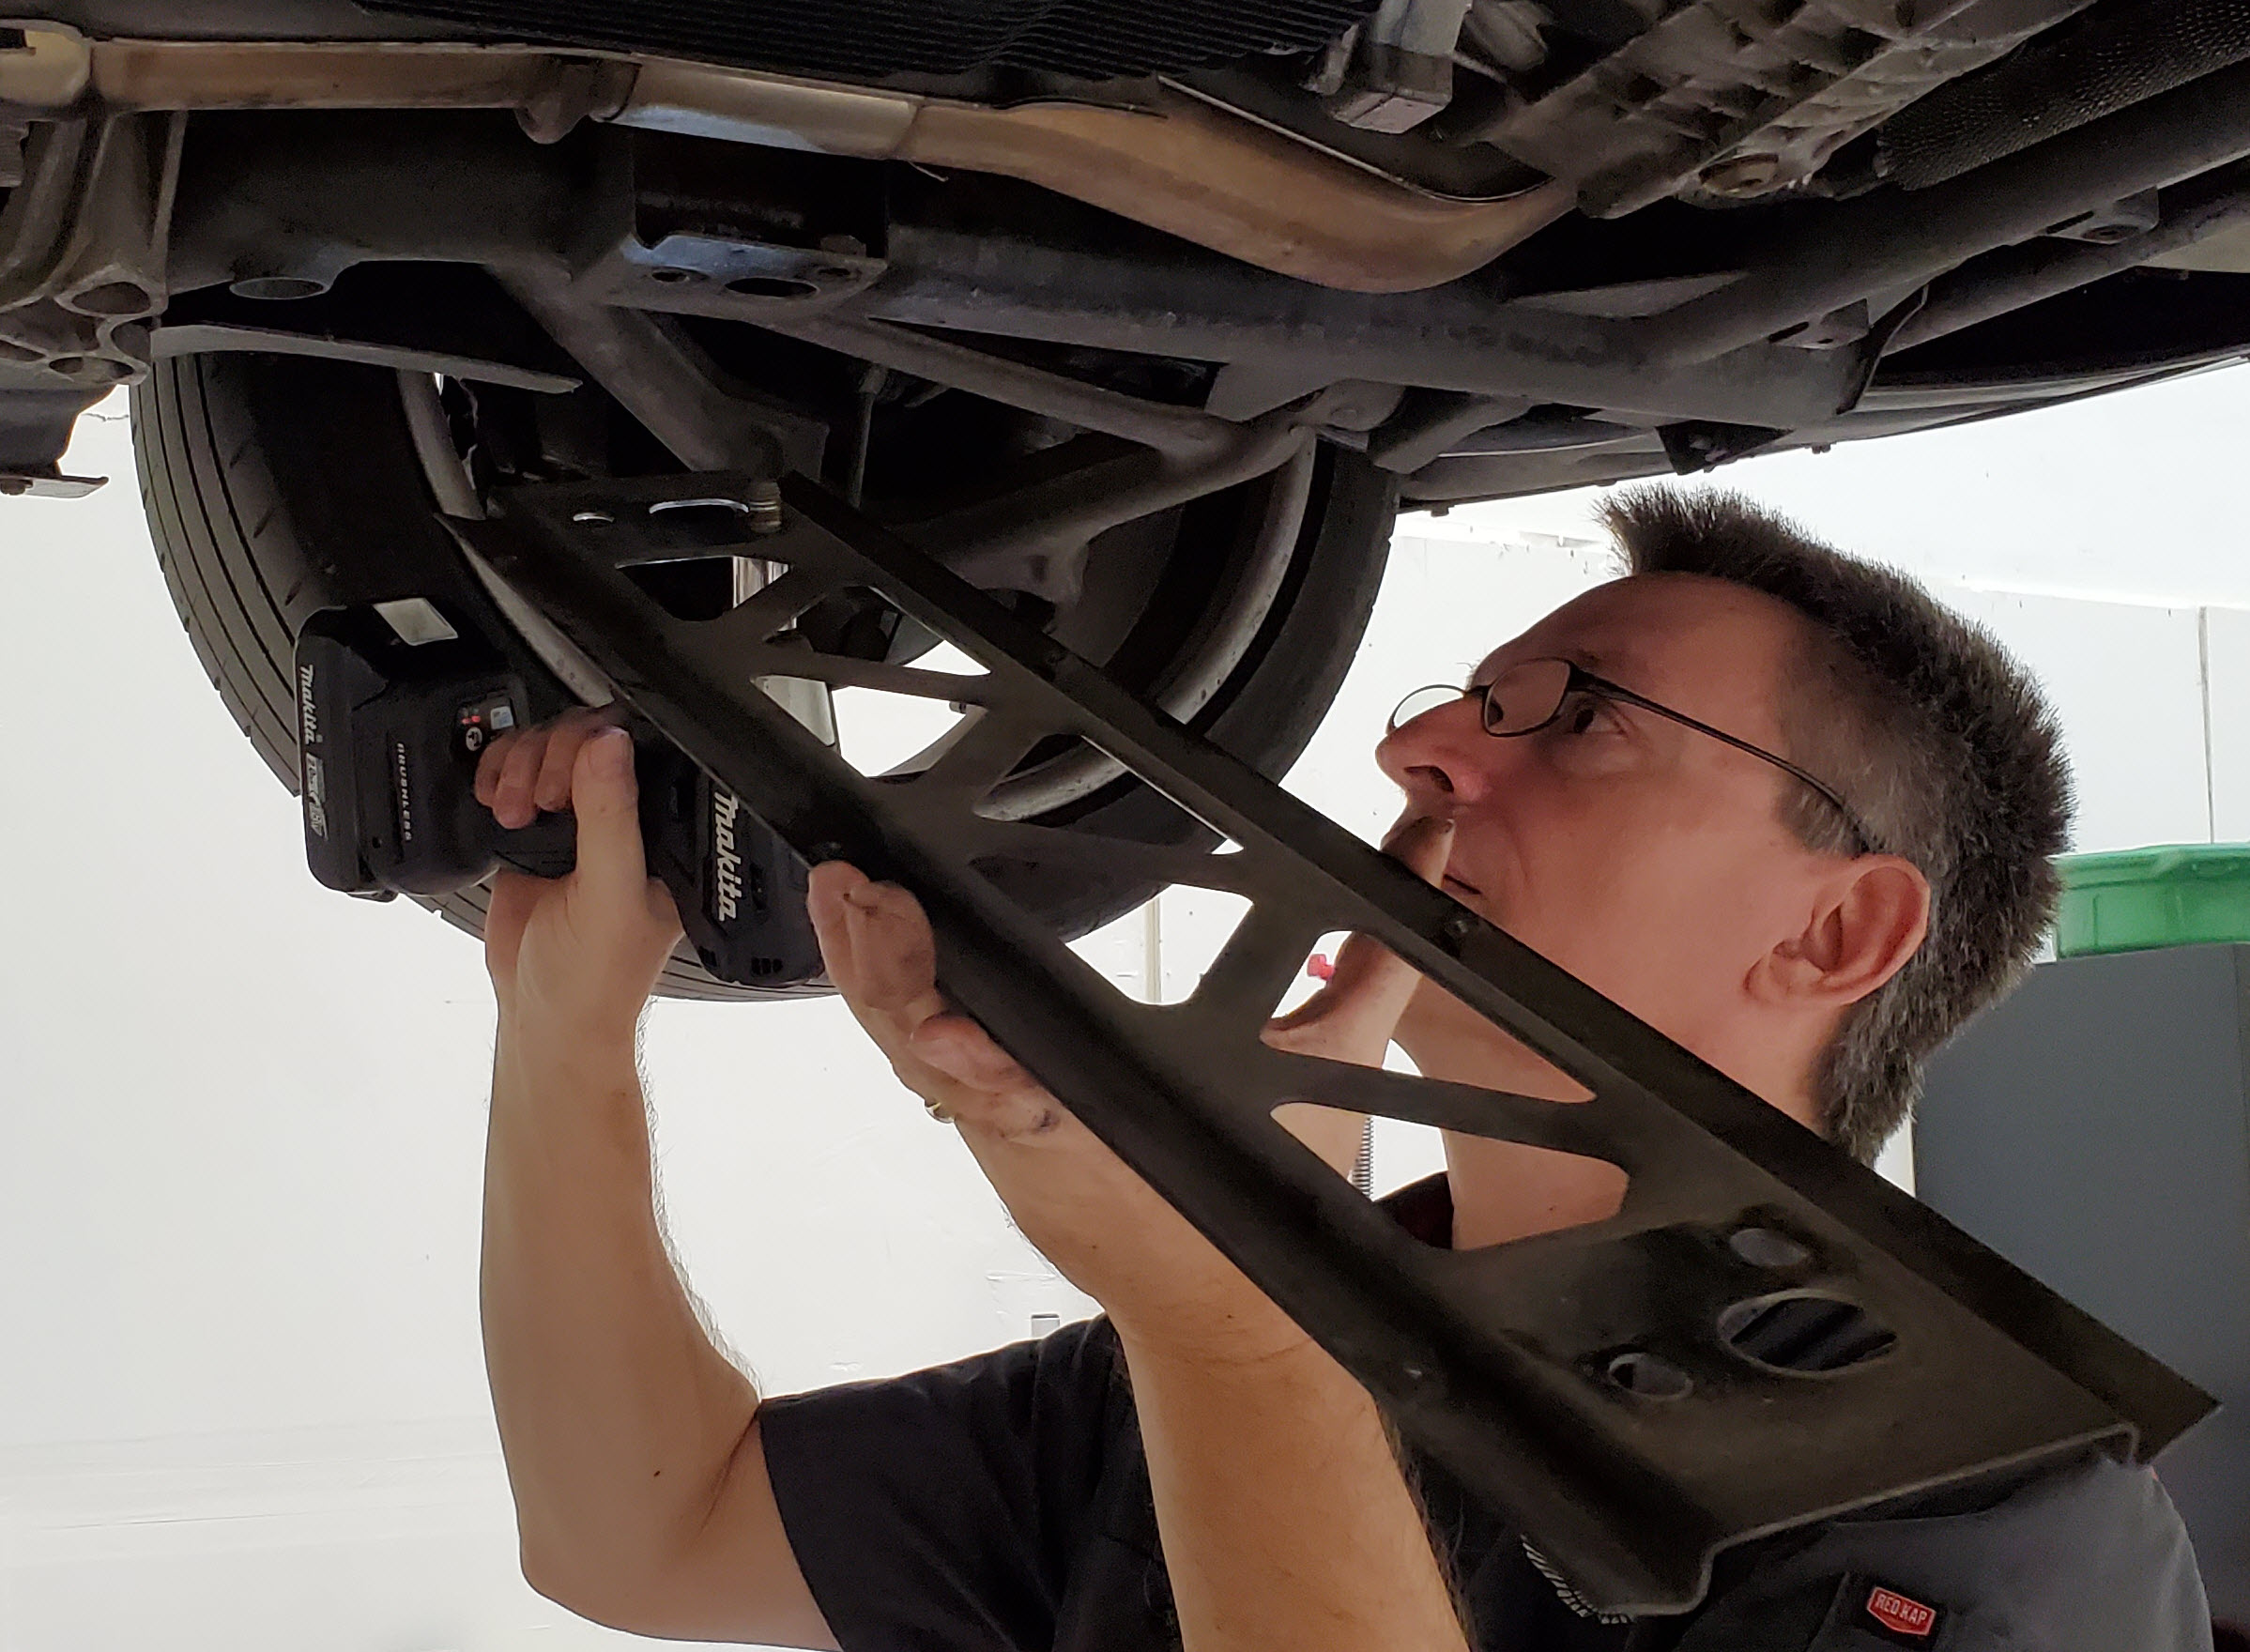
That’s it. Just four big (tight) bolts and don’t brain yourself taking it off.
Now you should have clearer access to the Transmission and Exhaust Pipes and you can get on with your work.
When its time to put the crossmember back into place and correctly torqueing the bolts check out my other article on reinstalling it [Coming Soon].
Video
You can see me removing the crossmember as part of my transmission service video. Here is a link to it:
