
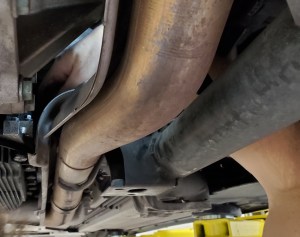
![]() If you are trying to access some of the components on the right hand side of the 6-speed Touchtronic II automatic transmission fitted to most Aston Martin DB9s, DBS and Rapides between 2004 and 2014 you’ll find you have almost no access. The exhaust pipe is very close, and Aston fitted a heat shield to protect the transmission. But, that heat shield is even closer to the transmission. If you remove it you finally have enough room to get some skinny fingers into those tight places and can get some work done. For me, I was working on Changing the Transmission fluid (of which I’ve done a complete series of articles on that you can find here). Let me show you how to remove the heat shield.
If you are trying to access some of the components on the right hand side of the 6-speed Touchtronic II automatic transmission fitted to most Aston Martin DB9s, DBS and Rapides between 2004 and 2014 you’ll find you have almost no access. The exhaust pipe is very close, and Aston fitted a heat shield to protect the transmission. But, that heat shield is even closer to the transmission. If you remove it you finally have enough room to get some skinny fingers into those tight places and can get some work done. For me, I was working on Changing the Transmission fluid (of which I’ve done a complete series of articles on that you can find here). Let me show you how to remove the heat shield.
Prerequisites
To get the right hand rear exhaust heat shield off you have some work to do first. I have already done articles on these steps:
- Get the car off the ground and level up on jack stands (check out this article)
- Remove the rear undertray (check out this article)
- Potentially remove the rear subframe crossmember (check out the article)
Tools Required
This list is pretty simple, one 10mm combination wrench.
You can make your life considerably more easy if you have a fancier bendy ratcheting style box end wrench like the one below. You’ll be working in a tight space at an awkward angle, so this helps.
An inspection light will help as well.

Procedure
This is easy and will take less than a few minutes once you have access to it.
There are just two small 10mm bolts to remove.
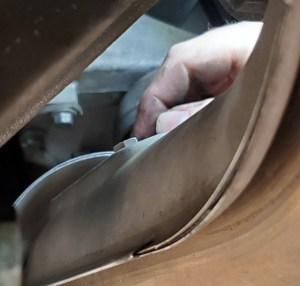
- Starting with the rear most bolt work your arm up over the area by reaching in and through the right hand suspension arm area.

- You should be able to blind fit the box end of the wrench to the bolt and get about 1/8th of a turn each time.
- After I got it initially cracked loose, it was easy enough to turn I could do it with my finger tips and it came out pretty readily.
- You should be able to blind fit the box end of the wrench to the bolt and get about 1/8th of a turn each time.
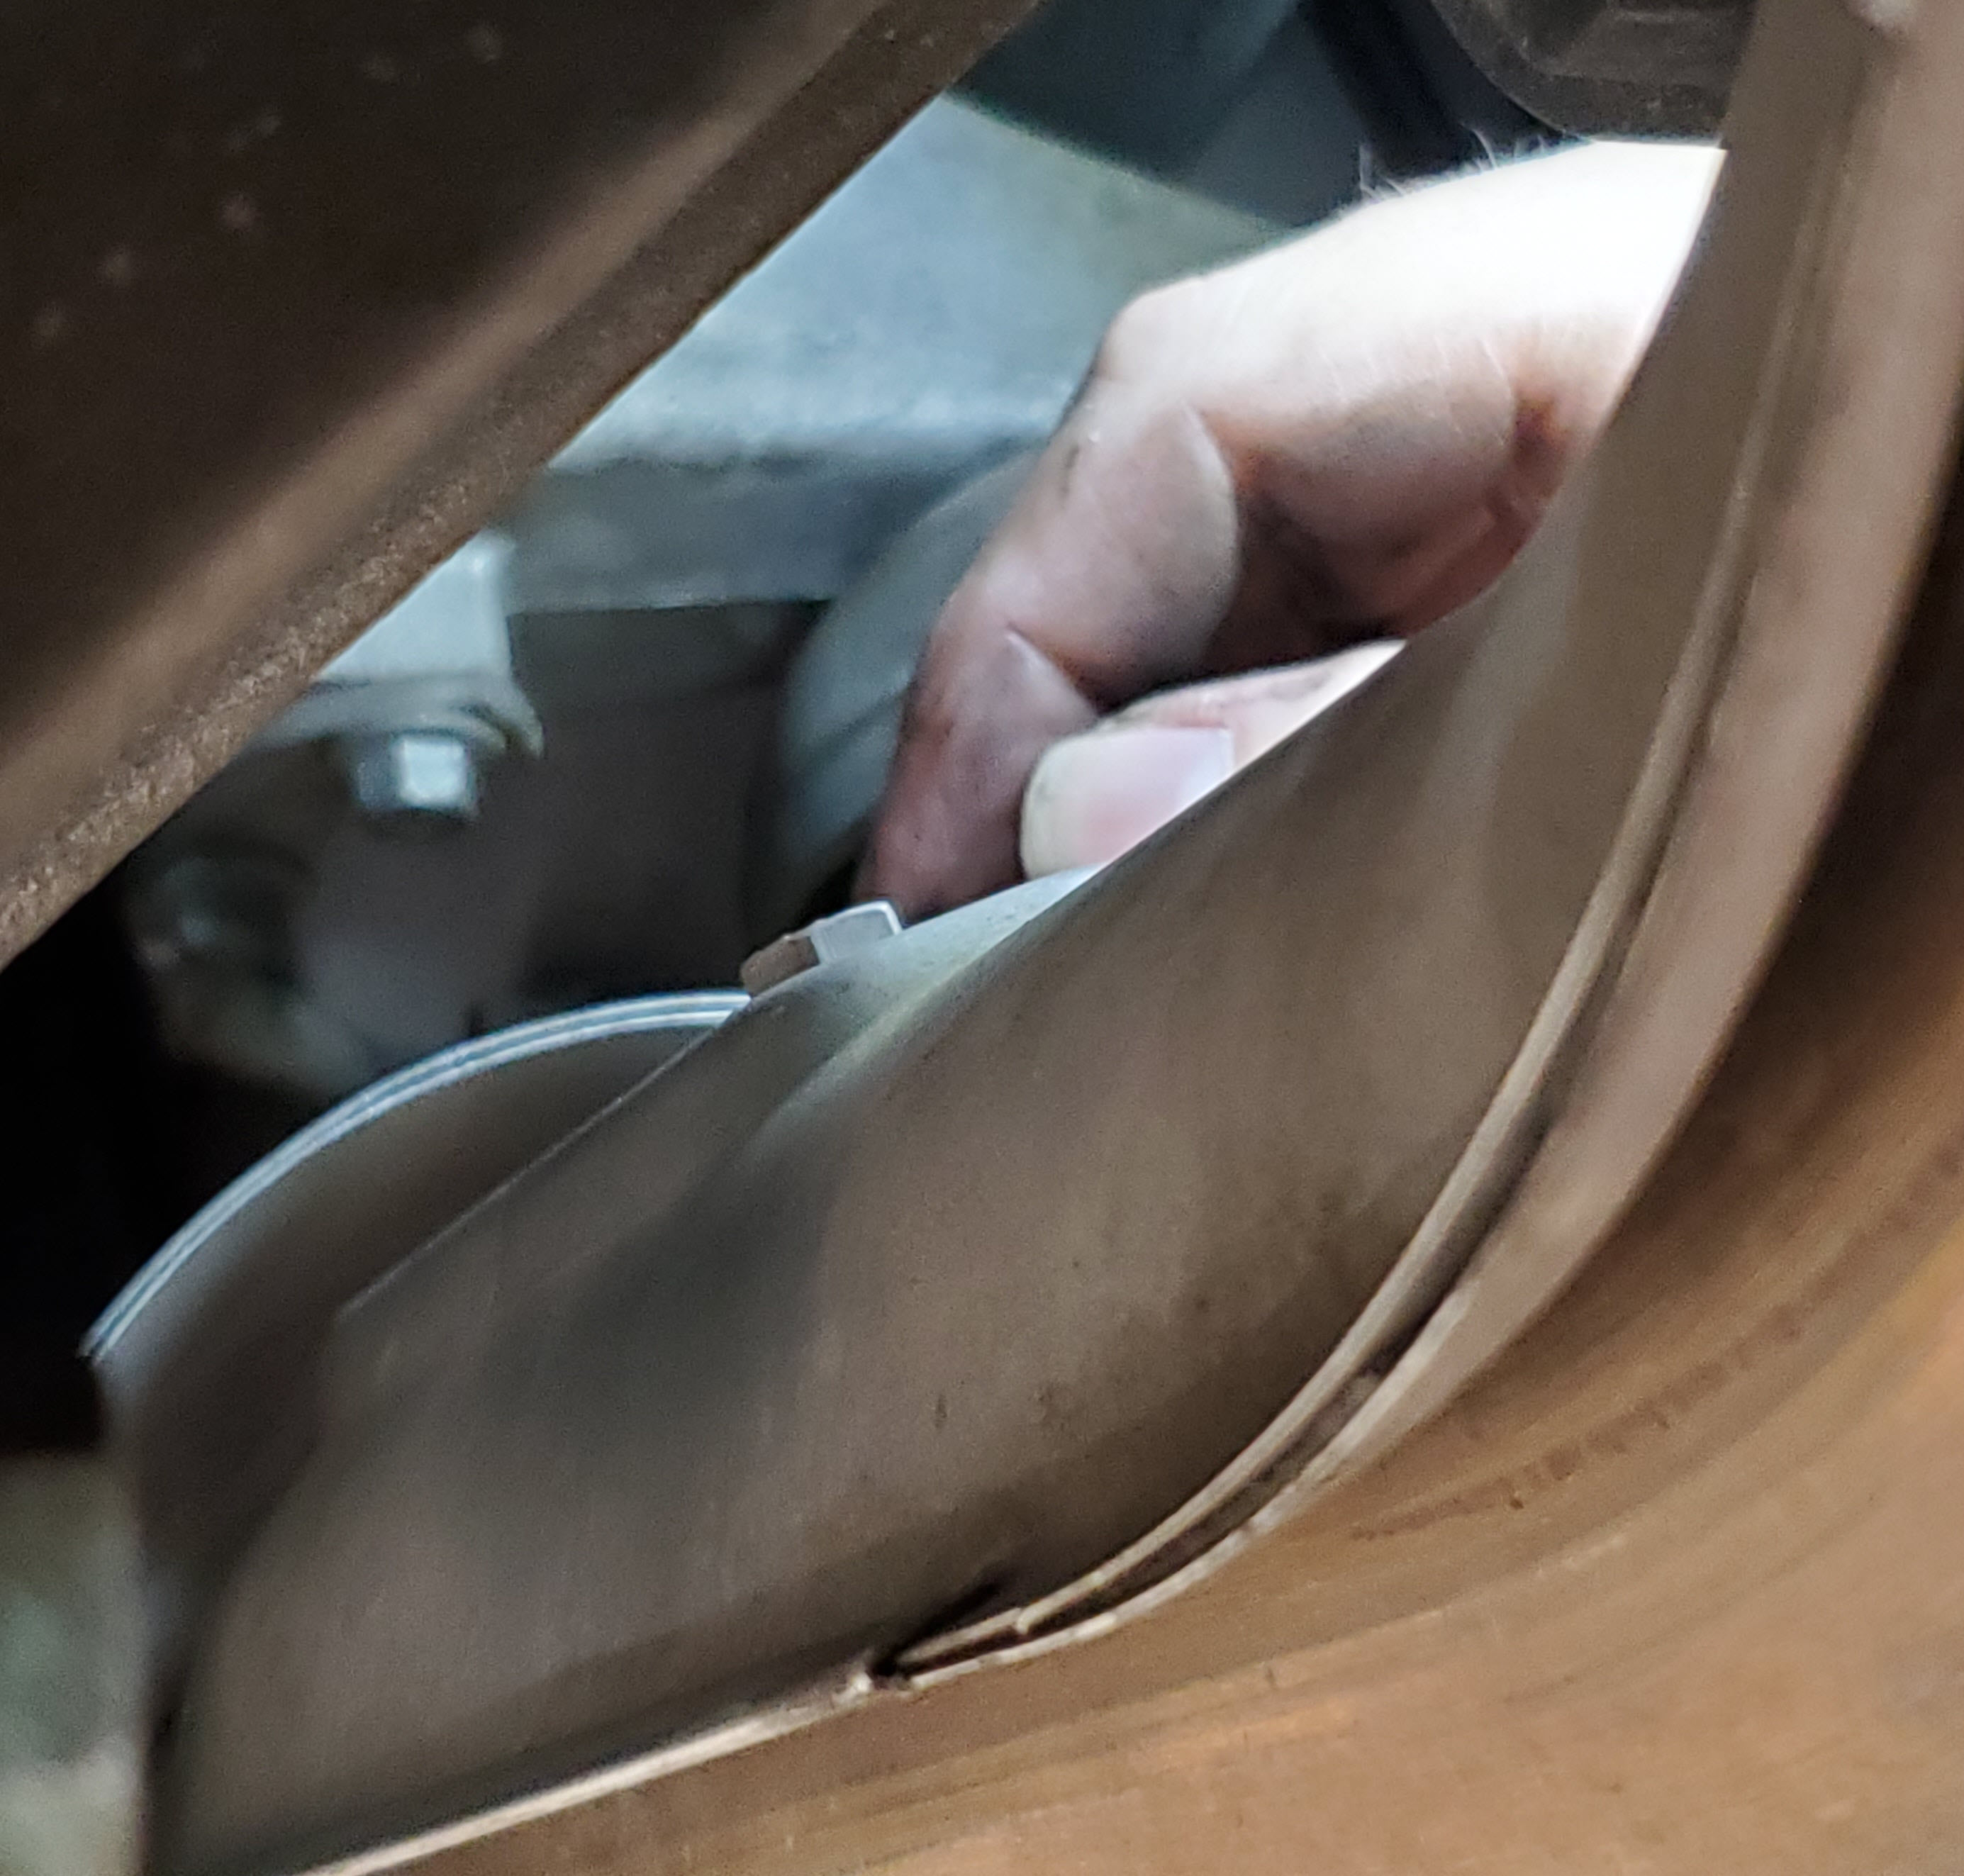
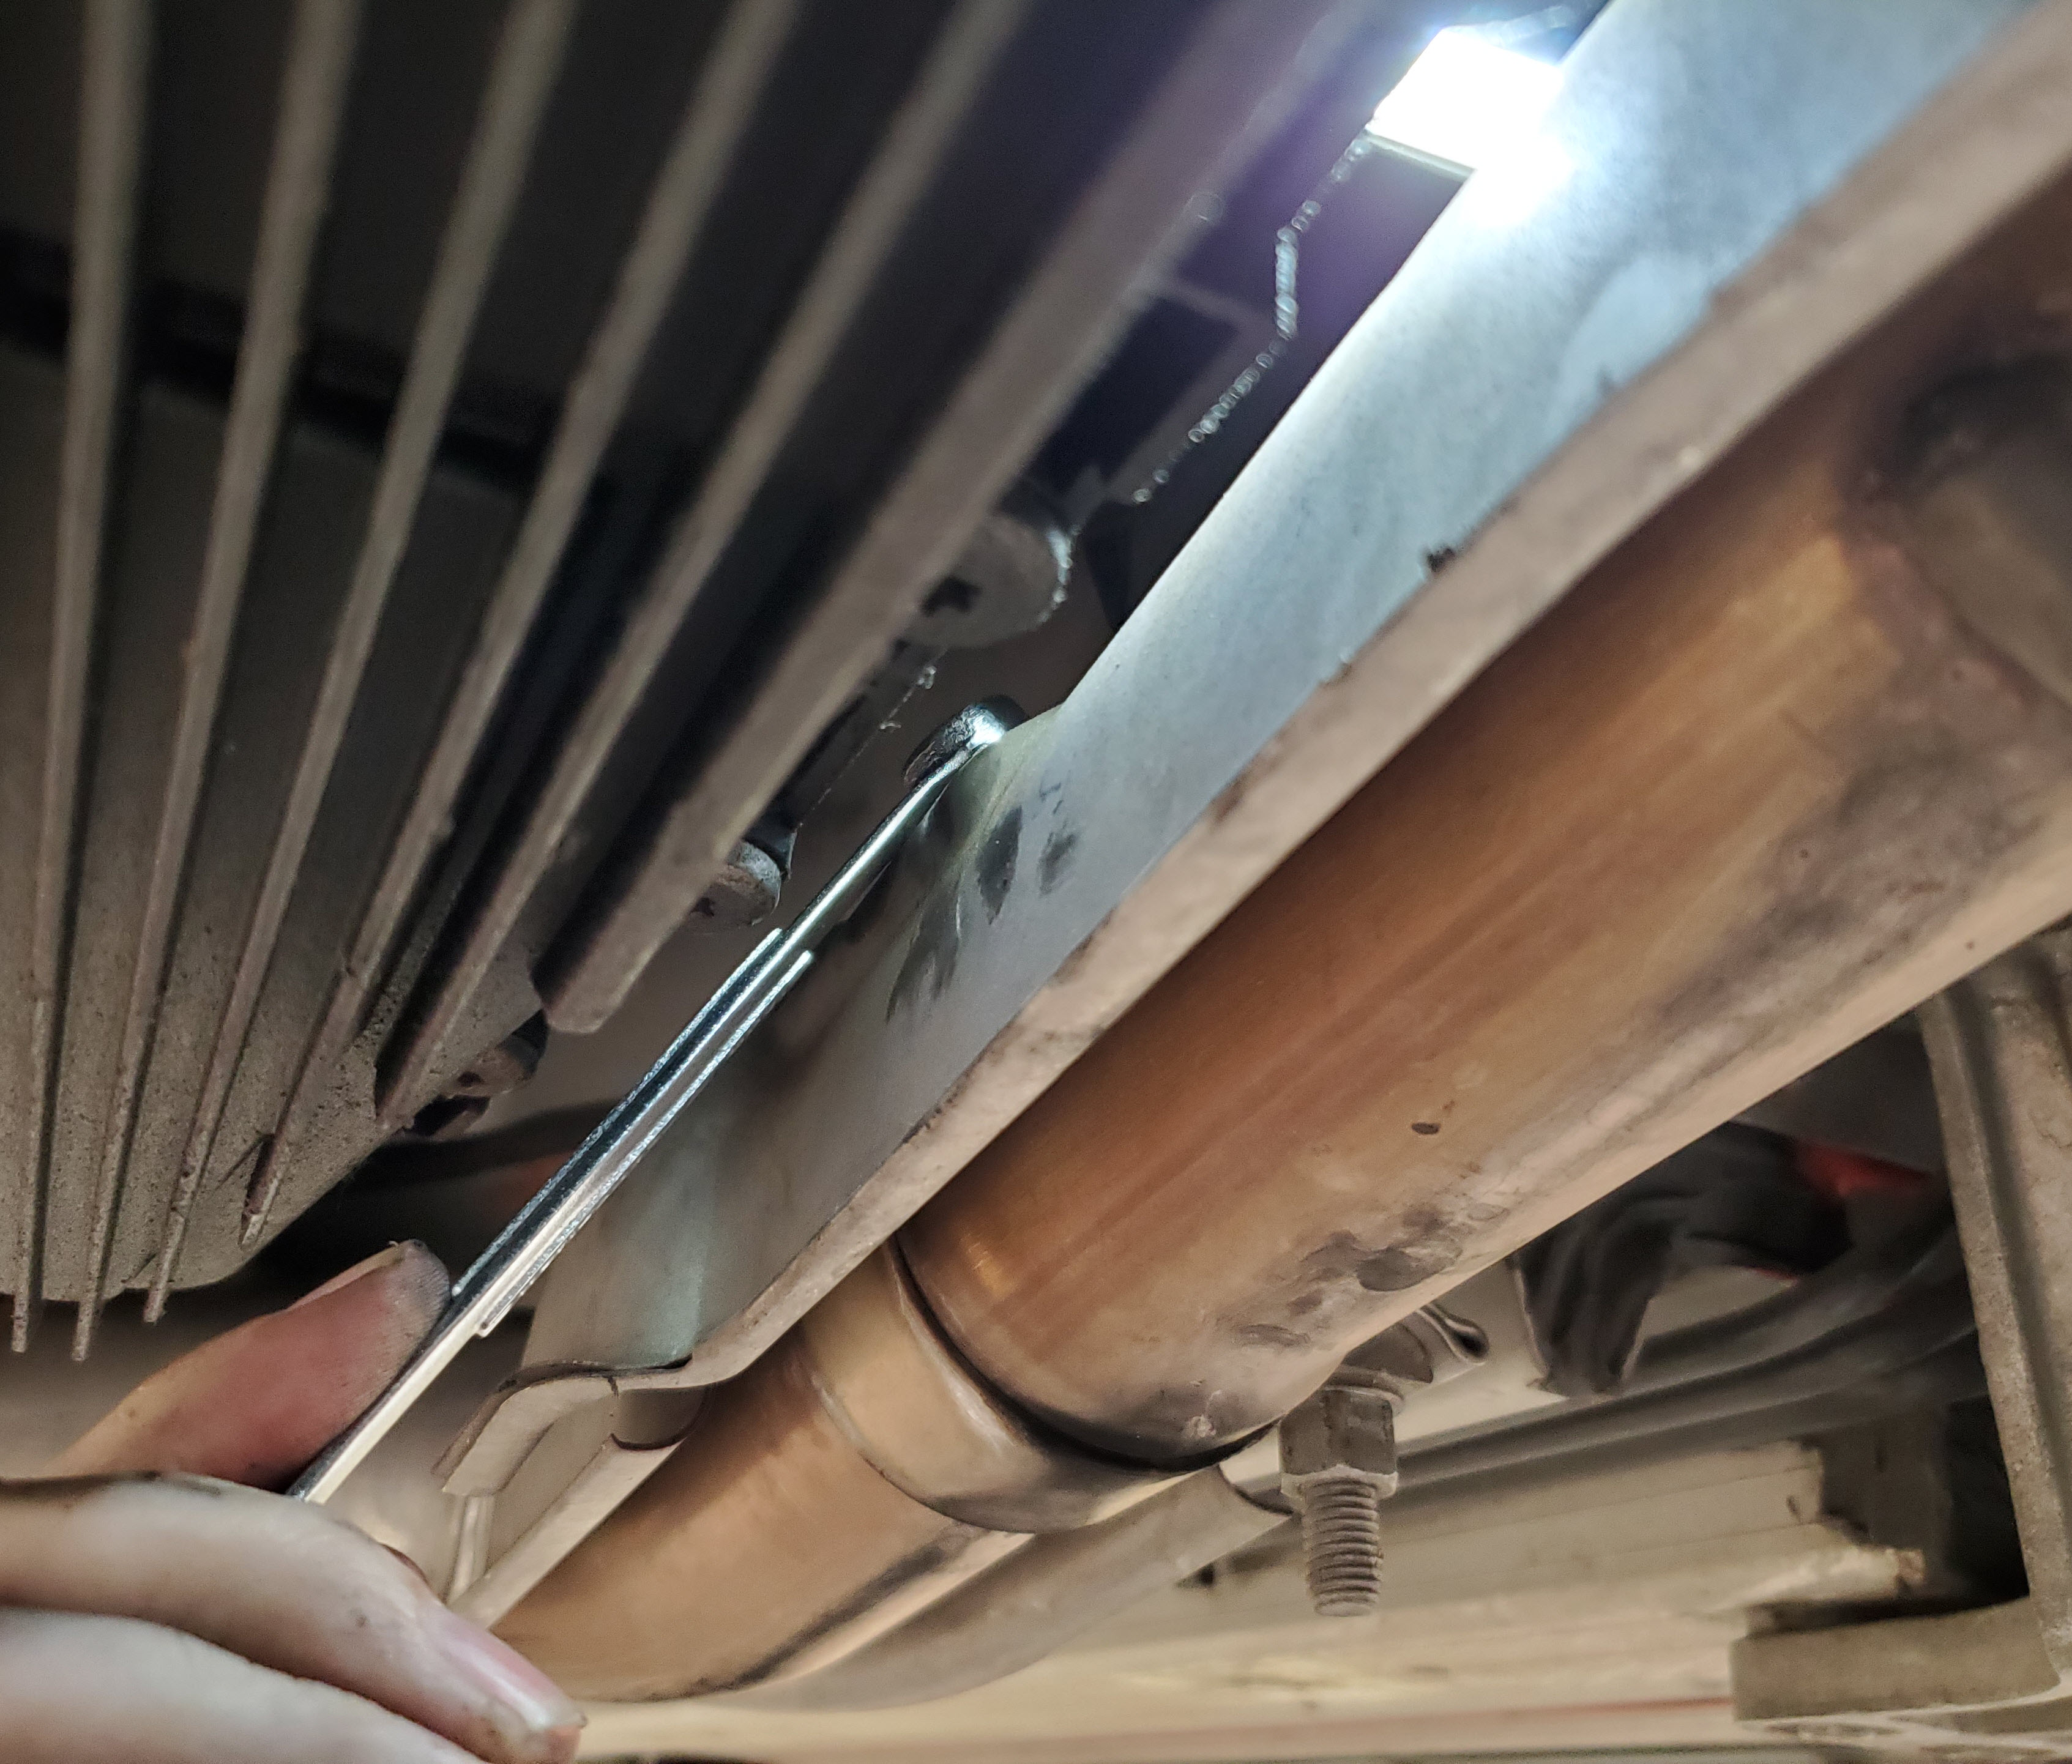
- Move to the front bolt. You can use your bendy ratcheting box end really well here.
- Just reach up into the gap from below and loosen it off.


- Again, once it was started, I was able to spin it out with my finger tips easily.
- Just reach up into the gap from below and loosen it off.
- With both bolts removed I was able to rotate the heat shield down and around the exhaust pipe towards the transmission. Check out the video below to see what this means. It wasn’t hard.


That’s it. Just two hard to reach bolts.
Now you should have clearer access to the side of the Transmission and you can get on with your work.
When its time to put the heat shield back into place and correctly torqueing the bolts check out my other article on reinstalling it.
Video
You can see me removing the heat shield as part of my transmission service video (at the 1:40 mark). Here is a link to it:

Hi Steve, I am following your regime for oil change etc on my 2007 DB9 with 55k miles.
Having study the video and examined the underside of the car, I have decided to remove the right hand rear exhaust pipe 1/ to give me more room to work and 2/ because the forward most clamp on that pipe has cracked in two.
I have removed the broken clamp and disconnected the pipe at the silencer box end.
Now to the question, how did you remove the pipe given years of use?
Thanks for all your advice and videos, they are my go to bible for jobs. Very much appreciated.
All the best , David Ramsbotham.
LikeLike
Hi David. If you are watching my series on changing the automatic transmission series you’ll catch glimpses of how much exhaust I removed. Its designed to come apart from the back box forward. I managed to leave the back box in place, but I started all the way up front disconnecting the secondary CAT from the header since I knew it will then allow slack in the middle of the system. I have videos on how to remove the secondary CAT. Then you need to loose all the clamps so it gets super wiggly. I was able to remove the center section from the hidden hanger (no bolts, but you have to move the section backwards 3 or 4 inches to release it from hanger. Once that was removed, there was a hanger adjacent to transmission it was easier to unbolt the hanger than to remove from the rubber donut. It was non-trivial and worthy of a series of its own some day. Good luck.
LikeLike