![]() I wanted to change the Automatic Transmission fluid in my DB9 (check out my entire series on this in another article). Part of that process is to drain the fluid from the oil pan/sump. Keep in mind that just draining the fluid from the sump and then refilling what comes out is NOT all it takes to change all the fluid. In fact you’ll only be draining about 40% of the total amount of fluid in the transmission during this process. To get the other 60% you should really check out my entire series on this.
I wanted to change the Automatic Transmission fluid in my DB9 (check out my entire series on this in another article). Part of that process is to drain the fluid from the oil pan/sump. Keep in mind that just draining the fluid from the sump and then refilling what comes out is NOT all it takes to change all the fluid. In fact you’ll only be draining about 40% of the total amount of fluid in the transmission during this process. To get the other 60% you should really check out my entire series on this.
Tools Required
You only need a few tools and supplies. I’ve covered them in detail (along with where to purchase them) in another article for the overall transmission service process (find it here), but here is the subset needed for this step.![]()
- 8mm Hex wrench (Stubby)
 Space is very tight to get the wrench in, so it needs to be a short stubby wrench
- Or you can use the stubby 8mm hex socket on a 1/4″ L handle like I do in the video
- 10mm Hex socket
- 3/8″ ratchet
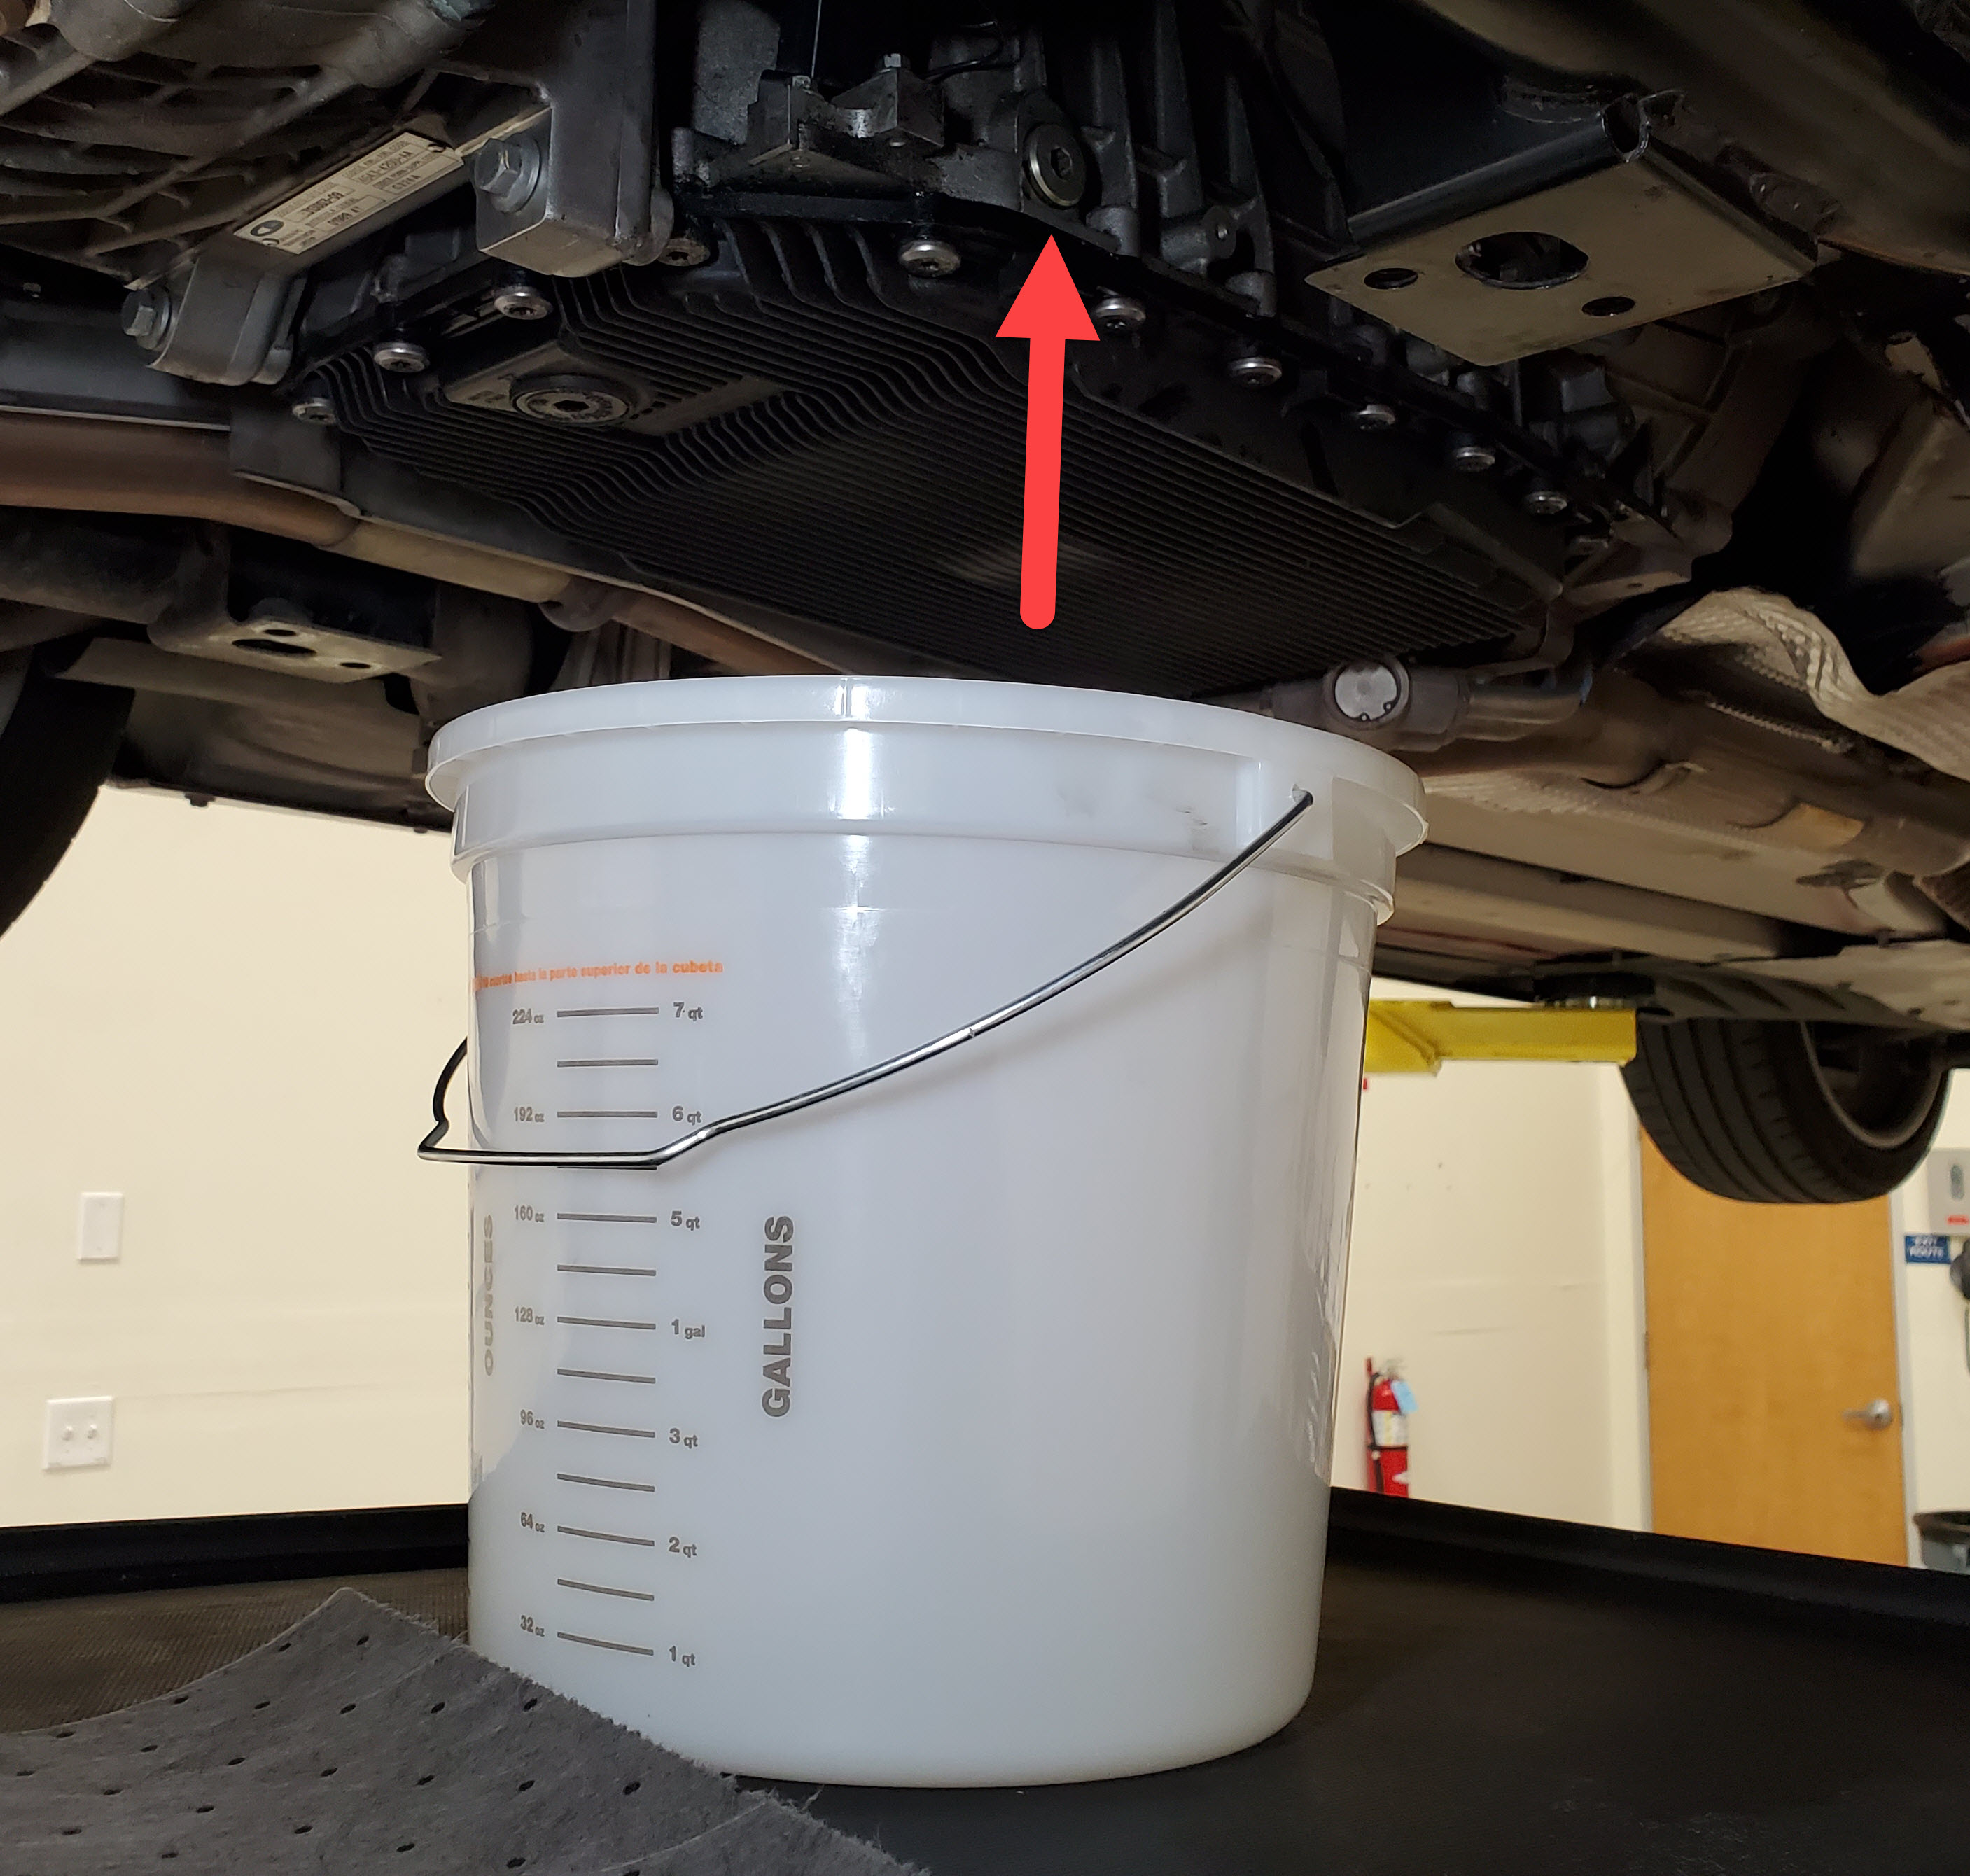
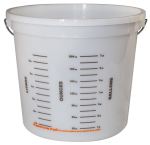 Drain Bucket
- In the video you will see me use a 10 liter plastic mixing bucket I sourced from a local home center for about $4 USD
- Drip Tray
- You are going to make a mess, so rather than fluid splashing and dripping all over your garage floor or onto cardboard that’s going to get soggy, I sought out a better solution
- I purchased a dog kennel plastic tray/liner that was perfect for the task. One that was 35″ x 22″ was only $16 USD on Amazon with free shipping.
 Pig Mat absorbent towels
- When the mess happens you are going to need to be able to soak up the spills. Pig Mat isn’t just ordinary paper towel, it can absorb a ton of fluid and just one or two sheets is all I needed.
- You can pickup a 50 ft roll on Amazon for $24 USD.
- Alternately you can just use a ton of regular paper towels.
 Shop Rags
- Your hands and tools are going to get oily. Have a good supply of lint free shop towels on hand.
- I get a bag of 100 for about $25 USD from Amazon.
 Disposable gloves
- You are going to get covered in fluid, so a half dozen pairs of disposable gloves would be handy to have.


It’s going to be messy, so don’t wear your Sunday best to do the work. Time to put on your ‘garage clothes’.
Preparation
You need to do a number of steps to get ready to drain the fluid, and I’ve already prepared articles on these steps.
- Get your car up level on Jack Stands (as high as possible)
- Remove the rear undertray
- Remove the rear subframe crossmember
- Remove the right rear exhaust heat shield
With those steps out of the way we can get on with it.
Procedure
This will take about 10-20 minutes once you have the prep work done.
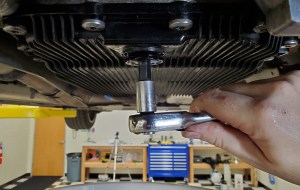
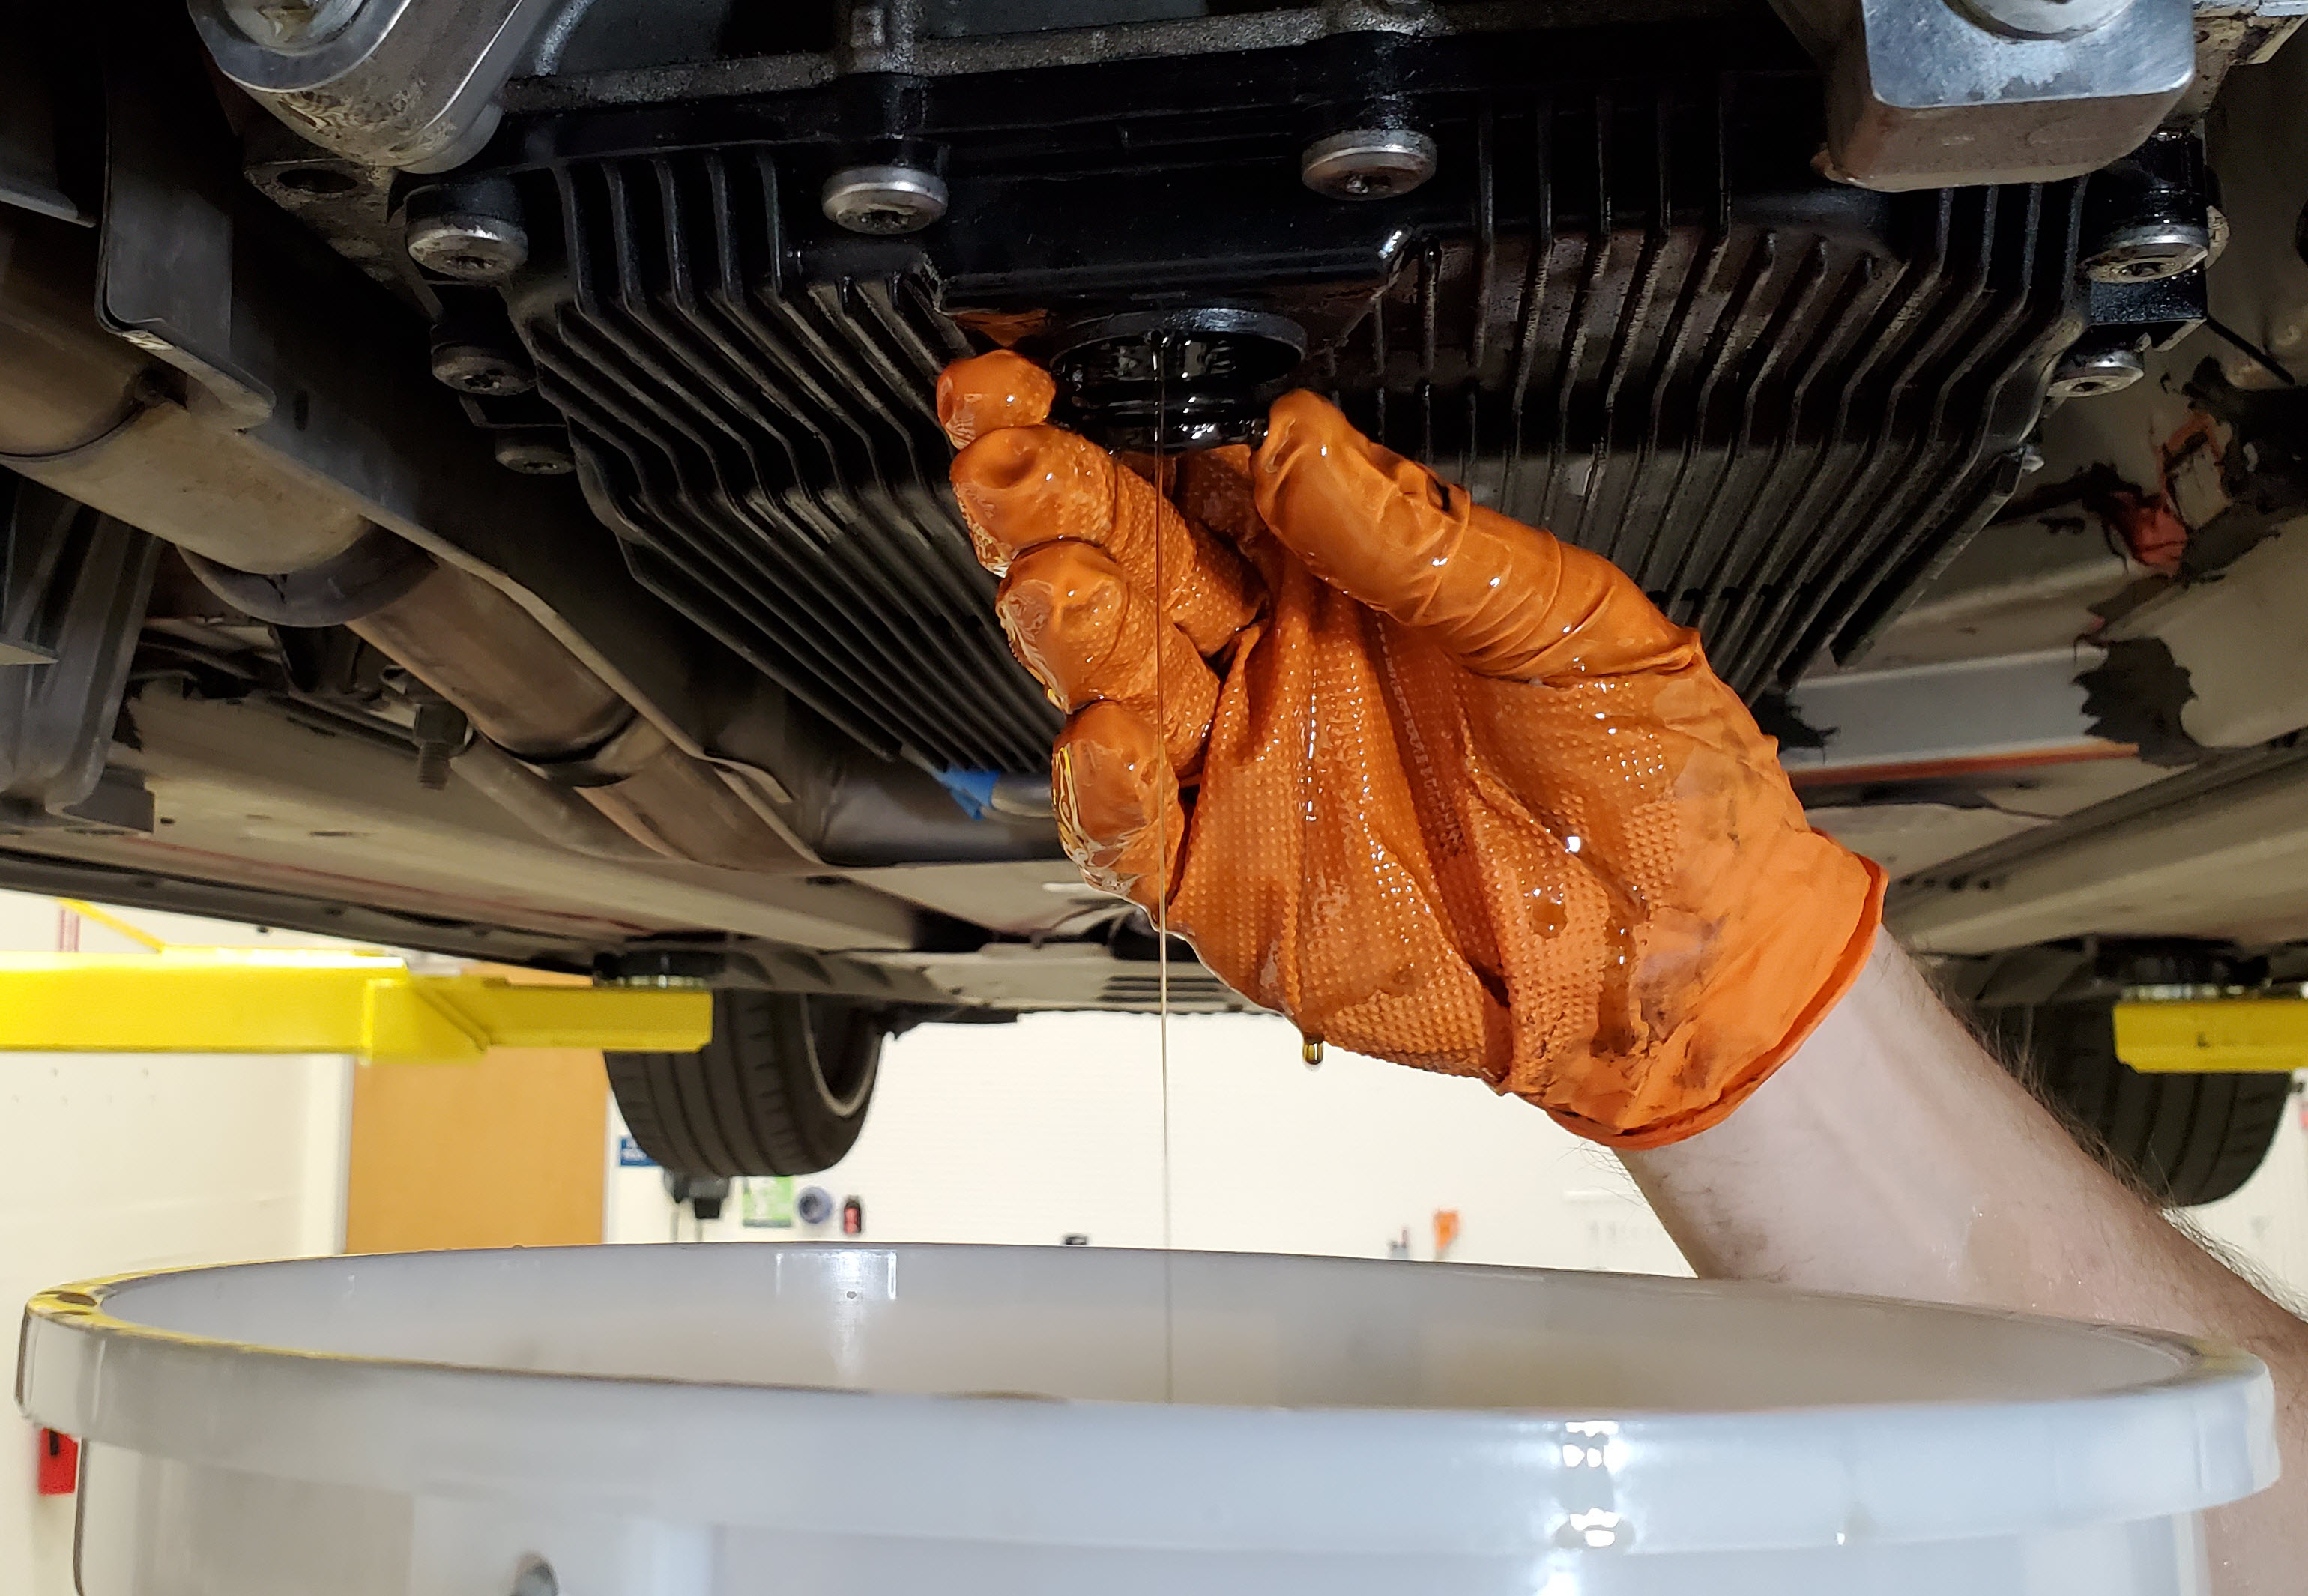
- Use the stubby 8mm wrench and crack loose the transmission fluid FILL plug.
- Why start with the fill plug and not the drain plug? Because you want to be sure you can refill it before you dump all the fluid out just to discover you can’t get the fill plug out and now you are stuck with an empty transmission.
- This plug was pretty tight on my car, the torque spec is 35 Nm. Cracking that loose with a short hex wrench is tricky. Just be careful.

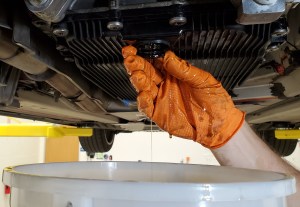
- Once the fill plug is loose, position your drip tray and bucket and fully remove the fill plug to drain the initial whack of fluid. You will get about 2.5 liters.


- Let it drain out for a few minutes just until it slows to a drizzle.
- You can leave the fill plug removed to allow air to vent in during the next phase.
- Reposition your drain bucket and drip tray under the sump drain plug
- Use the 10mm Hex socket and ratchet to remove the plastic drain plug.
- Let it drain out completely over the next few minutes. You should end up with about 4.5 liters of fluid total in you bucket.
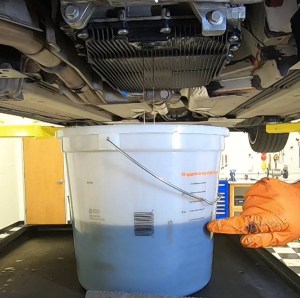
- Once it has slowed to a mere drip, reinstall your drain plug to stop it dripping while you do the remainder of your work. The official torque spec for this is 10Nm. If you are replacing the sump/pan as part of your service, then it doesn’t matter, just make it snug to stop the drips.
- Keep track of your fill plug too. You can temporarily reinstall it, or set it aside depending on what the remainder of your service work it.

Remember you have only drained 40% of the fluid in the transmission. The rest is in the Mechatronic valve body, the transmission cooler lines and torque convertor. In the upcoming articles I’ll explain how to drain about another 5 liters of fluid out. The next step in that process is to remove the Thermostatic control valve that controls the cooling of the transmission fluid and then to drain the lines. Check out that article here.
Video
You can see me following this process in my transmission fluid change video series. Pickup the action at the 7:40 minute mark.
