 Probably the wordiest title to a Blog article yet – my apologies. What I am talking about is the Thermostatic control valve mounted to the Touchtronic II 6-speed Automatic Transmission fitted to most Aston Martin DB9’s, DBS and Rapides from 2004 to 2014. This valve controls the flow of hot automatic transmission fluid to the oil cooler/radiator mounted at the front of the car, regulating its temperature. You may need to remove the valve to service it, the oil cooler lines, or to remove the transmission oil pan/sump (like I am doing in my series on changing the automatic transmission fluid and seals – read about that here). The oil cooler lines hold about 1.6 liters of transmission fluid so you might want to drain those. Let me show you how to remove the valve and drain the lines.
Background
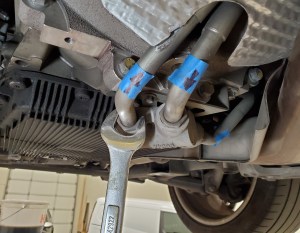
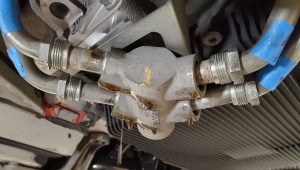
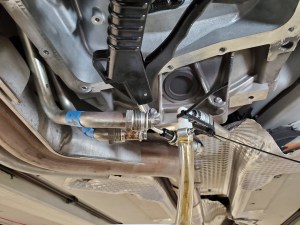
![]() The Thermostatic Valve is mounted on the bottom of the automatic transmission towards the front of the car. It has four rigid fluid lines that connect to it, a line to and from the transmission and another pair of lines to and from the oil cooler at the front of the car.
The Thermostatic Valve is mounted on the bottom of the automatic transmission towards the front of the car. It has four rigid fluid lines that connect to it, a line to and from the transmission and another pair of lines to and from the oil cooler at the front of the car.
![]()
![]()
The valve itself is mechanically operated and contains a wax and poppet type thermostat valve. The valve opens fully between 74°C and 88°C (165°F to 190°F). I had assumed that it would be fully closed below that temp, but as I discovered in the video below it appears to be at least partially open at room temperature.
When closed, all the fluid coming under pressure from the transmission is merely re-routed to the return line and dumped back to the transmission without a trip to the cooler. As the fluid temperature rises and circulates back through the valve, it warms the valve mechanism and eventually it starts to open allowing some of the fluid to start making its way out of the feed piping to the cooling radiator up front, and returning back through the return line. Simple enough and no electronics required (as long as it doesn’t leak!).
Here is a short video of me going over it on the bench after I had it removed (in case you are interested). Check it out at the 16:49 mark.
Tools Required
You only need a few tools and supplies. I’ve covered them in detail (along with where to purchase them) in another article for the overall transmission service process (find it here), but here is the subset needed for this step.![]()
- 8mm socket
- 10mm socket
- 3/8″ ratchet
- 6″ extension
- 22mm open end wrench
- Compressed Air Nozzle and Compressed Air
- Doesn’t need to be super fancy, just a small home shop compressor will do fine. A tire inflation pump will NOT do.
- Electrical Tape (optional to modify the air nozzle)
- Size 00 and size 2 Rubber Stoppers
 Optional, but you’ll see me use these to stop the dripping of the Transmission Cooler Lines.
- You can get a variety pack off Amazon for about $11 USD.
- 12″ of 1/2″ ID plastic hose, a plastic 3/8″ ID Hose barb to 1/4″ MPT right angle fitting, and a 3/4″ hose clamp. I used this collection of bits to build a tool to stuff into the end of the transmission cooler lines to direct the fluid that was going to blast out into a bucket rather than my face. You can MacGyver something up yourself, just be sure to check out the portion of the video where I use it so you can see the challenge. I got all these bits at my local home center for under $5 USD.
- 8″ Nylon Zip Ties
- You can get a 200 pack for about $4 USD on Amazon, or just pick some up at your local auto parts store or home center.
- Or you could substitute some soft wire
 Drain Bucket
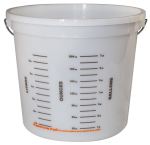
- In the video you will see me use a 10 liter plastic mixing bucket I sourced from a local home center for about $4 USD
- Drip Tray
- You are going to make a mess, so rather than fluid splashing and dripping all over your garage floor or onto cardboard that’s going to get soggy, I sought out a better solution
- I purchased a dog kennel plastic tray/liner that was perfect for the task. One that was 35″ x 22″ was only $16 USD on Amazon with free shipping.
 Pig Mat absorbent towels
- When the mess happens you are going to need to be able to soak up the spills. Pig Mat isn’t just ordinary paper towel, it can absorb a ton of fluid and just one or two sheets is all I needed.
- You can pickup a 50 ft roll on Amazon for $24 USD.
- Alternately you can just use a ton of regular paper towels.
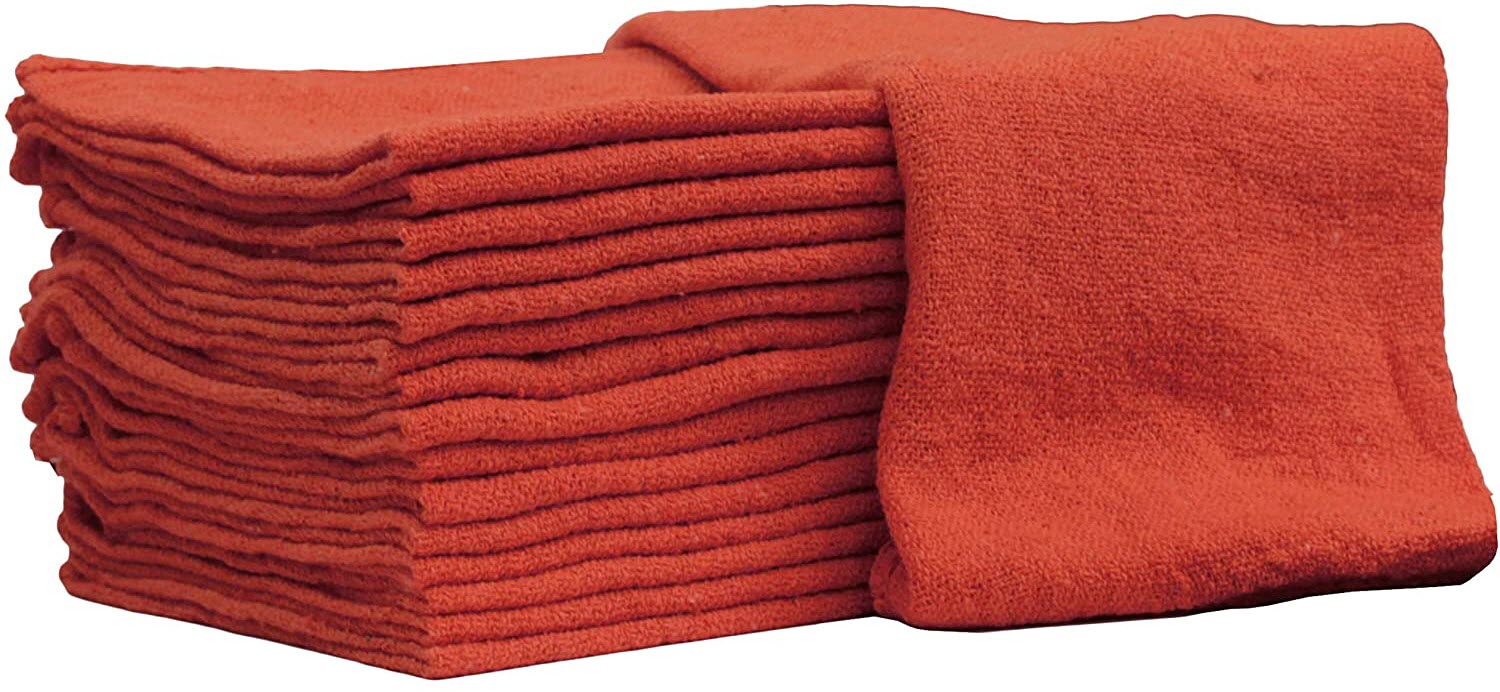
 Shop Rags
- Your hands and tools are going to get oily. Have a good supply of lint free shop towels on hand.
- I get a bag of 100 for about $25 USD from Amazon.
 Disposable gloves
- You are going to get covered in fluid, so a half dozen pairs of disposable gloves would be handy to have.


It’s going to be messy, so don’t wear your Sunday best to do the work. Time to put on your ‘garage clothes’.
Preparation
You need to do a number of steps to get ready to drain the fluid, and I’ve already prepared articles on these steps.
- Get your car up level on Jack Stands (as high as possible)
- Remove the rear undertray
- Remove the rear subframe crossmember
- Remove the right rear exhaust heat shield
- Draining the Fluid from the Sump (optional)
With those steps out of the way we can get on with it.
Procedure
The process will take about 10-20 minutes once you have all the preparation steps done.
It’s not strictly necessary to drain all the automatic transmission fluid from the transmission sump. It won’t drain out these cooler lines since they tap into the side of the transmission case higher than the resting fluid level. If you are doing a full fluid service on the transmission I’d probably drain the fluid first anyways.
- Position your drip tray and drain bucket underneath the thermostatic valve.
- Use your 22mm wrench and carefully crack each of the four pipe connections loose. You want to be sure all four come loose before you start to drain your lines.
- Unscrew all four pipes so the flare fittings comes free of the housing.
- At this point you’ll likely NOT see any fluid dripping out. Each pipe has an o-ring at the end of it that does the actual sealing. It should hold until you pull the lines out.
- You can gently tug on each pipe, but if yours is like mine, they didn’t budge at all. Don’t fret – just read on.
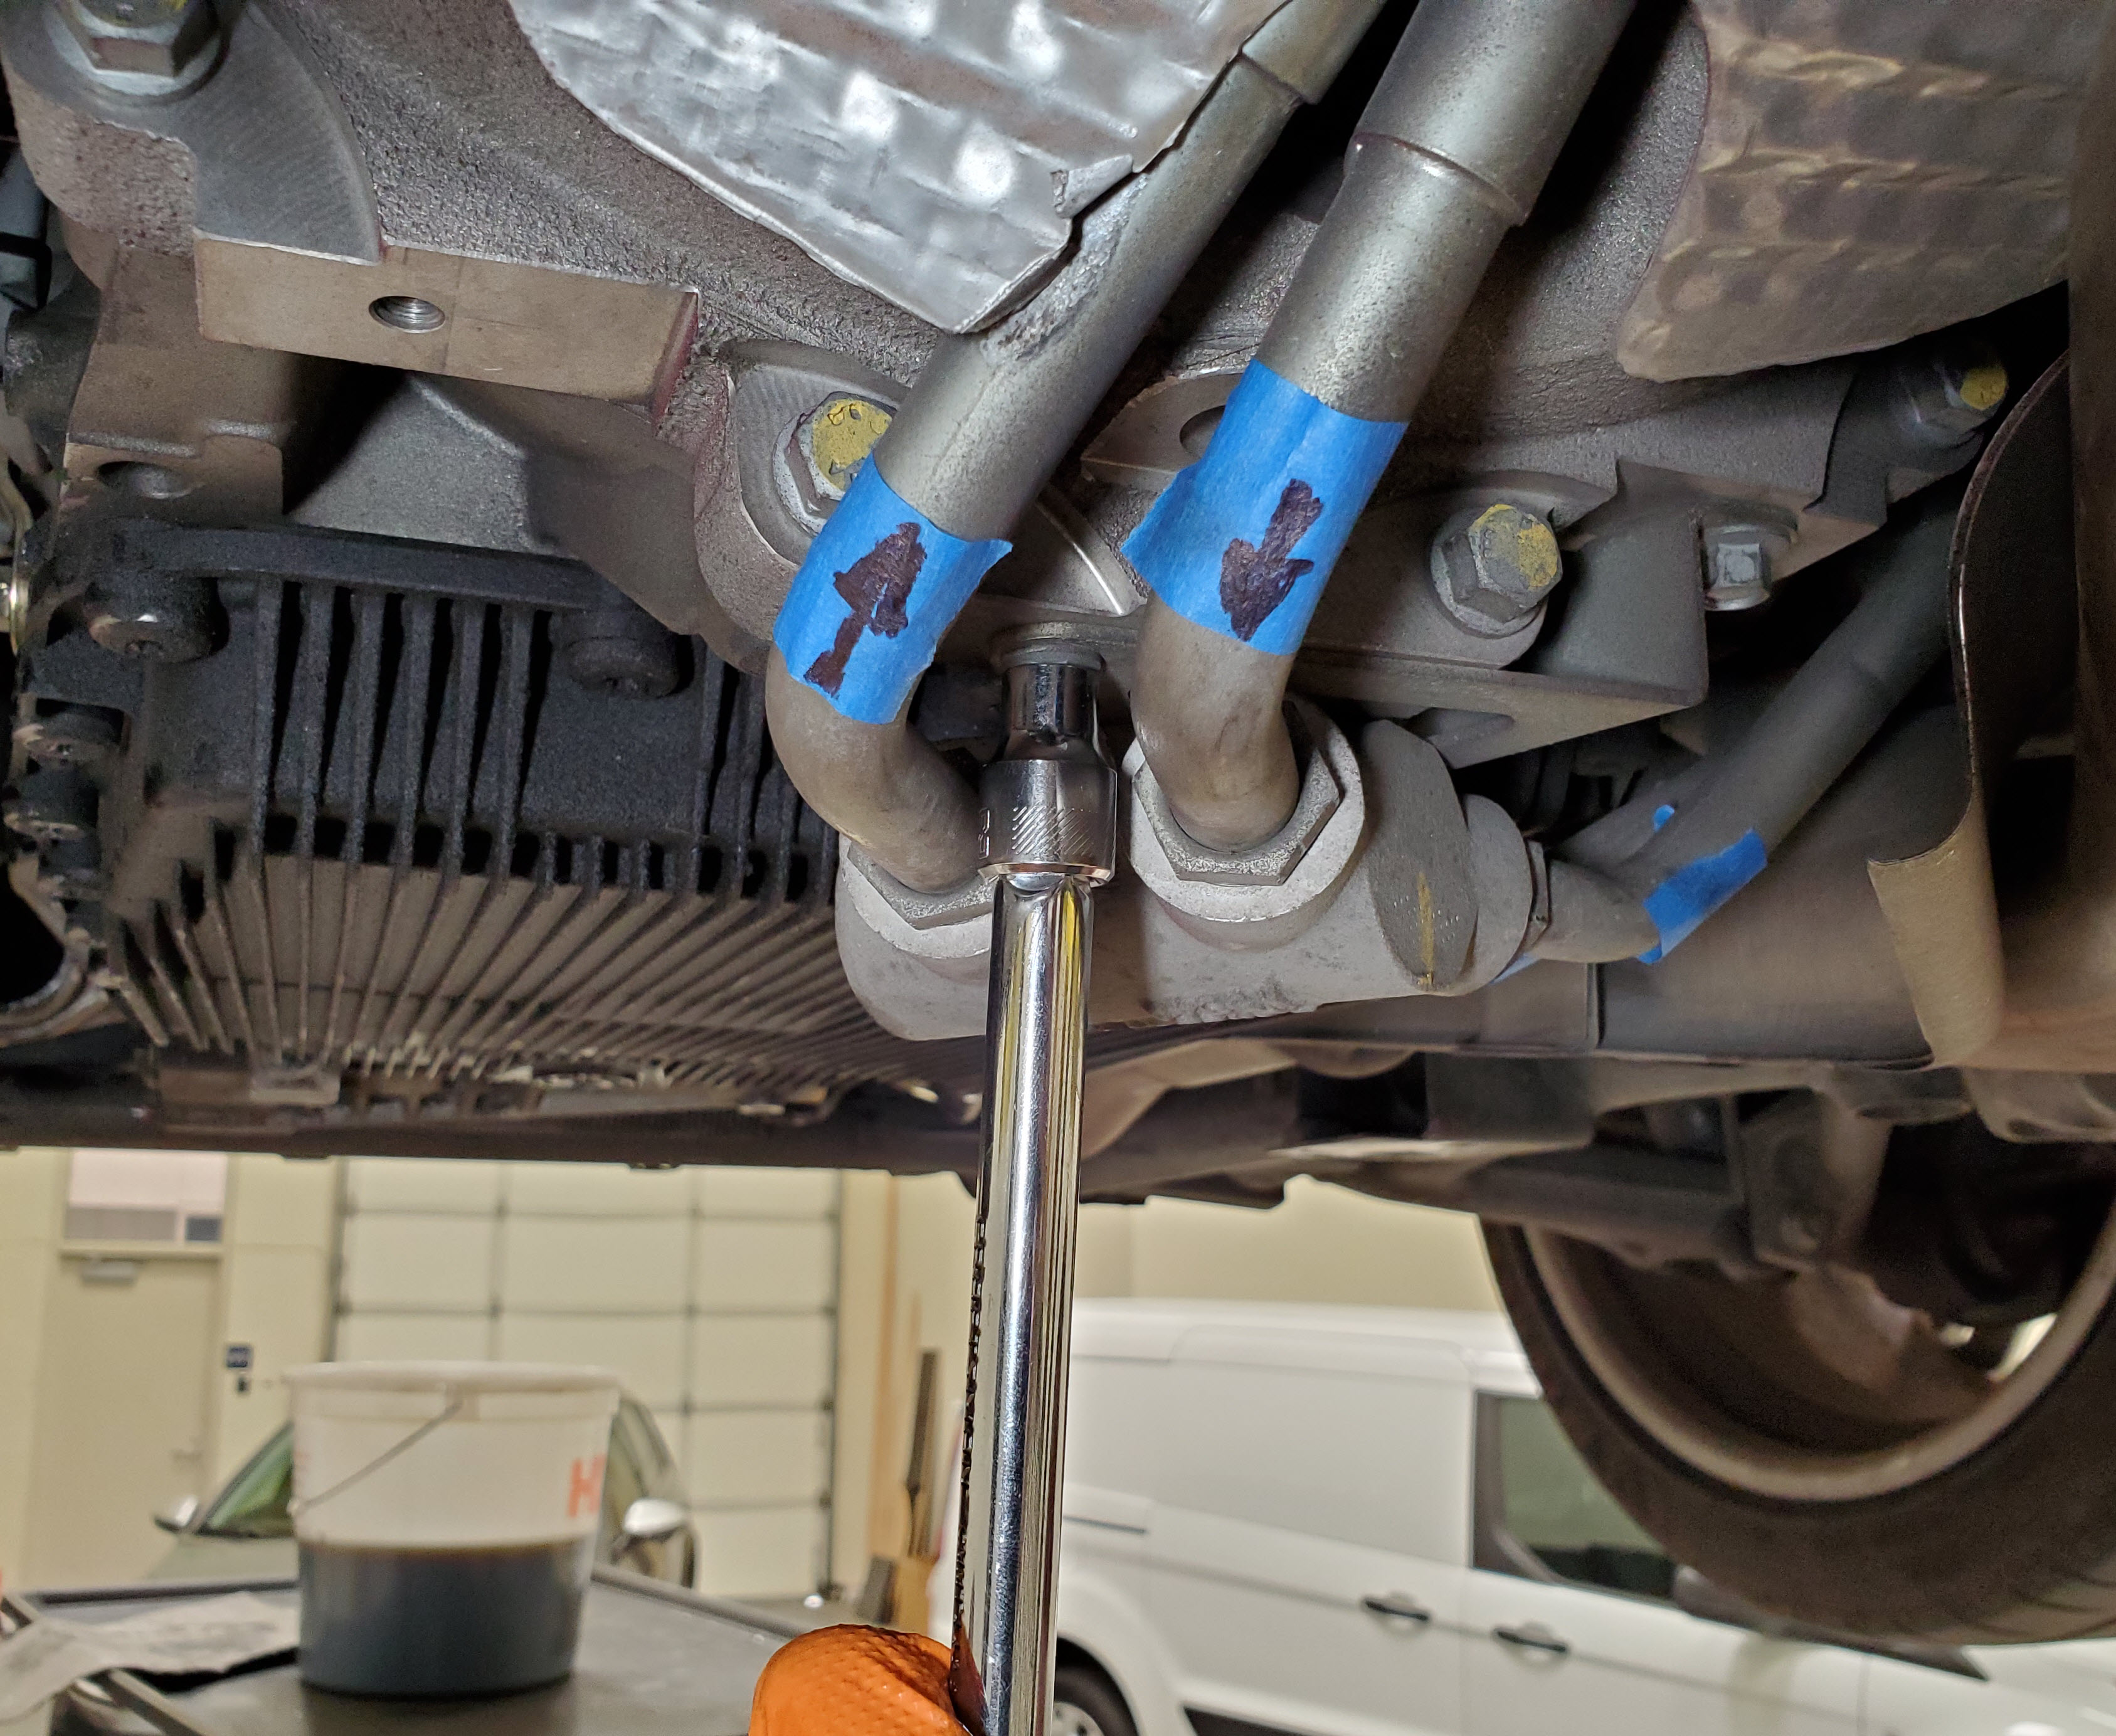
- Now we need to remove the two bolts that mount the thermostatic valve to the Transmission housing.
- Use an 8mm socket, extension and ratchet to remove the smaller bolt.

- Use a 10mm socket, extension and ratchet to remove the larger bolt.

- Don’t worry, it won’t fall out. Just remove both bolts to free it up so it can wiggle a bit.
- Use an 8mm socket, extension and ratchet to remove the smaller bolt.
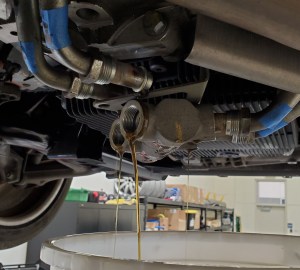
- With the body of the valve loose now, I tugged with a little more force on the cooler lines that run to the radiator.
- I could finally pull them out slightly.
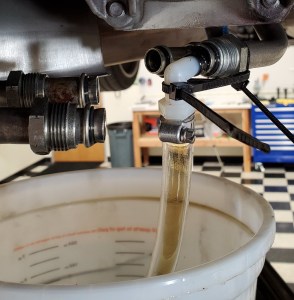
- The fluid started to drain out and I let it for a while until it slowed to a dribble.
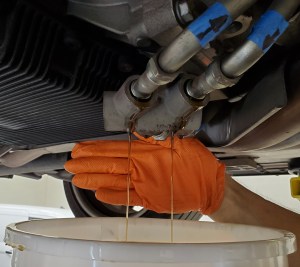
- I could finally pull them out slightly.
- I tugged the lines a little harder until I was just able to separate them from the body of the valve. Check out my video below so you can see how exactly.
- Once the lines towards the radiator are disconnected, I could then easily remove the valve body from the two lines that run to the transmission body.
- Drain the valve body out into your bucket.
- At this point all four lines are dripping, the valve body is dripping and you are likely covered in fluid. Ick.
- If you are just changing the valve, or not interested in flushing the remaining fluid from the cooler lines or radiator, you are done. If you are wanting to purge the 1+ liter of fluid still in the lines, read on…..
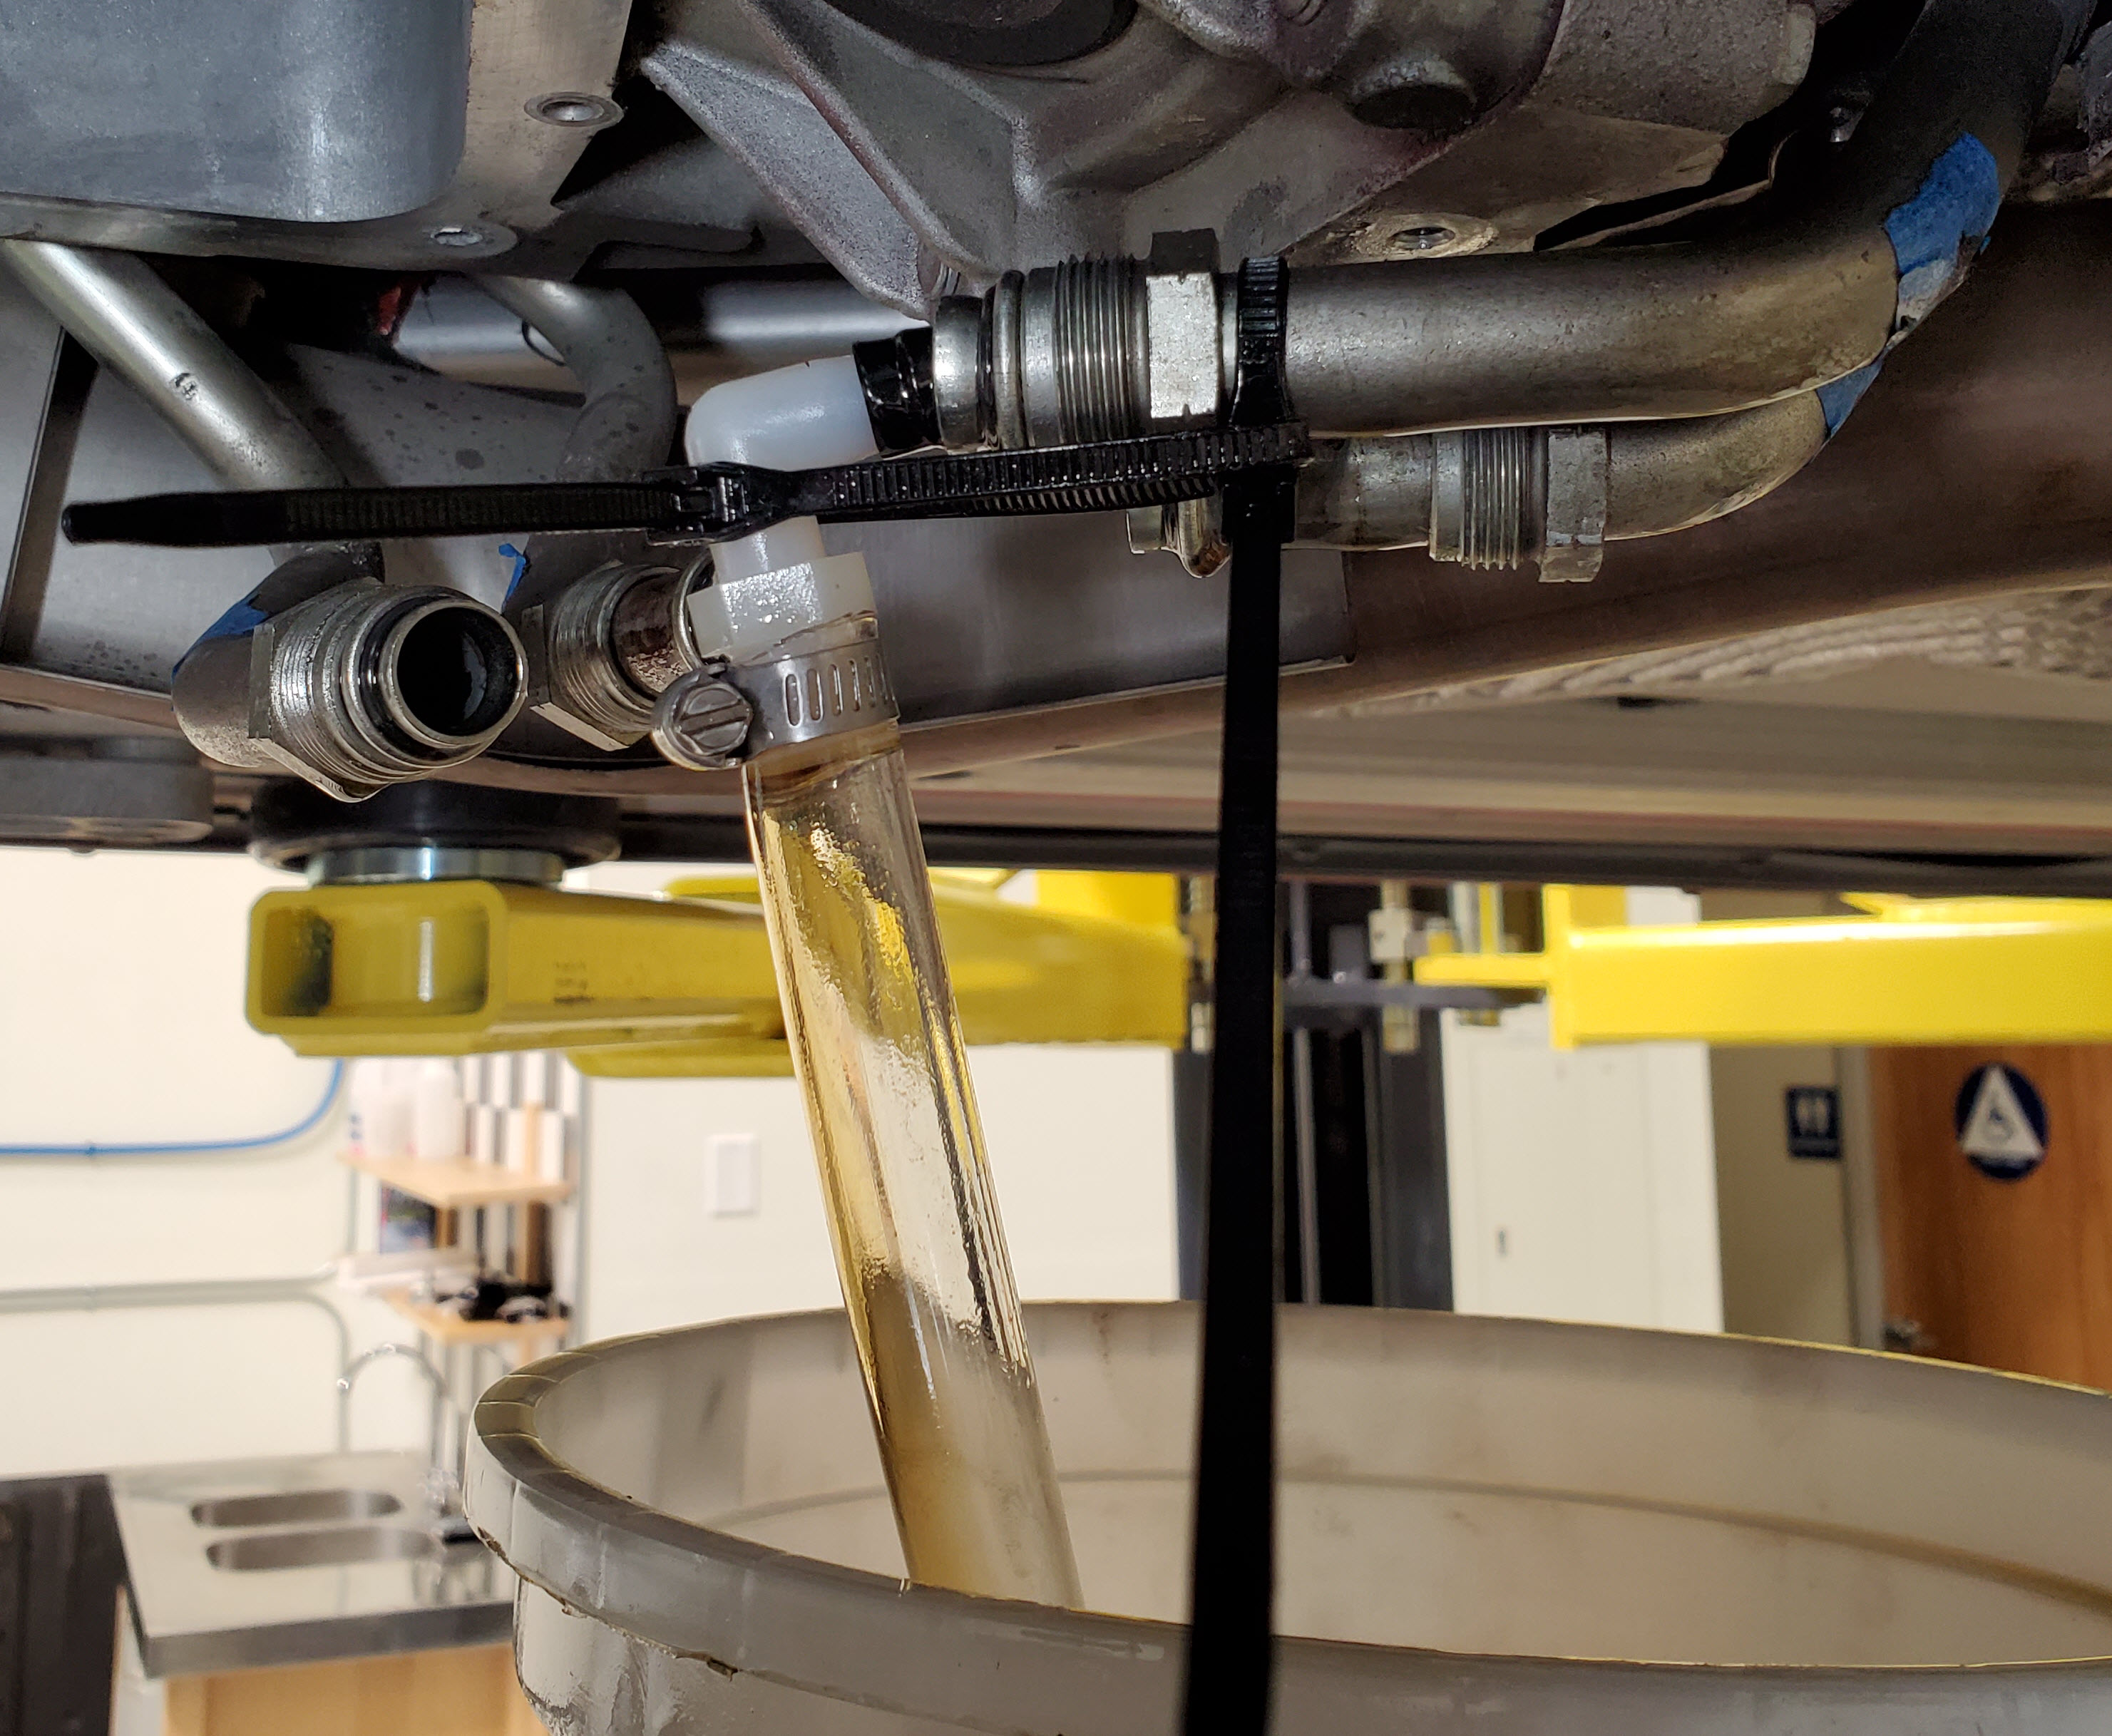
- We are going to use the air nozzle and compressed air to blow the remaining fluid out of the lines. We are going to blow air into the ‘Return’ line and the fluid will come back out the fill line. This is counter flow on purpose, we are blowing air backwards through the system. The return line connection is on the left side of the car.
- As you might imagine you might make a holy mess doing this without someway to direct the fluid that come shooting back out at you into a bucket. I MacGyvered (fashioned) a small right angle drain fitting. Slip the 12″ piece of 1/2″ ID hose over the threaded end of the plastic right angle fitting. Secure it with a hose clamp.
- To secure my right angle fitting to the piping to hold it in place, I used two zip ties. I used the first to wrap around the pipe behind the flare nut and trap the 2nd zip tie in place. I then inserted my right angle fitting, and positioned the 2nd zip tie around it. Honestly, see the photo or Video for how I did this, its impossible to describe in words.
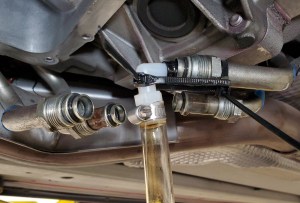
- Your air nozzle will need to make a decent seal with the ID of the coolant lines. Mine was way too small, so I wrapped 20+ wraps of electrical tape around the end of mine to fatten it up. You might have a tapered tip on yours that just fits fine. Anyways, figure something out.
- Direct your right angle fitting into the drain bucket.
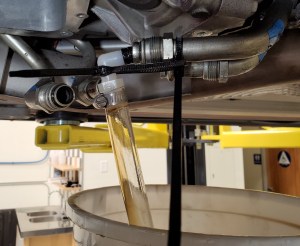
- Insert your air nozzle and apply GENTLE air pressure only to blow the fluid out. Do over pressurize the piping.
- You should get a few seconds of solid fluid flow, and then it should hork and snork for a while as you start to get a mix of air and fluid. Keep going until you feel you are getting mostly frothy air. Good enough.
- Remove your air nozzle and right angle fitting.
- To stop the residual dripping from each line while I planned to do the rest of my work I inserted the size 2 rubber stoppers into each line to plug it. Worked like a charm.


I got about 1.5 liters of fluid when I did all this. The system is listed as holding 1.6 liters, so this was close enough for me.
Now you can get on with whatever else you had planned. If you plan on removing the transmission oil pan/sump you now have good access to the bolts that were covered by the thermostatic valve body. Check out my article on how to tackle that here.
Video
Here is a link to me doing these steps as part of my full transmission fluid change video series. You can see me disconnecting the lines and removing the valve at the 12:52 minute mark.
You can see me purging the fluid from the lines at the 27:16 mark.

Steve,
In reading the blog and watching the video on this, it did not seem that you replaced the ‘O’ rings that seal the lines to the thermostat. Is that correct? If you did replace them, do you have a source for those, like the other replacement parts you supplied?
WONDERFUL series on this ‘not trivial’ flush procedure.
LikeLike
Hi Steve,
Repeating the question above regarding new “O” rings for the Thermostatic Valve?
As always thank you for all your meticulous research!
LikeLike