Every now and then you will come across an existing sheared bolt or you will shear one yourself, either way they have to be repaired. Sometimes (rarely) there might be a length of bolt or stud proud enough to be able to get a grip of it with mole grips or self tightening pipe wrench. If you try to get a stud out this way be sure to soak it thoroughly with a good penetrating oil for as long as you can first and work the bolt backwards and forwards to loosen it don’t try to undo it in one direction straight away you have to “persuade” it out.

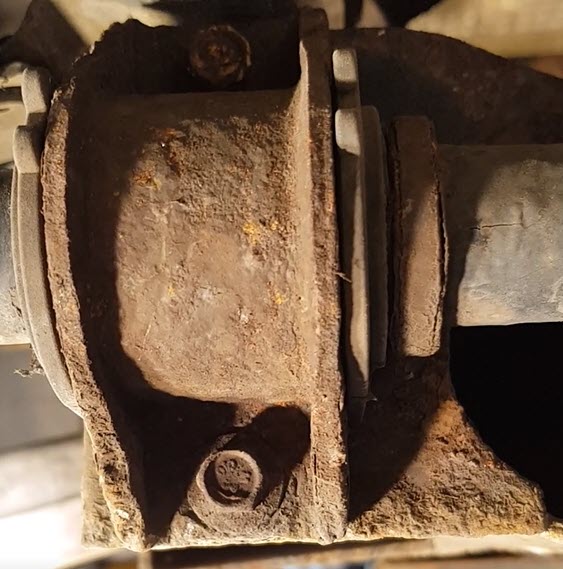
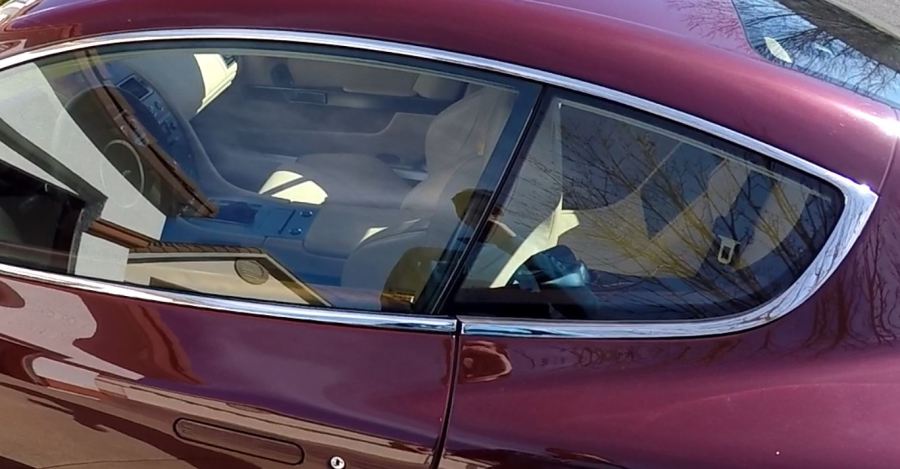
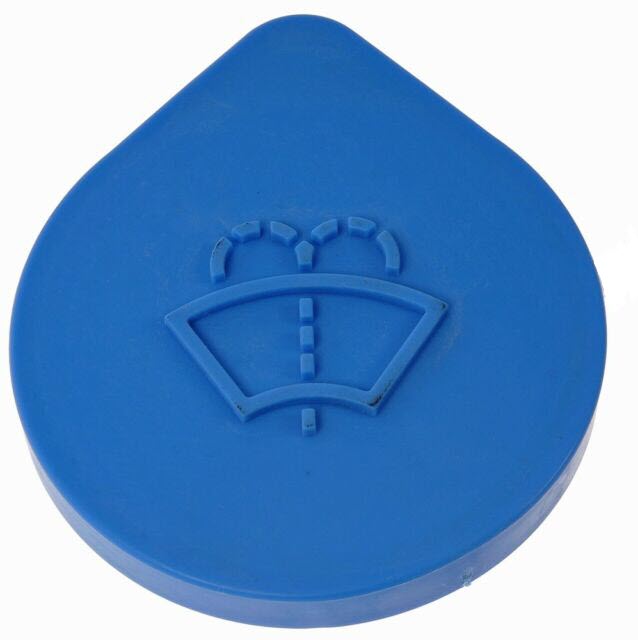
The sheared bolt on my Aston’s slam panel was where it bolts to the bonnet release catch. The shear is about 3mm below the top of the steel of the catch and is quite a common failure. It’s quite easy to over tighten and shear smaller sized bolts particularly when using ratchets or spanners with handles/lengths that are up to 200-250mm (8-10″) long. One trick is to hold the spanner in the middle of its length to reduce the lever arm if tightening up smaller bolts. On more critical bolts use a torque wrench, most torque figures are given in manuals so use them. The overriding requirement is common sense, are you bolting up a bit of light weight “slam panel” as in the case above or a major suspension part !!!
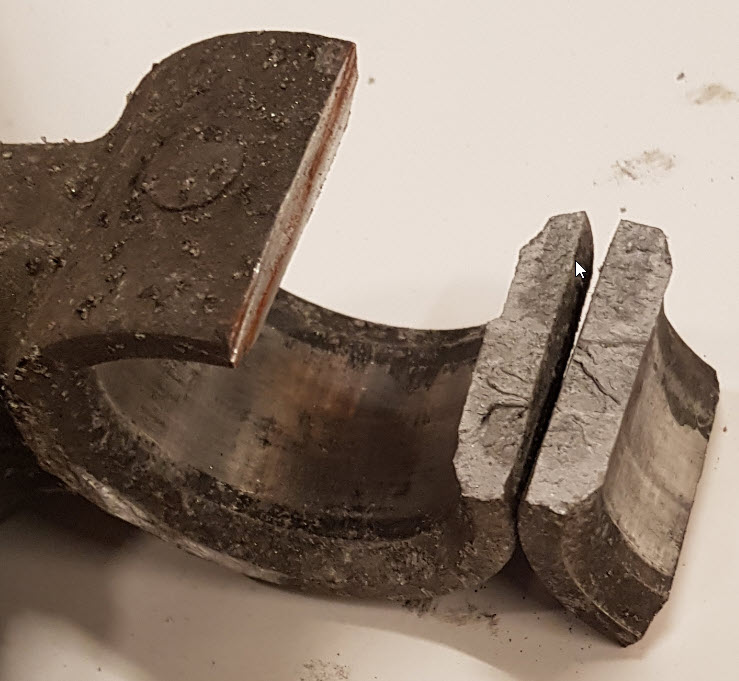
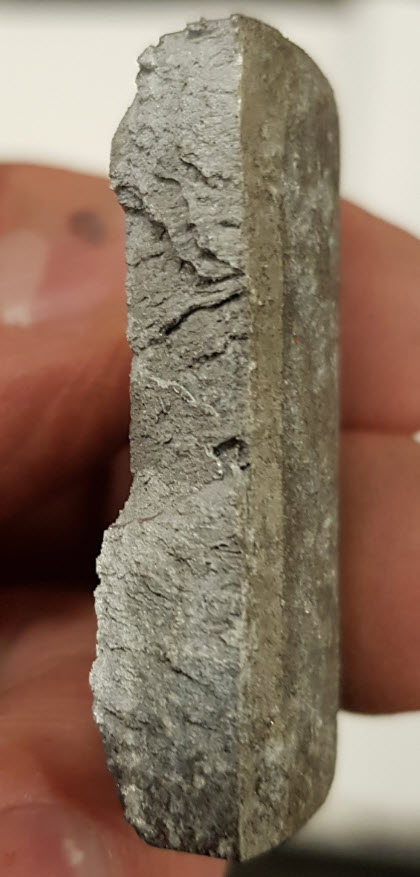
The worse situation is the sheared stud or bolt that shears below the surface of the steel and it’s the most common. There is a reason why car manufacturers say you should use new bolts in critical areas and it’s not just to make money out of us. Bolts that are located in areas of high stress, high temperatures or exposed to potentially rusty locations will experience changes to their mechanical properties over time. Corrosion can reduce the surface condition of bolts not to mention the “eating away” and “pitting” of the threaded area. The pitting can eat into the steel causing areas of potential weakness that will fail under the load of tightening. Bolts that are exposed to the effects of heat (heating up then cooling down) such as engine/cylinder head bolts or exhaust bolts and that are under load for a long period will not exhibit the same mechanical properties once removed and then reused. Hence manufacturers recommend replacing all the cylinder head bolts once they have been removed which often seems a little extravagant as they always look fine but as I’ve explained it’s not done without good reason.
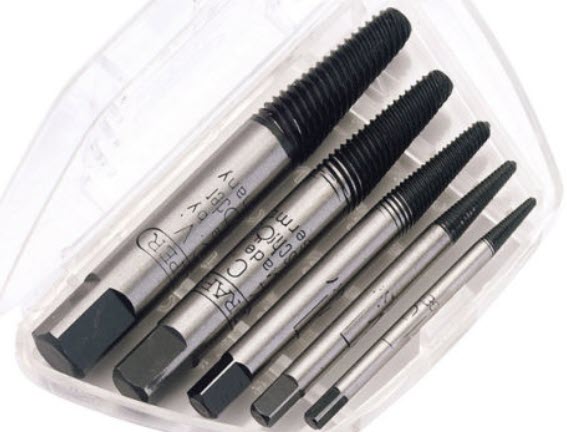
There are two options to repair a sheared bolt. If possible it may be extracted by drilling a hole down through the centre of the bolt and using a stud extractor. These extractors are readily available but I have to say I haven’t had much success with them. The extractors have a left hand thread so as they are screwed into a drilled hole in the sheared bolt or stud they tighten in the direction that will unscrew the sheared bolt.
I always try to extract a bolt but usually end up drilling it out and re-tapping the hole. The size of the sheared bolt or stud determines the size of the hole to be drilled and tapped here are some common drilling sizes for tapped holes that you might come across when working on your Aston.

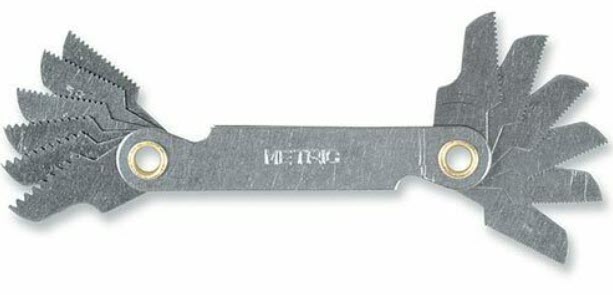
As you will see there are a number of different Pitches for “Fine” bolts so it is important to select the correct drilling size particularly if you are having to drill out a cylinder head bolt for example, you only get one chance at it. To ensure you are using the correct size drill you can measure the size of the replacement bolt you are going to fit using a thread gauge.
When you drill out the sheared bolt consider where the swarf (waste) will fall. If there are critical items around such as say the alternator it will not react nicely to having small metal pieces dropped into it so protect vulnerable areas with cloth covers etc..

If the swarf can be easily vacuumed up then covering everything up is not an issue.
Once the old bolt has been drilled out you can now start to tap a new thread for your replacement bolt. When tapping out a hole it is important not to try to rush the job by driving the tap down into the hole. You will almost certainly shear the tap in the hole then you really do have a problem as the tap is made of extremely hard steel that you will find impossible to drill out. Since taps are made from particularly hard steel that brings with it an inherent brittleness so don’t go mad trying to cut the new thread in one go.
The technique is to apply downward pressure to get the tap started whilst turning the tap half a rotation (180deg) clockwise then reversing the tap direction for a quarter of a turn (90deg). This is repeated for the whole of the tapping process until the full depth of the hole has been tapped. The small rotation backwards allows cut material to release into the grooves of the tap so that the tap does not bind in the hole and potentially break. Once the tap has cut a thread of a few millimetres you will no longer require to apply downward pressure as the tap will use the thread it as cut to provide the downward force into the hole. During the cutting you should use a light oil or grease to aid the cutting process, WD40 is a good lubricant for this. It is also advisable to remove the tap completely periodically to clean away swarf.

The key is to take your time, you’re not on the production line at Ford, if you are doing this job it’s probably a one off, so there’s no need to rush.

When you have finished tapping the hole and have cleared away all the swarf check that the replacement bolt will run down nicely into the new tapped hole. You don’t want to get into the assembly of everything to find for some reason the replacement bolt you are going to use is too tight or too slack in the hole.
Remember the key is take your time and start off by marking the centre of the broken bolt with a good centre punch mark so your drill will not wander off the centre of the bolt and drill squarely down the bolt. You don’t have to drill out the hole to the final tapping size in one go, it’s often better to drill out in say up to three stages to arrive at the final size. If you follow these instructions you should be able to replace a sheared bolt on your Aston with no problem.
There is a short video here showing the drilling out and tapping of the sheared bolt on my Aston’s bonnet catch.
Mike (Aston 2209)