
 You might be inspecting the tires on your DB9 occasionally or as part of your Annual Service. Aston Martin wants us to check more than just the tire pressures, and I think that’s a good idea. We depend on these tires to keep us safe.
Just checking the pressure doesn’t require you to remove the tire from the vehicle, but if you are doing the full inspection you might raise the car or at least the wheel, or even take them off as I did since I was doing a full annual service at the time. I have made a few other posts and videos that you might want to check out:
- How to prepare a wheel for removal
- Single point jacking of the car
- Placing the car up on jack stands
- Cleaning the wheel thoroughly
I’ve used the official Aston Martin Vehicle Inspection Checklist as my guide on what we should be checking. You can see a copy of it here.
You might be interested in checking out my other tire related posts and videos:
Inspecting the Tires
A visual inspection should be done of the general condition of the tire including the sidewalls and tread surface.
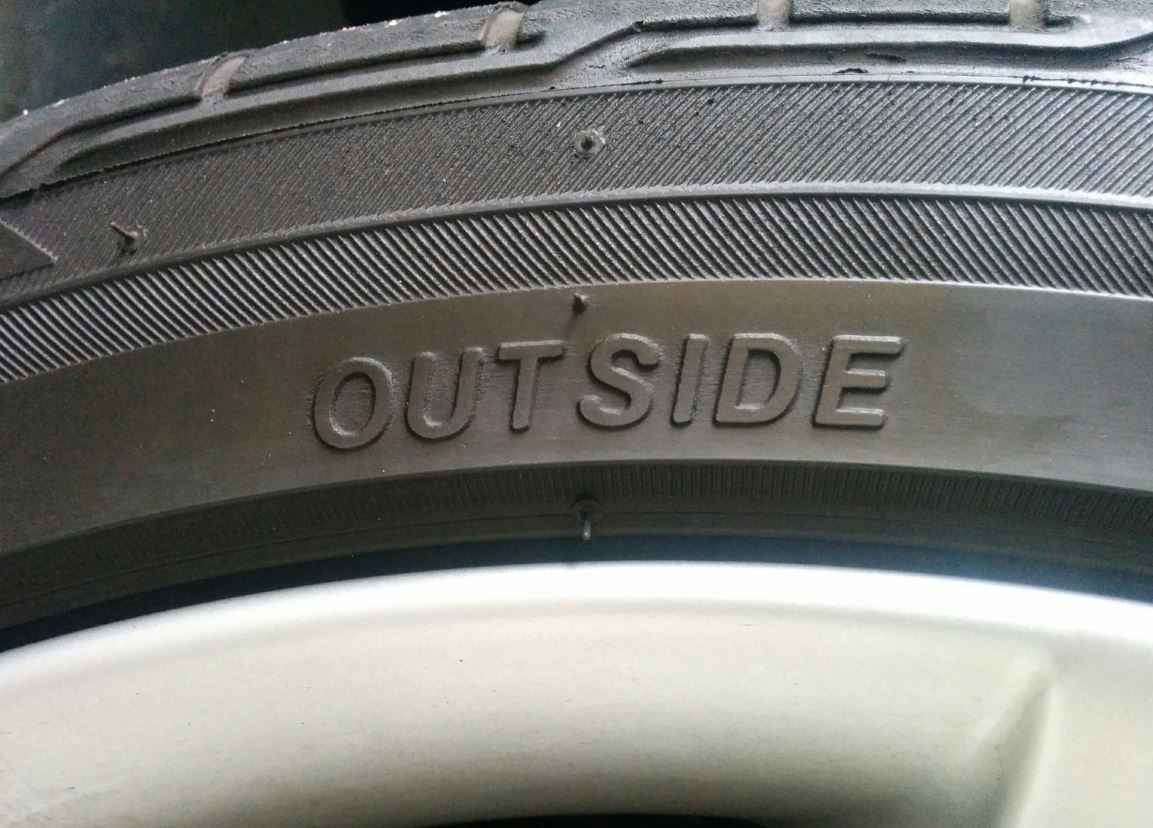
 Verify the tires are mounted correctly on the rims, with the Outside indicator on the outside of the rim.
- The Bridgestone OEM tires are unidirectional and asymmetrical, meaning they are only designed to roll in one direction and they have a specific side designed to face out.
- Verify the correct tire sizes are fitted to the front and rear.
- Front – 235/40 ZR19
- Rear – 275/35 ZR19
-

Aston Martin DB9 Approved Tire Marking Verify the tires have the proper Aston Martin approved marking stamped into the sidewall. They should have AM9 (Aston Martin DB9) embossed just beside the date code marking. This essentially confirms the tire has the approved characteristics required by Aston.
- Check the sidewalls for cuts, abrasions or irregular lumps and bumps.
- A lump or bump might be an indication of a internal tire flaw or impending failure, and you might want to get professional advice from the dealer or tire shop if you spot one.
- If you have any damage to the sidewalls you should replace BOTH tires as a matched set.
 Check the rims for dents or impacts.
- If you see signs of a significant curb impact you might have bent or even cracked the rim. A bent rim will generate a vibration in the car. Having the wheel professionally balanced will confirm whether the wheel is damaged and needs replaced.
- Rotate the tire and check the surface of the tread for nails, cuts or other issues. Look for signs of uneven wear like cupping.
- Below I describe in detail how Aston wants us to measure the tread for wear. At this point, you are just looking for unusual damage.
-

Tire was made in the 6th week of 2013 Check the Age of your tires using the date code stamped into the side wall.
- This follows an industry standard (check it out here in more detail).
- The code may look like EJ9HDAM0613 (as on my rear tires). The last four digits are what are important, and they represent the week and year of manufacture.
- The first two digits represent the Week
- The last two digits represent the Year
- 0613 means the 6th week of 2013, so February 2013.
- As I right this, my tires are having their 3rd birthday.
- If a tire is 6 years or older, you should inspect the sidewalls for signs of cracking. The rubber starts to dry out. Time to start considering replacing the tires at this age (or using them up at a Track Day for some fun!)


Here is a short video on Inspecting the Tires:
