

You might need to remove the Intake Manifolds from your DB9 for many service reasons including the need to change your Coil Packs and Spark Plugs. The process of removing them is fairly involved, and requires disconnecting a crapload of auxiliary items before you can actually remove them. In this article I will cover what defines a crapload.
To get to this point you should already have completed the following steps detailed in these other posts and videos:
- Depressurizing your fuel system (so you don’t start a fire)
- Disconnecting your Battery (also so you don’t start a fire)
- Covering your fenders (so you don’t screw up your paint)
- Removing the Engine Bay Cross Braces (because it’s in the way)
- Removing the Intake Manifold Brace (because it’s in the way)
- Disconnecting the Fuel Rails and removing the Fuel Injectors (because they are attached)
Tools Required
 You’ll need a few simple tools to get these steps done, including:
- 8mm 6-point socket or wrench
- Pliers
- Flat blade screw driver
- Plug/Stoppers to block the water lines disconnected (see the details below)
- Rags (disposable) to absorb some coolant that will spill
A Word or Two about Left and Right
Just to clarify, whenever I use the words Left or Right to define the position of something on the car, I am talking about it as if I was sitting behind the steering wheel looking forward (which is the industry standard). The Left front wheel is always the Left front wheel, even if viewed from the front of the car looking back where it would be on the right.
I mention this because below and in the video’s, the camera perspective is mostly looking back at the engine (front to back). When I write the Left Intake Manifold, I mean the one on the left from the drivers set perspective, even though it will be on the right side of the video or photo. Left side Intake Manifold is on the same side as the Left Front wheel. Got it?
Procedure

The official Aston Martin Workshop Manual describes all of this without words on one page with 6 pictures. I found it lacking for clarity and ‘how to’ usefulness. I have the page posted here so you can see for yourself. I’d suggest you keep reading though unless their instructions resonate with you.
Tip: Do this with a cold engine. If you are this far into the project it’s probably obvious, but just mentioning it since you will be disconnecting a coolant line and you don’t want it to be scalding hot.
These steps won’t take long, probably 15-30 minutes. I broke it down into several sections:
Disconnect the Thermostat Housing Bypass Hose
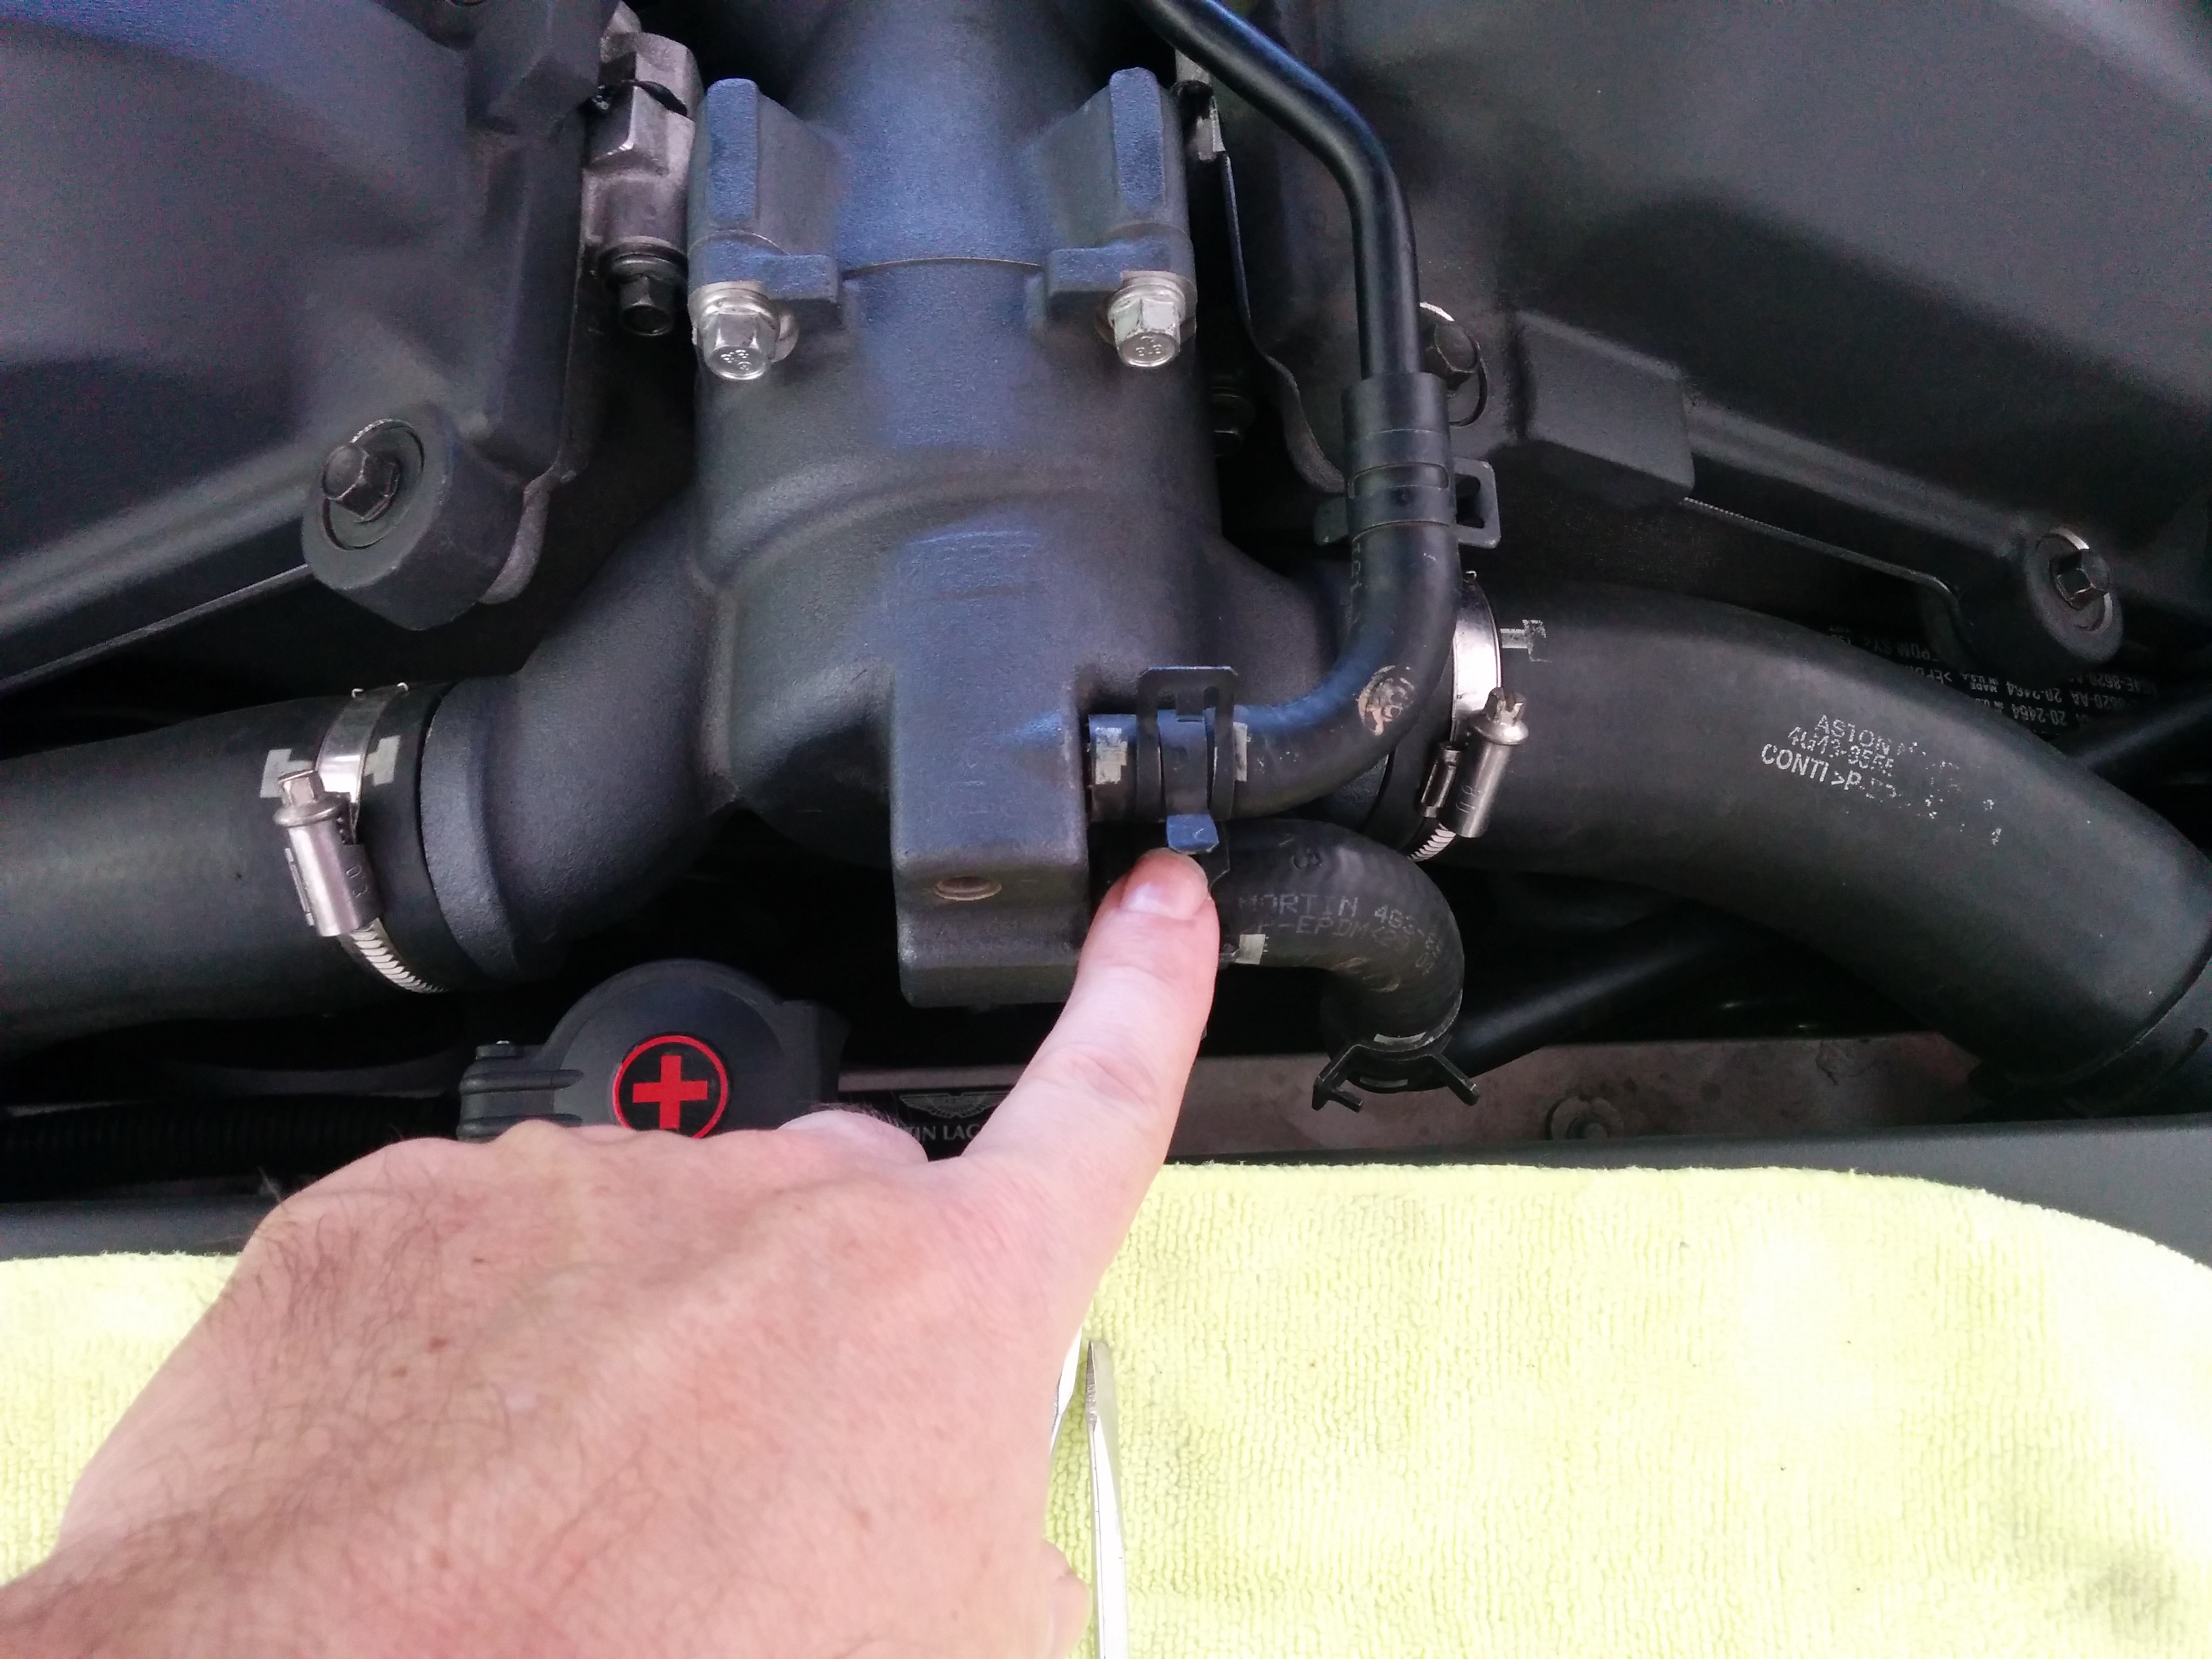 There is a small coolant line called the Thermostat Housing Bypass Hose that runs along from the back of the engine to the front adjacent to the left hand fuel rail, and connects to the left side of the thermostat housing. We’ll need to be able to move this aside, so it’s necessary to disconnect it. Doing so will cause a very small amount of coolant to spill when we disconnect it, so you’ll want to have disposable rags handy, plus some plugs/stoppers to jam in the hose and fitting to stop additional coolant draining.
- Use your plier and squeeze the spring clamp and move it out of the way along the hose
- Place rags under the area to catch the coolant
 Prepare your stoppers. You need two (2) different sizes:
- To block the hose, I used one of the bolts I had removed from the engine bay cross braces (they are big and beefy). I took some blue masking tape and wrapped the end a few times to increase the diameter a bit so when I stuff it in it would plug the hose. See the photo, this will make more sense.
- To block the water pump connection, I improvised and used the tapered plastic cap from a tube of caulking (I hear you, stop snickering). I’m not sure exactly what size it needed to be, but this worked perfectly since it was tapered. Again, see the photo for this to make sense.
- Pull the hose off the thermostat housing connection. You may need to use a small flat blade screw driver to break it loose, then wiggle it off.
- Plug both the hose and thermostat housing connection with your stoppers
- Use some clean rags to mop up the few drips of coolant. Be amazed at how far antifreeze will smear when you try to wipe it off.

Disconnect the Thermostat Housing Bypass Line from the Valve Cover
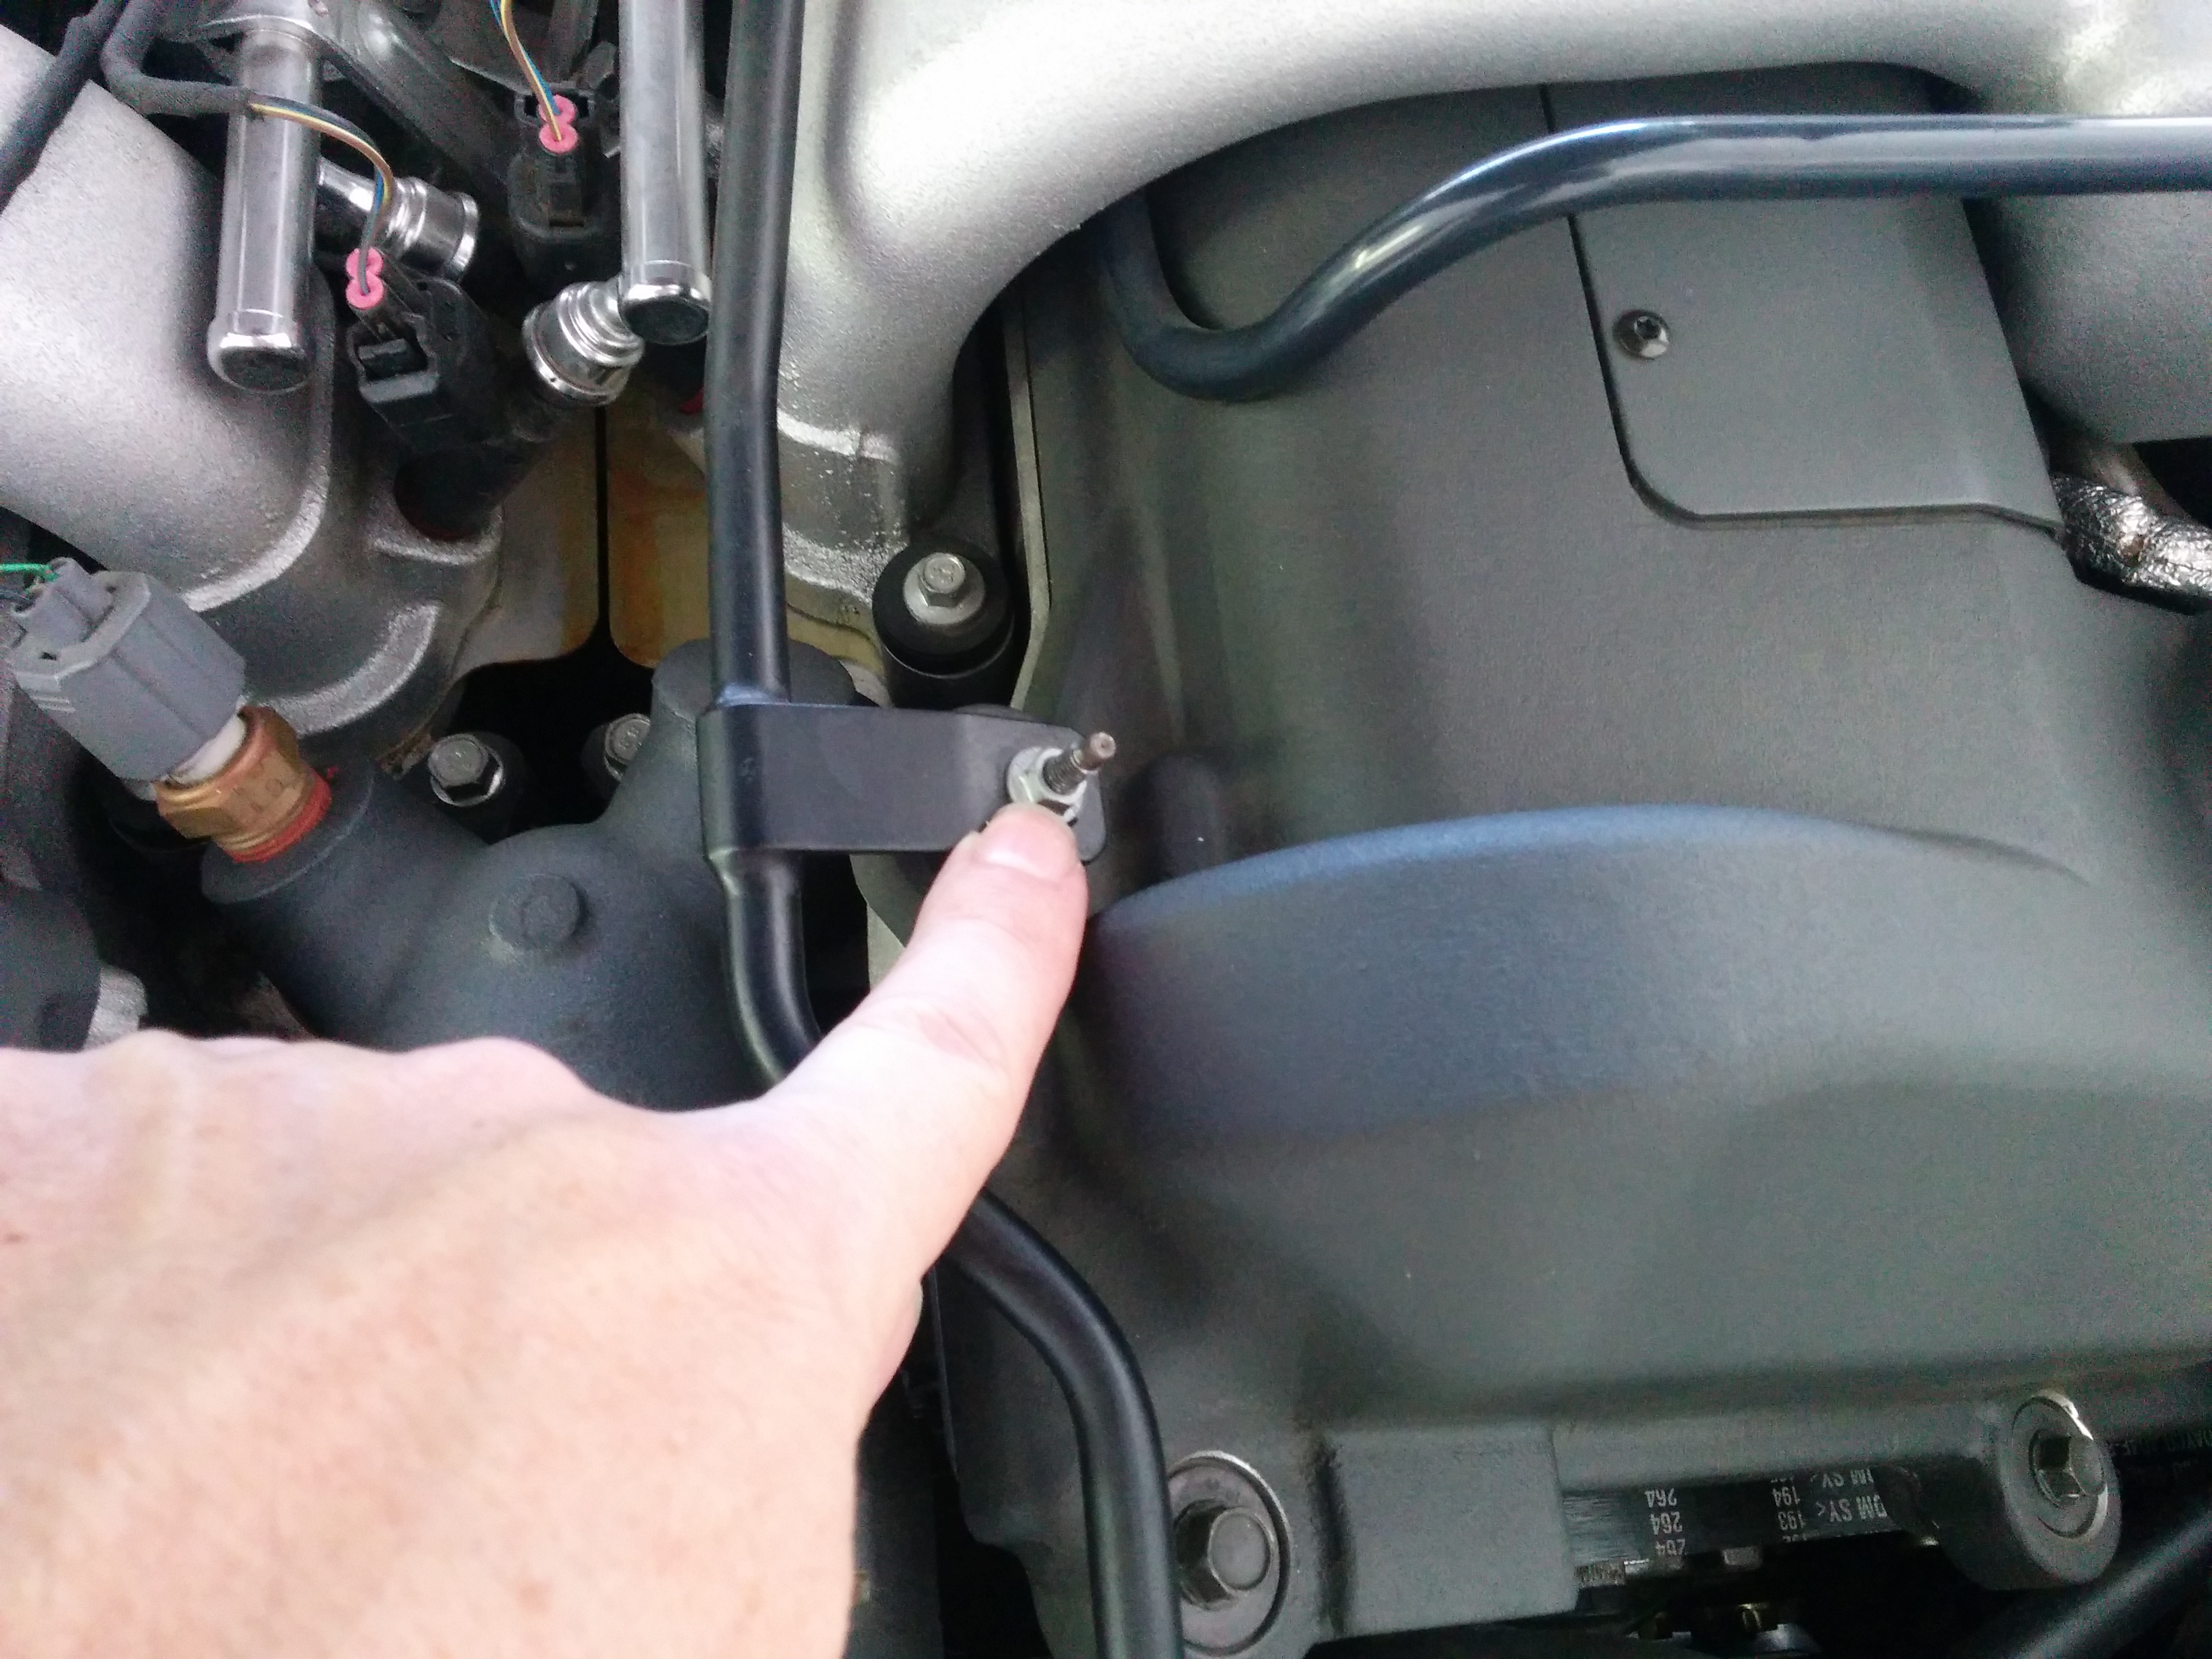 Once disconnected from the thermostat housing, you will see that the bypass line is mounted to the left hand valve cover near the front of the engine.
- Remove the nut using an 8mm socket or wrench
- Lift the bracket off the stud, and the bypass line should now be free to swing left and right
- I put the nut back on the stud while I was doing the rest of the work so I wouldn’t lose it.
Disconnect the Throttle Body Intake Pipes
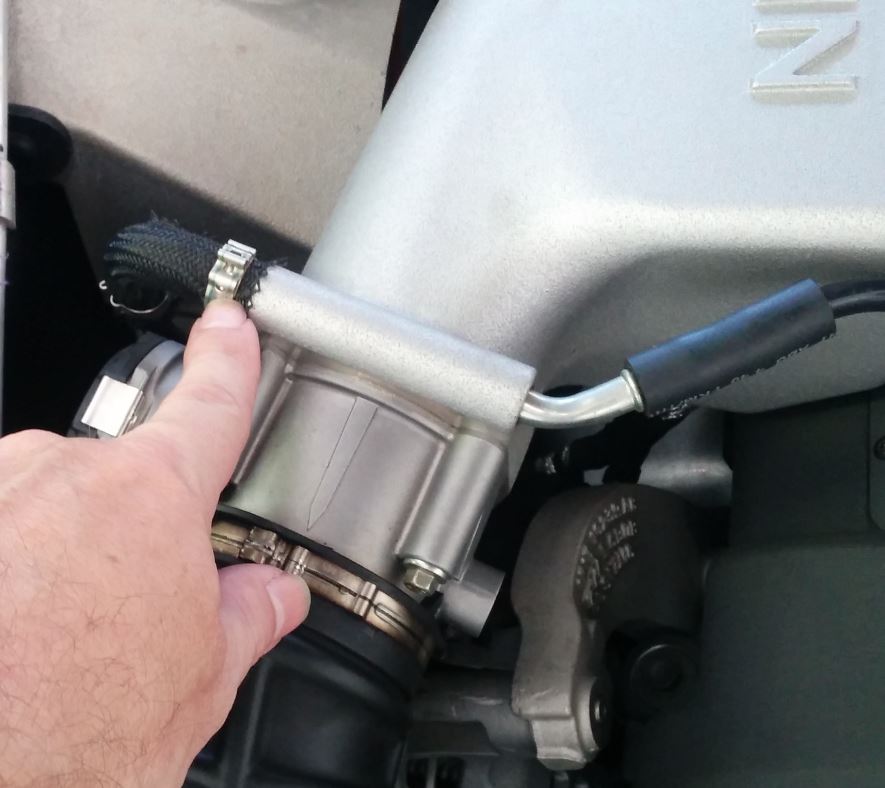
It is NOT necessary to remove the throttle bodies from the Intake Manifolds; they can just be removed in one piece along with the Manifolds. But, you will still need to disconnect a few things from the throttle bodies to free them. I’d really suggest you check out my other post and video on removing the throttle bodies for close up details on these connections, I am just going to summarize them here.
 Release the two (2) clamps that hold the intake pipes to the left and right Throttle Bodies. Just use a small flat blade screwdriver and pry up the connection to release it (check out this video)
- Disconnect the PCV fresh air inlet hoses from each intake pipe. We need to do this so the intake pipe is free enough to pull back out of the way, and it’s difficult with these hoses attached. You can’t see them very well since they connect from the bottom of each inlet pipe. They are NOT clamped on, and you should be able to just reach under and wiggle the pipe loose. Check out this video.
 Disconnect the electrical connection to each throttle body. Simple task, just squeeze the connector and pull it loose. Check out this video.
- With all those bits disconnected, now it’s time to pull the intake hose off the throttle body. Just grip if firmly and wiggle it loose. Check it out in this video.


Disconnect the Brake Booster Vacuum Line
 There will be a vacuum line from intake manifold to the brake booster on the driver’s side of your engine bay (the left side for a LHD car or the right side for a RHD car). The unused side actually has a plastic plug filling the hole. Disconnecting the line is simple but tricky. It took me 5 minutes to figure out the 5 second procedure. It’s like Chinese finger cuffs. To get the line loose you need to:
- Start by pressing the outer ring of the connection at the manifold in with a small screwdriver just to hold it in place.
- Then, while still holding that outer ring in place, simply pull the center hose connection free. It should just come out. Check out the video below to see it.
Disconnect the PCV Vapor Return Lines
 There is a vapor return line from the PCV valve for each banks of the engine. The lines are a glossy rigid plastic that run from the back of the engine area underneath the Intake Manifolds and then connect to the Intake Manifolds immediately next to the throttle bodies. We need to be able to swing these lines out of the way, so they need to be disconnected.
- Simply use a small flat blade screwdriver to help break the connection loose, then wiggle each line off.
Disconnect the PCV Bypass Line from the Right-hand Intake Manifold
 Like the PCV Vapor Return lines we just covered, there is one extra PCV line that connects at nearly the same location on the right hand side. We need to release this line so we can remove the manifold on this side.
- Like with the clamps on the Intake pipes, use a small flat blade screwdriver to carefully pry up the latch on the clamp to release it.
- Use a small screwdriver to help crack the pipe loose from the fitting.
- Wiggle the pipe free from the Intake Manifold fitting.
OK, that’s all the steps out of the way. In my next post I will cover actually removing the Intake Manifold (how exciting!).
Here is a video detailing all the steps above in under 5 minutes:

Pingback: Removing the Coil Packs from an Aston Martin DB9 – Aston 1936
Pingback: Removing the Spark Plugs from an Aston Martin DB9 – Aston 1936
Pingback: Reconnecting the Intake Manifold Ancillaries on an Aston Martin DB9 – Aston 1936
Thanks for the guide, Steve. Just wanted to say that I found my PCV fresh air inlet hoses were actually clamped on. Was a bit difficult to get to due to limited space. Do you know if this is normal and yours was just missing them?
LikeLike