
Removing one of the two throttle bodies on a DB9 is perhaps the easiest service task you can do on the car. Right at the top of the engine, and its relatively easy to access all the connections. The fact that it is in this position also makes it necessary to remove the throttle body for many other service items, essentially to get it out of the way so you can get to other stuff. The most common reason is to change the Oil Filter on LHD cars. The process will take less than 10 minutes.
 You don’t need many tools to accomplish this, merely:
- 8mm 6-point hex socket
- Small screwdriver
- Inspection light
- Fender cover
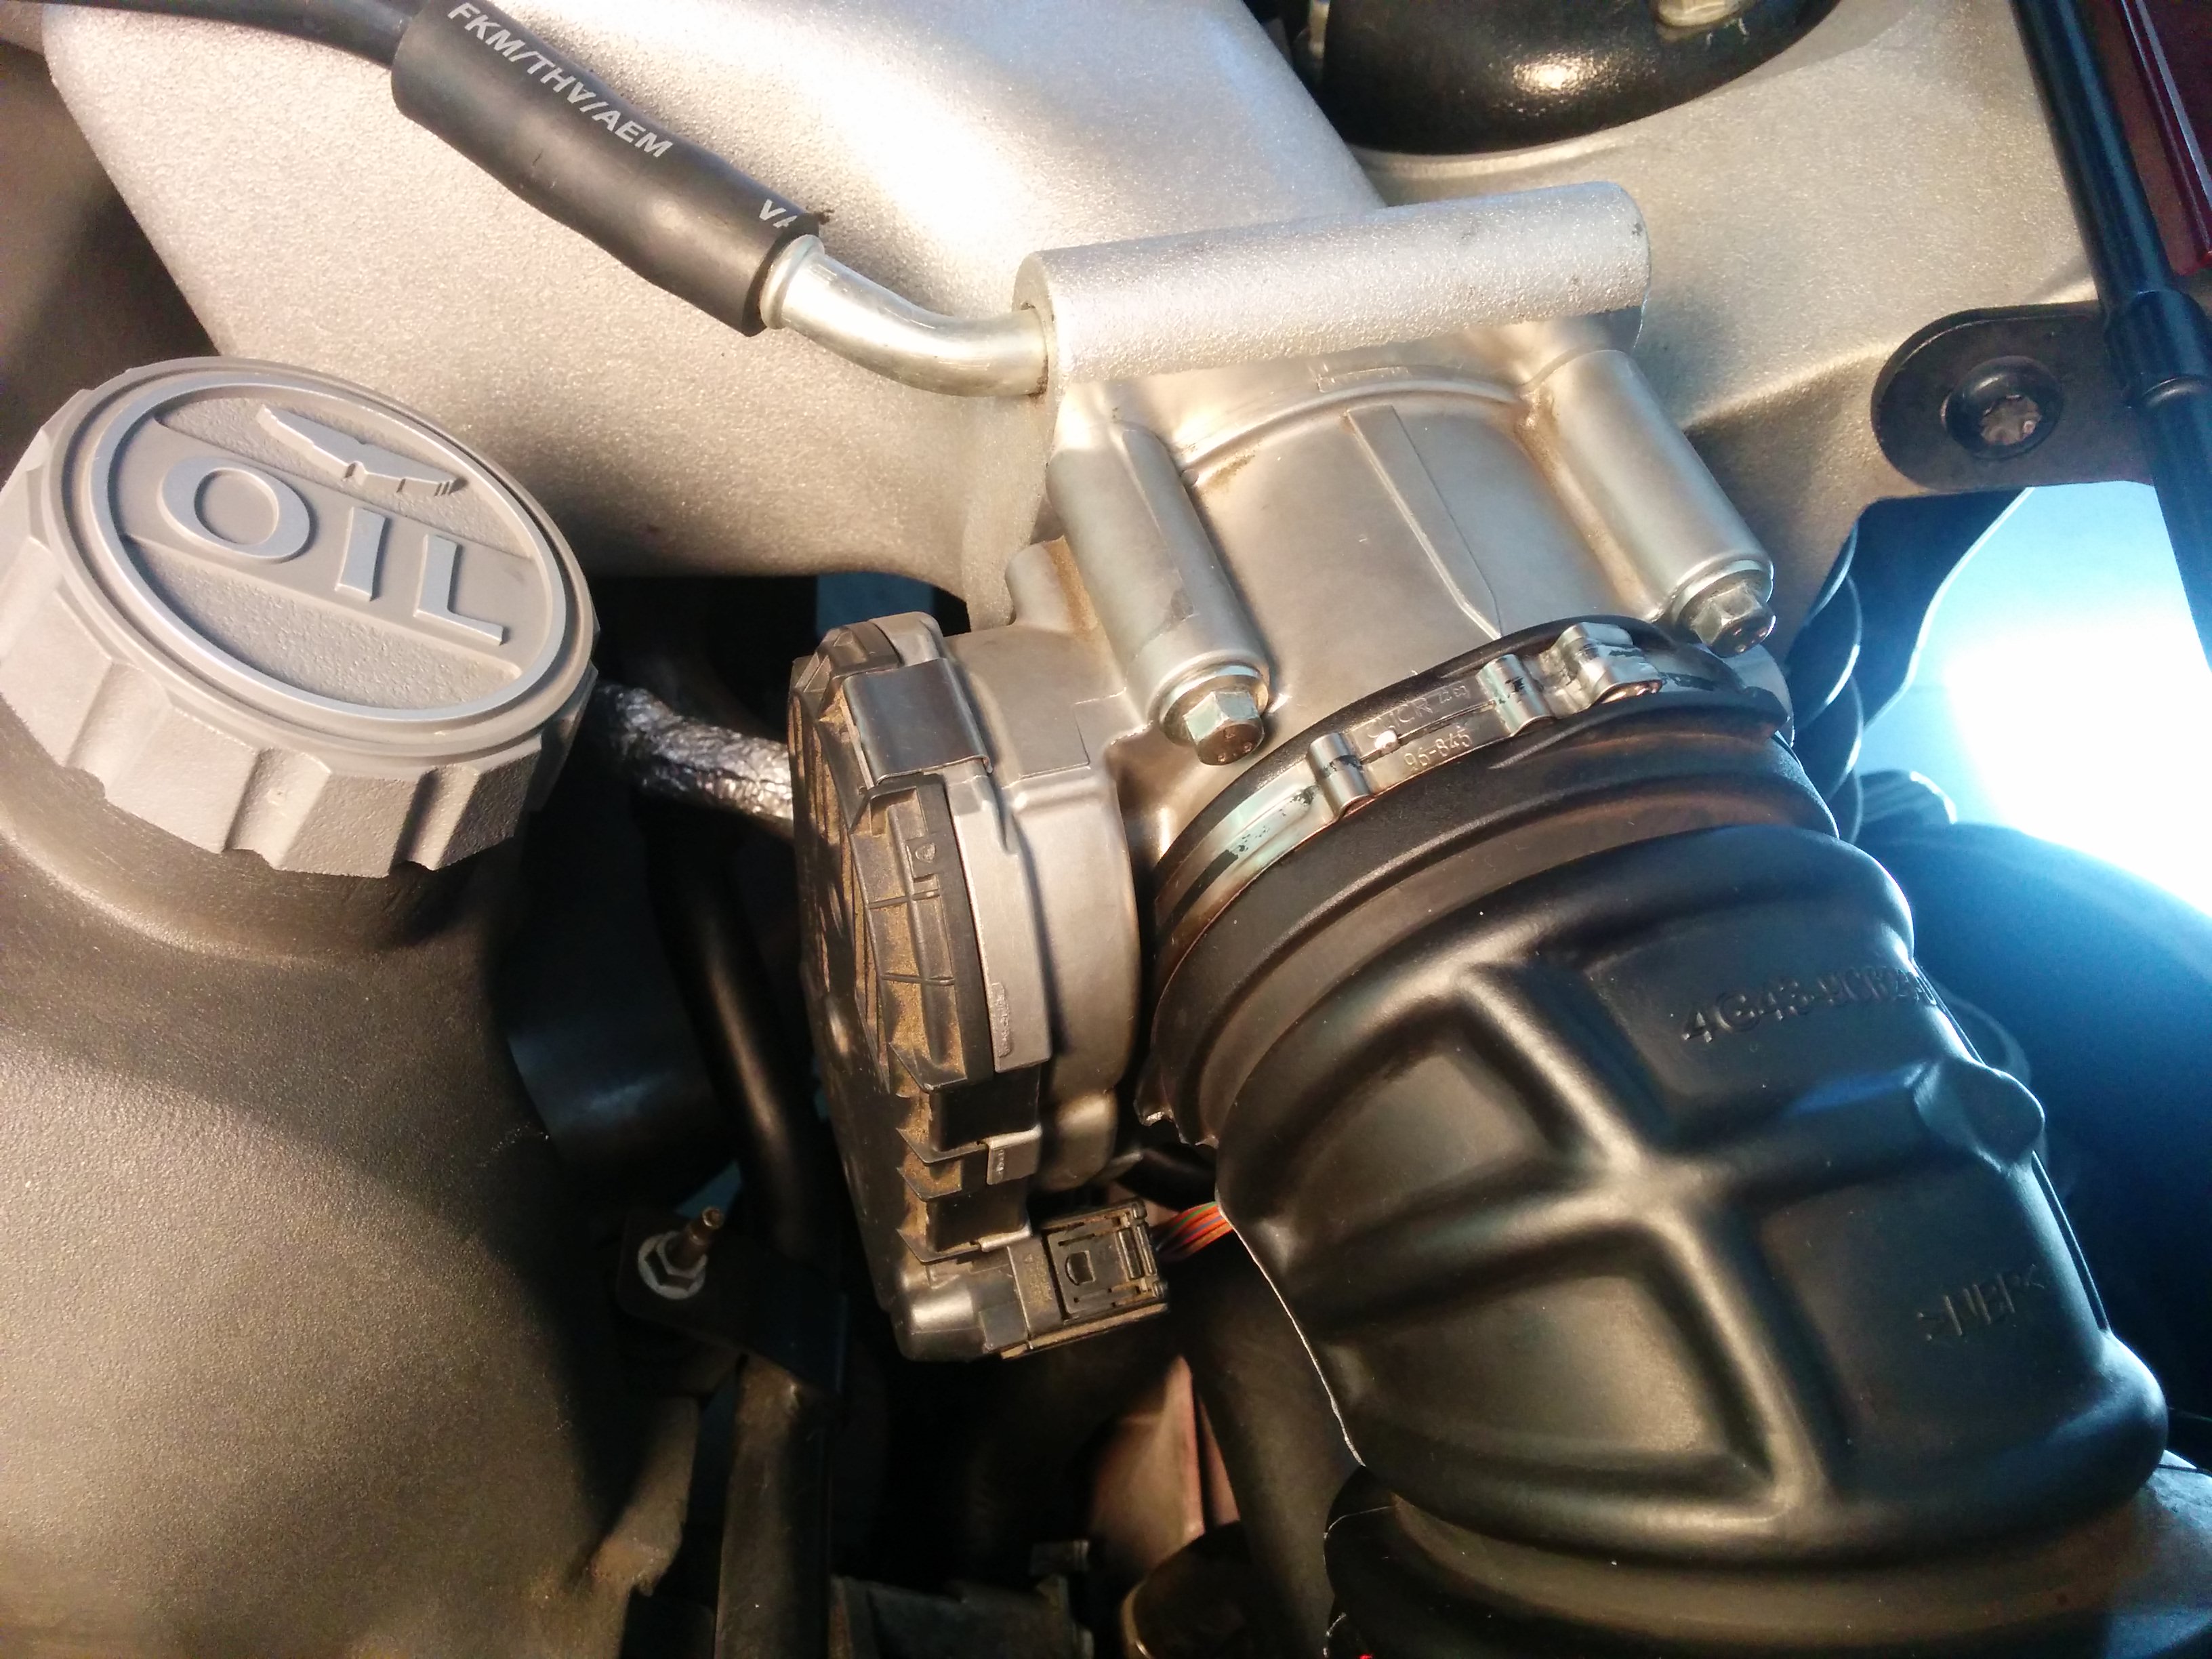
After opening the hood and covering the fender with some protection, I began by disconnecting the electrical connection to the throttle body. The connector has tabs on BOTH sides that need to be squeezed in simultaneously as you pull the connector gently off. Don’t force this, you’ll break something really difficult to fix. I have a clear close-up of this process in my video below, I really recommend checking it out – it will make more sense seeing it.
Next up was popping open the steel band clamp that keeps the air inlet pipe attached. It’s a strange bespoke clamp style, but easy to open once you see how. Essentially you can pop it open by gently prying the clasp up with a screwdriver. The clamp is Aston Martin Part Number 4G43-9N832-AA and costs about $7 if you need one. I have a clear close-up of this process in my video below, I really recommend checking it out – it will make more sense seeing it.

After releasing the clamp I removed the full load crankcase ventilation breather pipe from where it connects on the bottom side of the air inlet hose. You’ll see a clamp, but you don’t actually need to release it. I merely reached in and worked the hose off the connection, it was easy. If needed, you can use a screwdriver to gently pry it loose the first millimeter or so. Again, check out the video.
Next its time to pull the air inlet away from the throttle body. Be gentle but firm, and it should pull away easily.
With everything disconnected from the throttle body, the next step is to remove the four 8mm bolts that mount it to the air intake. Simple to remove all four, just tedious since they are ridiculously long. Tip – be careful NOT to drop one of the bolts accidentally into the gapping mouth of the air inlet pipe that will be in your way, else you’ll be having to get to the air filter box to retrieve it (which is a bunch of work).
Once the bolts are removed just carefully lift the throttle body away. Pay close attention to the O-ring that will now be visible on the mating face of the air intake. It may stay stuck in the groove, or start to fall away.
Remove the O-ring carefully. If its still stuck in the groove, you can use a small screwdriver to lift it free, but be very careful NOT to scratch the mating surface of the air intake. You’ll be replacing this O-ring with a new one later (a 10 pack of the O-rings costs about $22).
It you peer into the air intake manifold you may see some oil or residue. If present, this accumulates from the partial load crankcase breather pipe, and if there is a LOT of oil, you may have an issue with a failed PCV valve that needs replaced. I had some accumulation and I used a clean lint free rag to carefully wipe it out. I did the same for the oil residue in the plastic air inlet pipe as well. This oil comes from the full load crankcase breather pipe, the oil mist entrained in the air sucked in builds up on the pipe and throttle body itself.
Check out my video on how to tackle this.
Up next will be posts on how to Clean the throttle body and reinstalling it.

Pingback: Installing the Throttle Body on an Aston Martin DB9 | Aston 1936
Pingback: Installing the Intake Manifolds into an Aston Martin DB9 – Aston 1936
Hi Steve, great series of videos, thank you. I’ve been noticing some minor differences while doing some of this work on my 2011 DB9 Volante, so thought I’d share my experiences as I go.
On my vehicle, the crankcase breather tubes are also attached with smaller versions of the same clamp as the main air intake tubes. These are much harder to access, I found removing them wasn’t too much of a challenge, but clamping them again was almost impossible.
I ended up buying a set of 11″ needle nose pliers with the angled ‘nose tips’. These were perfect for reaching into the small gap and applying the pressure needed to reclip the breather hose.
LikeLike
Hi Martyn. That’s a nice solution, but a serious challenge to reach down there to get them I bet.
LikeLike
I actually had a followup look. My car has the clamps in place, but I am able to pull the hoses off without undoing them. They just pull off with a gentle tug on my car. Check out the photos at the bottom of this article https://aston1936.com/2015/12/26/bonus-tour-inside-the-wheel-wells-with-liners-removed-on-an-aston-martin-db9/
LikeLike