
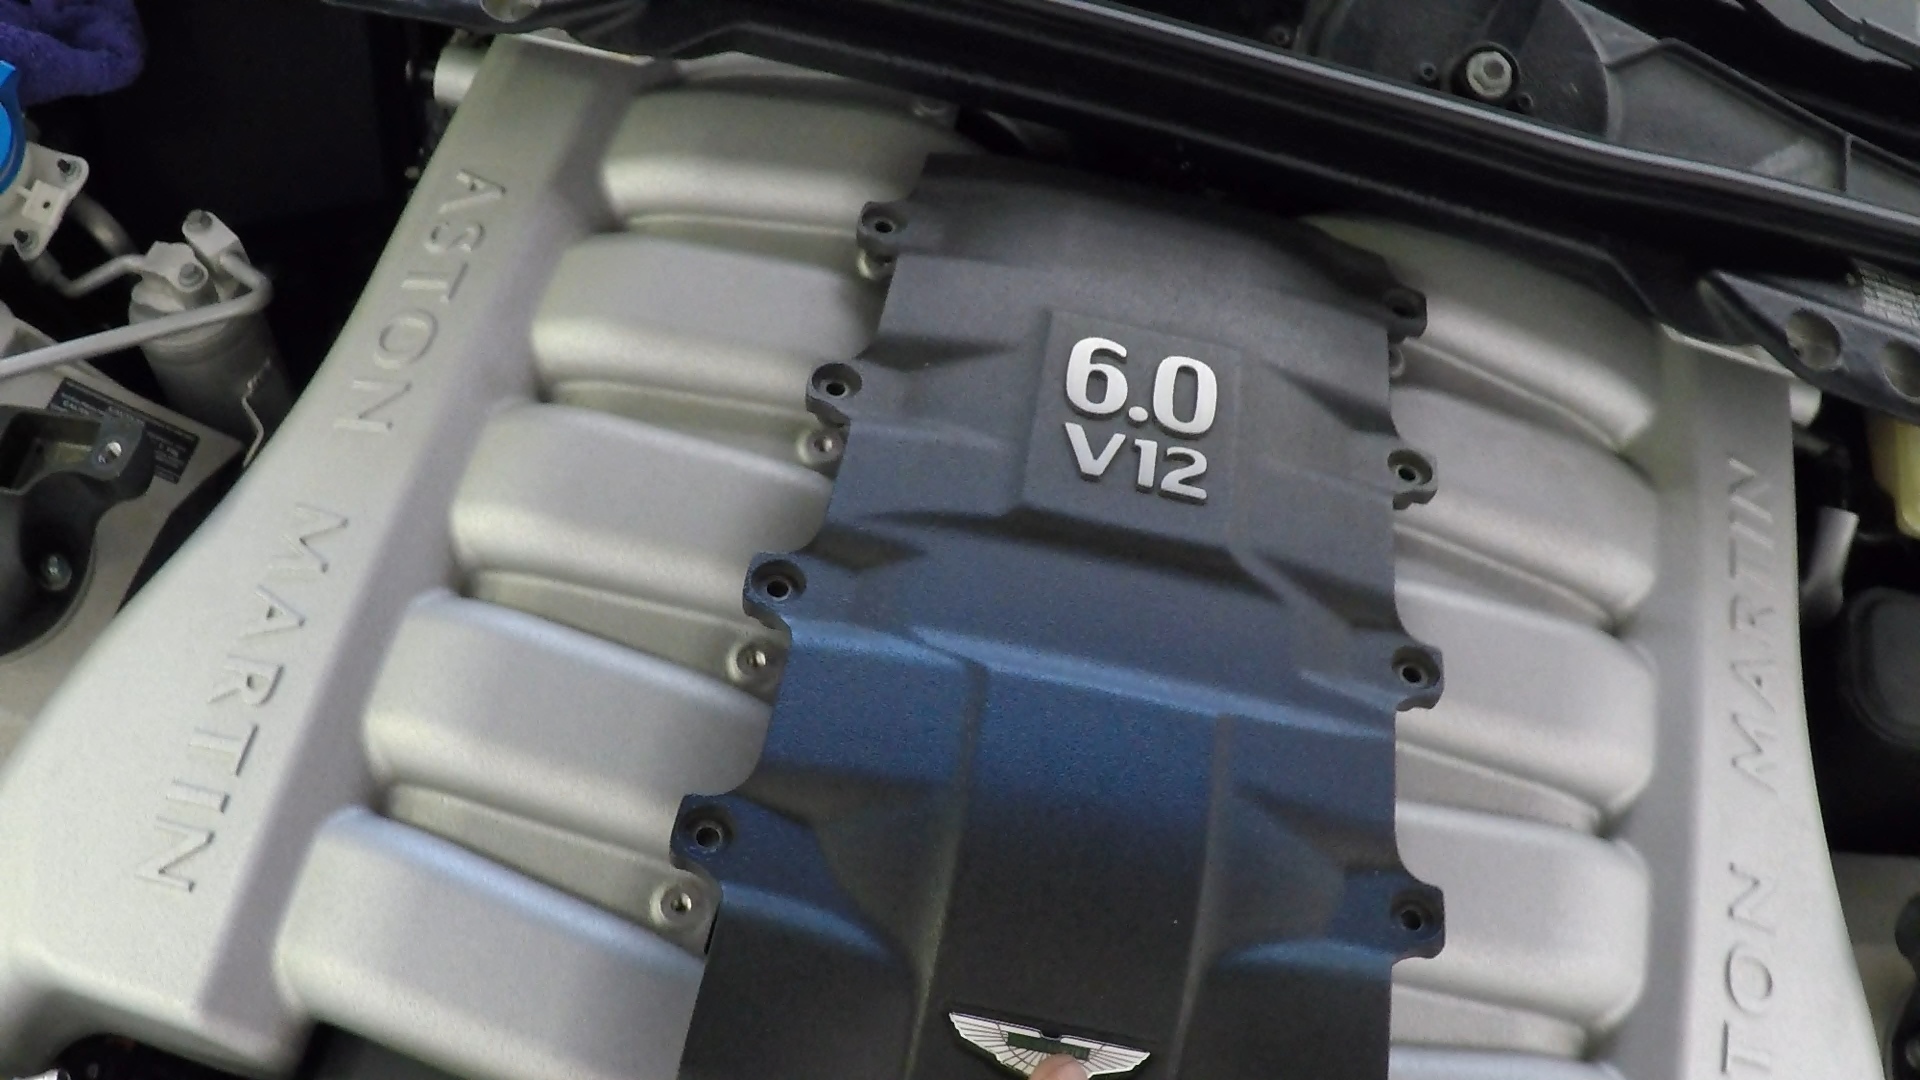
If you’ve been servicing your fuel injection system or doing something that requires you to remove your Intake Manifolds (like me dealing with a Lumpy Idle situation) you’ve had your Intake Manifold Brace off. The brace is used to link the Left and Right manifolds providing extra stability. The manifolds cantilever off their mounting points, so this brace gives them the structural support. You can check this out – before you mount the brace grab the outside edge of the manifold and give it a pull up and down, and notice how it will move some. Try this again after the brace is installed, it will be solid.
I’ve done a lot of work getting to this point, and you can check out my other article and video on Removing the Intake Manifold Brace.
Tools Required
 You don’t need many to get this done:
- T30 Torx Bit
- Nut driver handle
- Torque Wrench capable of 10 Nm
- Clean lint free rag
- 409 General Purpose Cleaner
- Oiling Can
Preparation
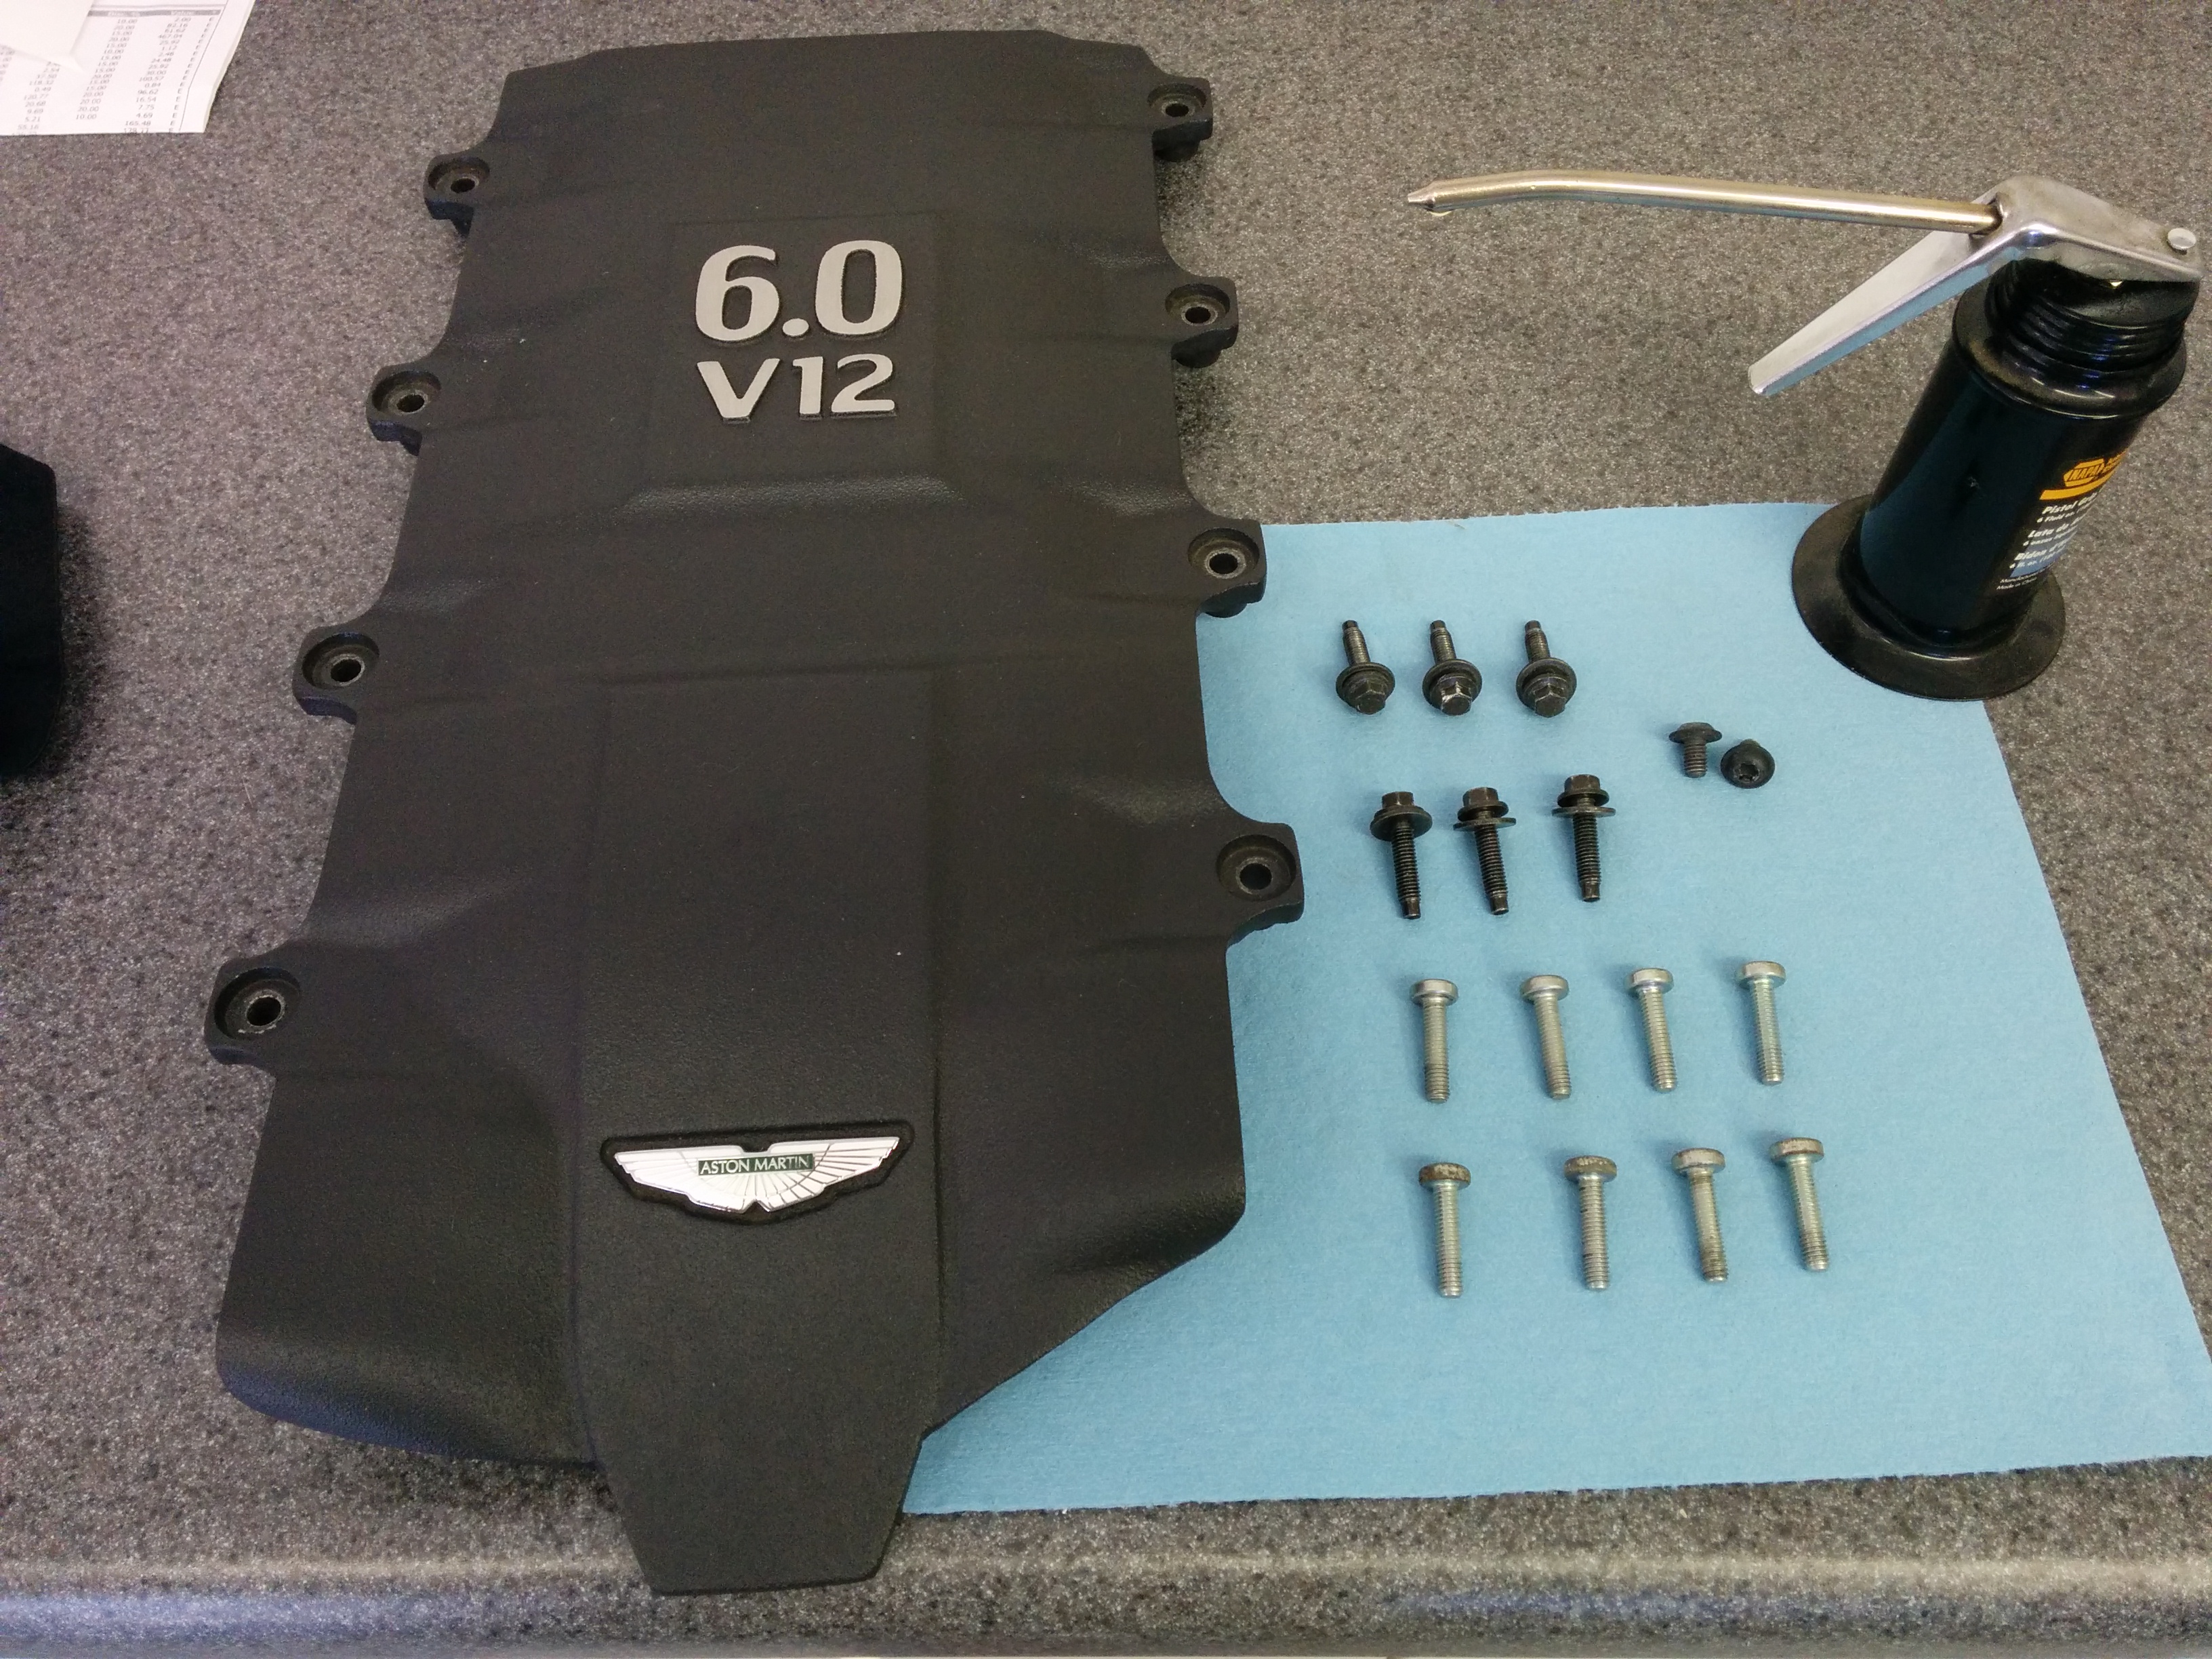 Since the Center Brace is essentially the “Pièce de Résistance” of the engine and is the first thing you see, I wanted mine to be clean and shiny before I reinstalled it. I used some 409 cleaner to spritz it and then gave it a thourough wipe down with a lint free rag.
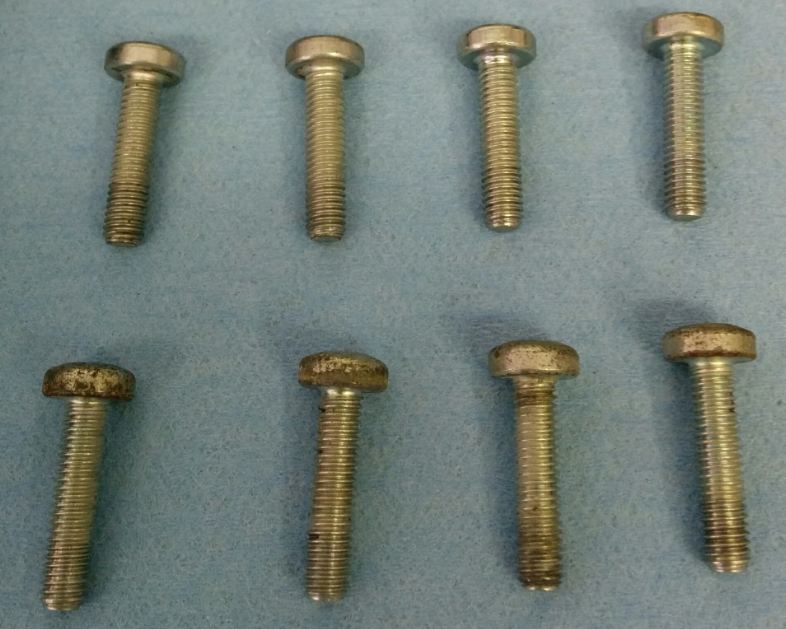
I also cleaned up the 8 bolts used to mount the brace. After wiping them down, I put a dab of oil on the first few threads and spread it around to help them thread in easily.
If your bolts are looking tatty (the finish is dulled or corroded) you can splurge and get a replacement set of Aston Martin p/n 702847. You can find them for just $0.35 USD ea. online or for about the same from Rob Sims at HWM in England. For about $3 USD you can have a new set of 8.
Procedure
 The Official Aston Martin Workshop Manual Section 3.01 covers this as just part of Step 11, “Install … the manifold brace”. Succinct.
The procedure should take about 10 minutes or less.
- Place the brace loosely over the mounting holes. Check if the bolt holes align, and you may need to gently lift the off-side of the manifolds to help align the holes.
- Insert the 8 bolts and start them by hand until all of them are started.
 The ‘finish’ on a few of my bolts were a bit faded, so I placed these furthest back, and put the shiniest ones closest to the front of the engine where I can admire them most.
- Use the T30 Torx bit on a nut driver to snug up each of the bolts. Just snug, we’ll torque them up next
 Torque each of the bolts to 8-12 Nm (6 – 9 ft lbs). I set my torque wrench to 10 Nm.
- There is no specific published torque pattern, but my mechanic experience tells me to then start in the middle and do a spiral pattern out. Check out the video to see the order I followed.
That’s it! This was a simple one and we can get onto the next steps and Install the Engine Bay Cross Braces.
Here is a short video showing the process I followed.

Pingback: Reconnecting the Intake Manifold Ancillaries on an Aston Martin DB9 – Aston 1936
Pingback: How to Change the Coil Packs and Spark Plugs in an Aston Martin DB9 – Aston 1936
Pingback: Restarting your Engine for the First Time after Changing the Spark Plugs and Coil Packs in an Aston Martin DB9 – Aston 1936