
If you’ve had to access something under the Engine Bay Cross Braces in your DB9 (like me changing my Coil Packs and Spark Plugs) you eventually need to get them reinstalled. This is likely one of your final steps under the hood, and you will be feeling the elation of completing your project and will be anxious to get onto more important matters like ‘starting her up’. Getting this done right is important because if you don’t do it properly, you can get some oddball squeaking from your front end.I’ve done a lot of work to get to this stage in my project, and you can check out my other video on Removing the Engine Bay Cross Braces to learn more.
Tools Required
 You don’t need many for this step:
- T50 Torx bit
- T30 Torx bit
- Torque Wrench capable of 49 Nm
- Ratchet
- 6″ extension
 15mm box end Wrench
- Clean lint free rags
- 409 general purpose cleaner
- Oiling Can
Preparation
The engine bay cross braces are prominent when you open your hood (bonnet) for the ‘Tada!’ moment as you show your admiring friends that beautiful V12. You want them looking their best. I started by giving them a thorough cleaning. I spritzed them with the 409 and then wiped them down completely with a clean microfiber towel.
Next I turned my attention to the nuts and bolts. I wiped them down as needed to make them as clean as possible. Then I put a dab of clean engine oil on the first few threads of each bolt to make installing them much easier.
If it turns out you need replacement bolts or nuts:
- Bolt – Aston Martin p/n 702209 available online for $0.71 USD each or about the same from Rob Sims at HWM in England.
- Nut – Aston Martin p/n 703163 available online for $0.09 USD each or for about the same from Rob Sims at HWM. [NOTE] Although I’ve checked the parts guide a couple of times, I’m not convinced this is the right part. The part is described as an M6 nut, and the bolt above is an M10 (and I think the bolt is the right part). Also I could see an M6 nut being that cheap, but maybe not an M10. Something seems out of whack with the AM parts guide. Contact me if you learn any details about this.
Procedure
 The Official Aston Martin Owners Manual Section 3.01 describes it in the first part of Step 11 “Install the engine bay corner braces (x2), the engine bay cross brace…”. Short and sweet, but I just have a couple of embellishments to add below.
The process should take you about 15 minutes.
Warning: Make sure your car is fully on level ground and well settled on the suspension. You’d be making a mistake to do this while the car was up on jack stand with the wheels off. The chassis may be slightly ‘relaxed’ in a position that isn’t normal, and if you sinch up the braces now you’ll be locking this into place.
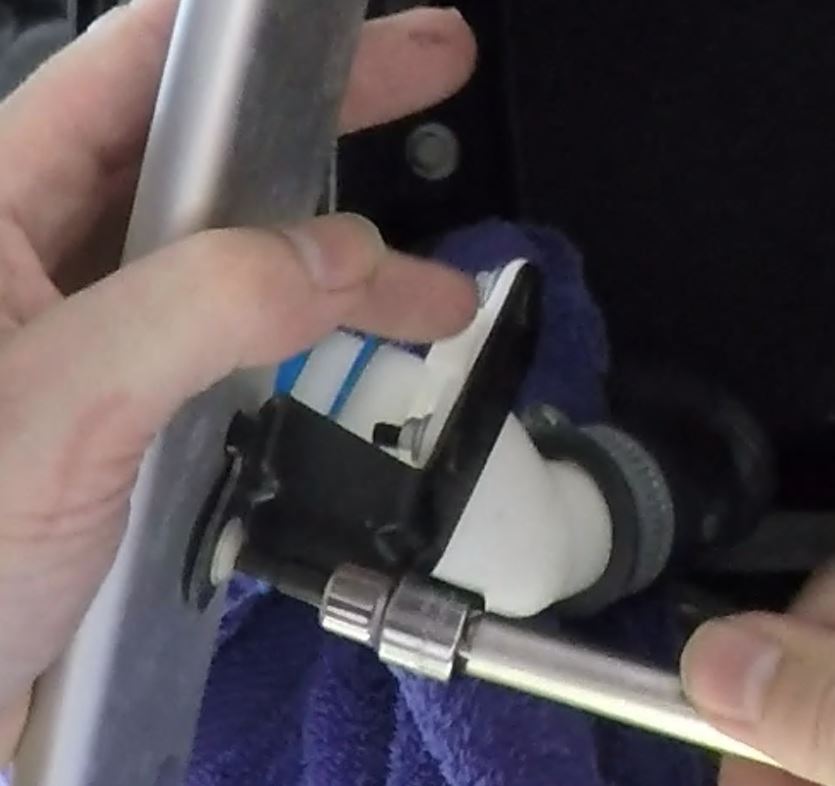
- Install the left hand corner brace. This is the one in my LHD car that had the windshield washer fluid filler neck attached to it.
 Attach the windshield washer fluid filler neck to the brace using the single T30 Torx screw.
- Be sure to get the alignment tab engaged in the alignment hole to set the correct position before installing the screw all the way.
- Snug the screw up tight using your T30 Torx Bit on a ratchet (I couldn’t find an official torque specification).
- Place the brace into position, placing the firewall end into the slot (see my video below for this to make more sense).
- Install the two (2) strut tower bolts loosely by hand to hold it in place.
- Install the two (2) firewall nuts and bolts next, again just loosely by hand until you have all four (4) bolts well started and the brace is aligned.
- Snug up all the bolts using a T50 Torx bit and the 15mm wrench to hold the nuts, but leave the final tightening for the next step.
- Set your Torque Wrench for 49 Nm (36 ft lbs) and then smoothly torque up each bolt to spec.
Tip: Be really careful not to drop a nut or bolt down at the back of the engine area, it may be gone forever, rattling around to torment you for all future time. Sure hands.
- Repeat the process on the right hand corner brace
- Install the Center Brace
- Position the large center brace loosely into position.
- Follow the same process of installing the four (4) bolts and then torqueing them to the same 49 Nm.
That’s it! This was my final step of under the hood (bonnet) work on my Coil Pack project, and up next will be reconnecting my battery and getting on with starting the car up.
Here is a quick video of the procedure I followed.

Pingback: Installing the Intake Manifold Brace on an Aston Martin DB9 – Aston 1936
Pingback: How to Change the Coil Packs and Spark Plugs in an Aston Martin DB9 – Aston 1936
Pingback: Restarting your Engine for the First Time after Changing the Spark Plugs and Coil Packs in an Aston Martin DB9 – Aston 1936
Excellent guide. Presumably, these torque figures are the same for the V8 Vantage?
LikeLike
Hi Steve, you have your left and right backwards in the writeup above (based on your definition on left and right as sitting in the car).
LikeLike