
When I removed the lower drivers side dash instrument panel I discovered that two of the snap-in connectors were broken off (probably thanks to the DPO – Damn Previous Owner). I was taking the panel off while I was working on repairing the Sagging Headliner in my car (read all about it in this series of articles).
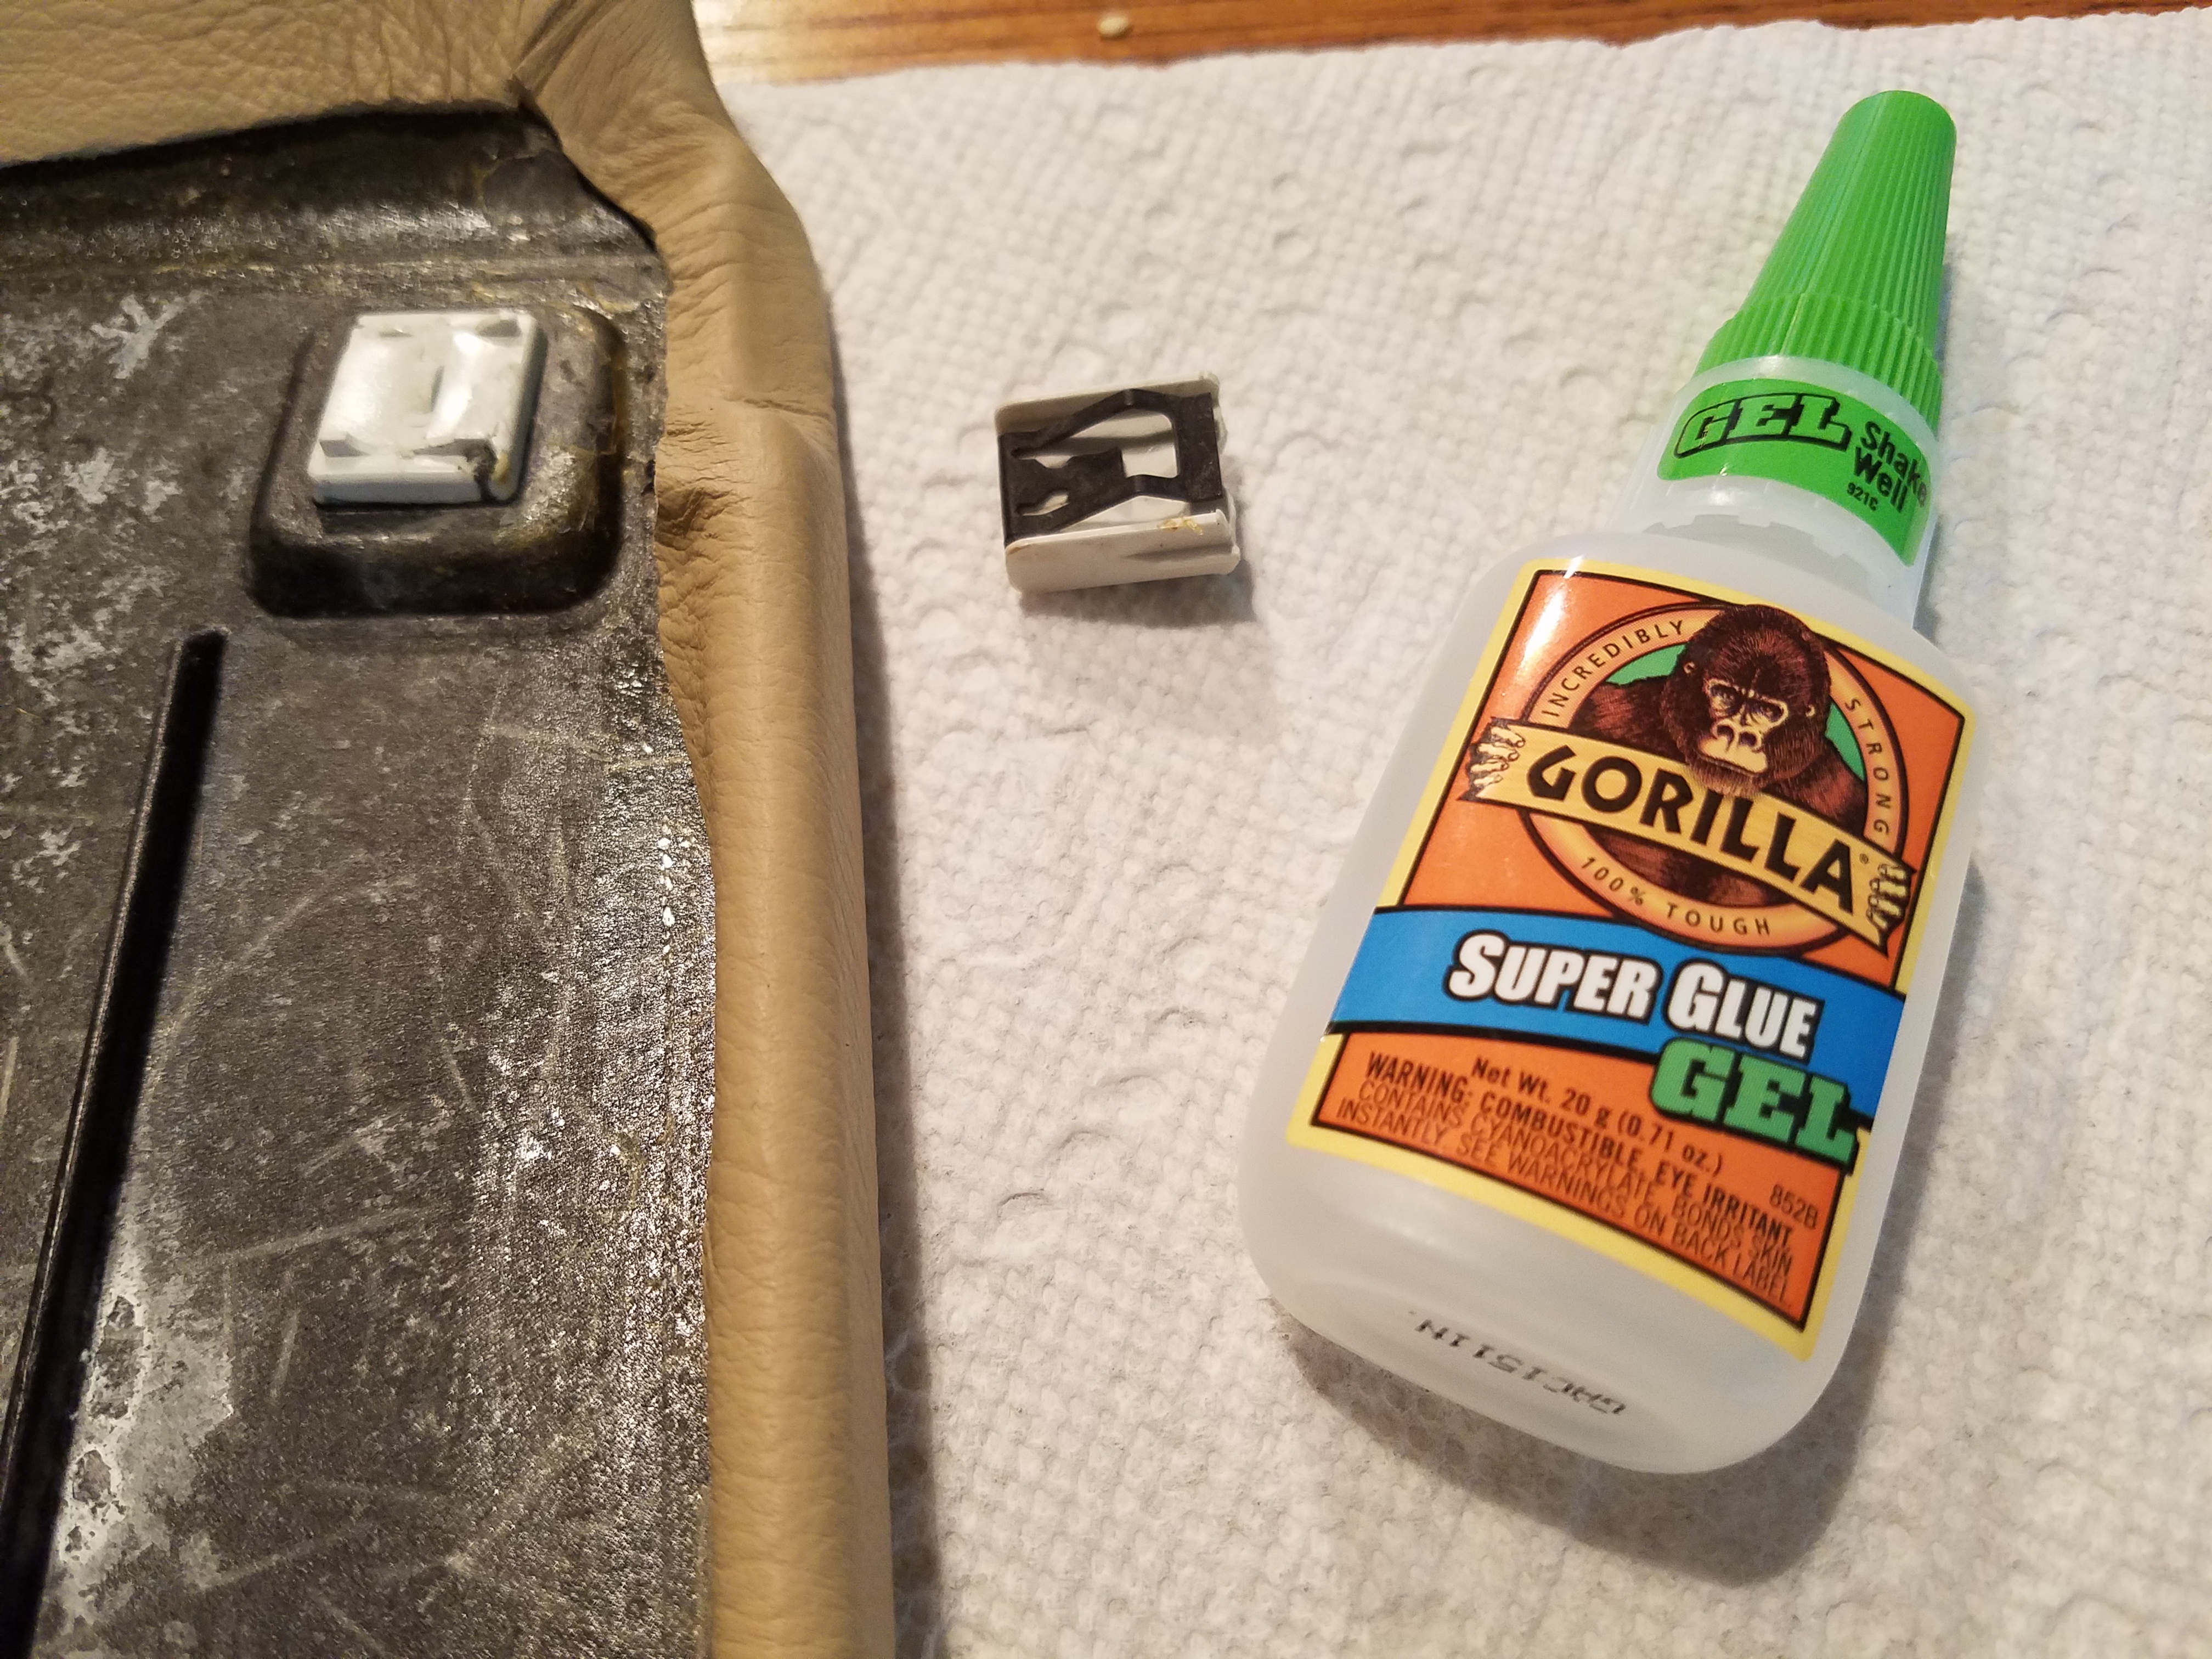
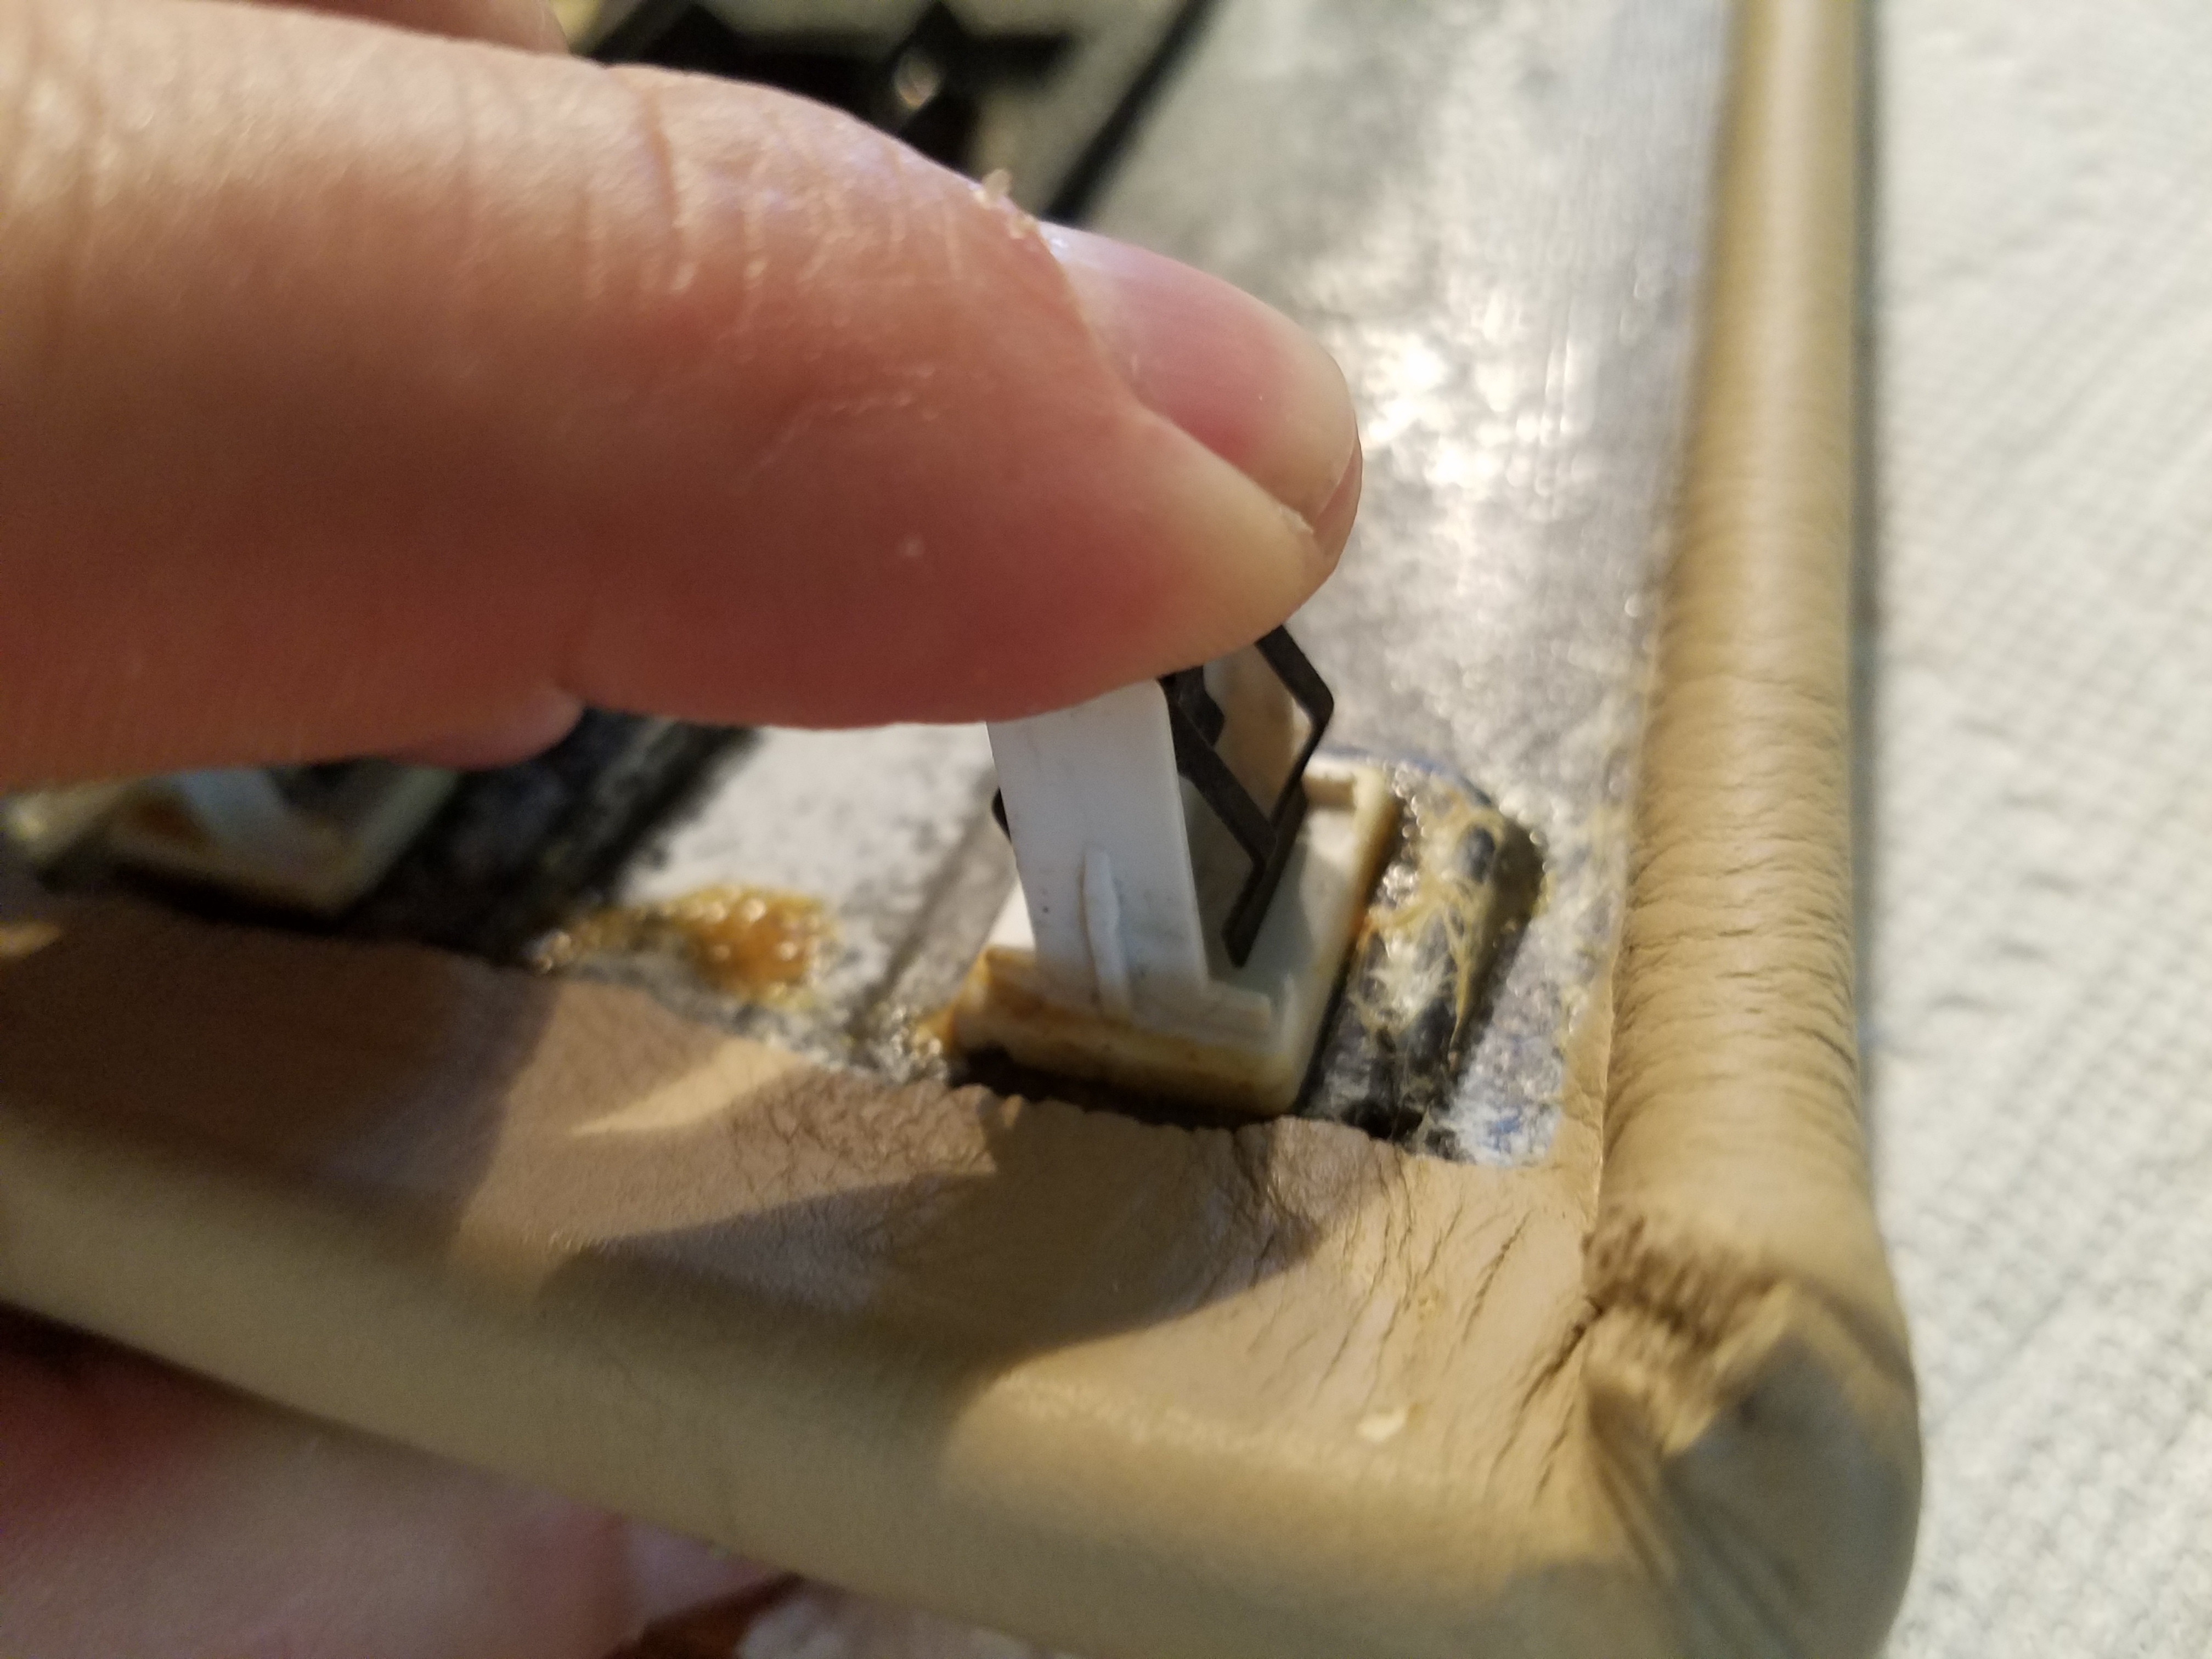
 The broken connectors are a white plastic item, glued to the smooth back of the panel, and covered with a metal spring clip. They are designed to insert into a mating socket on the dash structure, and grip and hold the panel tight. When I removed the panel I noticed the clips were sheared off (missing) but immediately found them still stuck in the mating socket. I used a pair of needle nose pliers to gently tug the snapped off clip out of the socket without damaging it further.
After a closer look at the broken off plastic, I notice it was snapped clean off. I suspect the DPO didn’t have the benefit of my video on how to remove the dash panels (check out that video here), and managed to pry the panel in the wrong direction breaking them off.
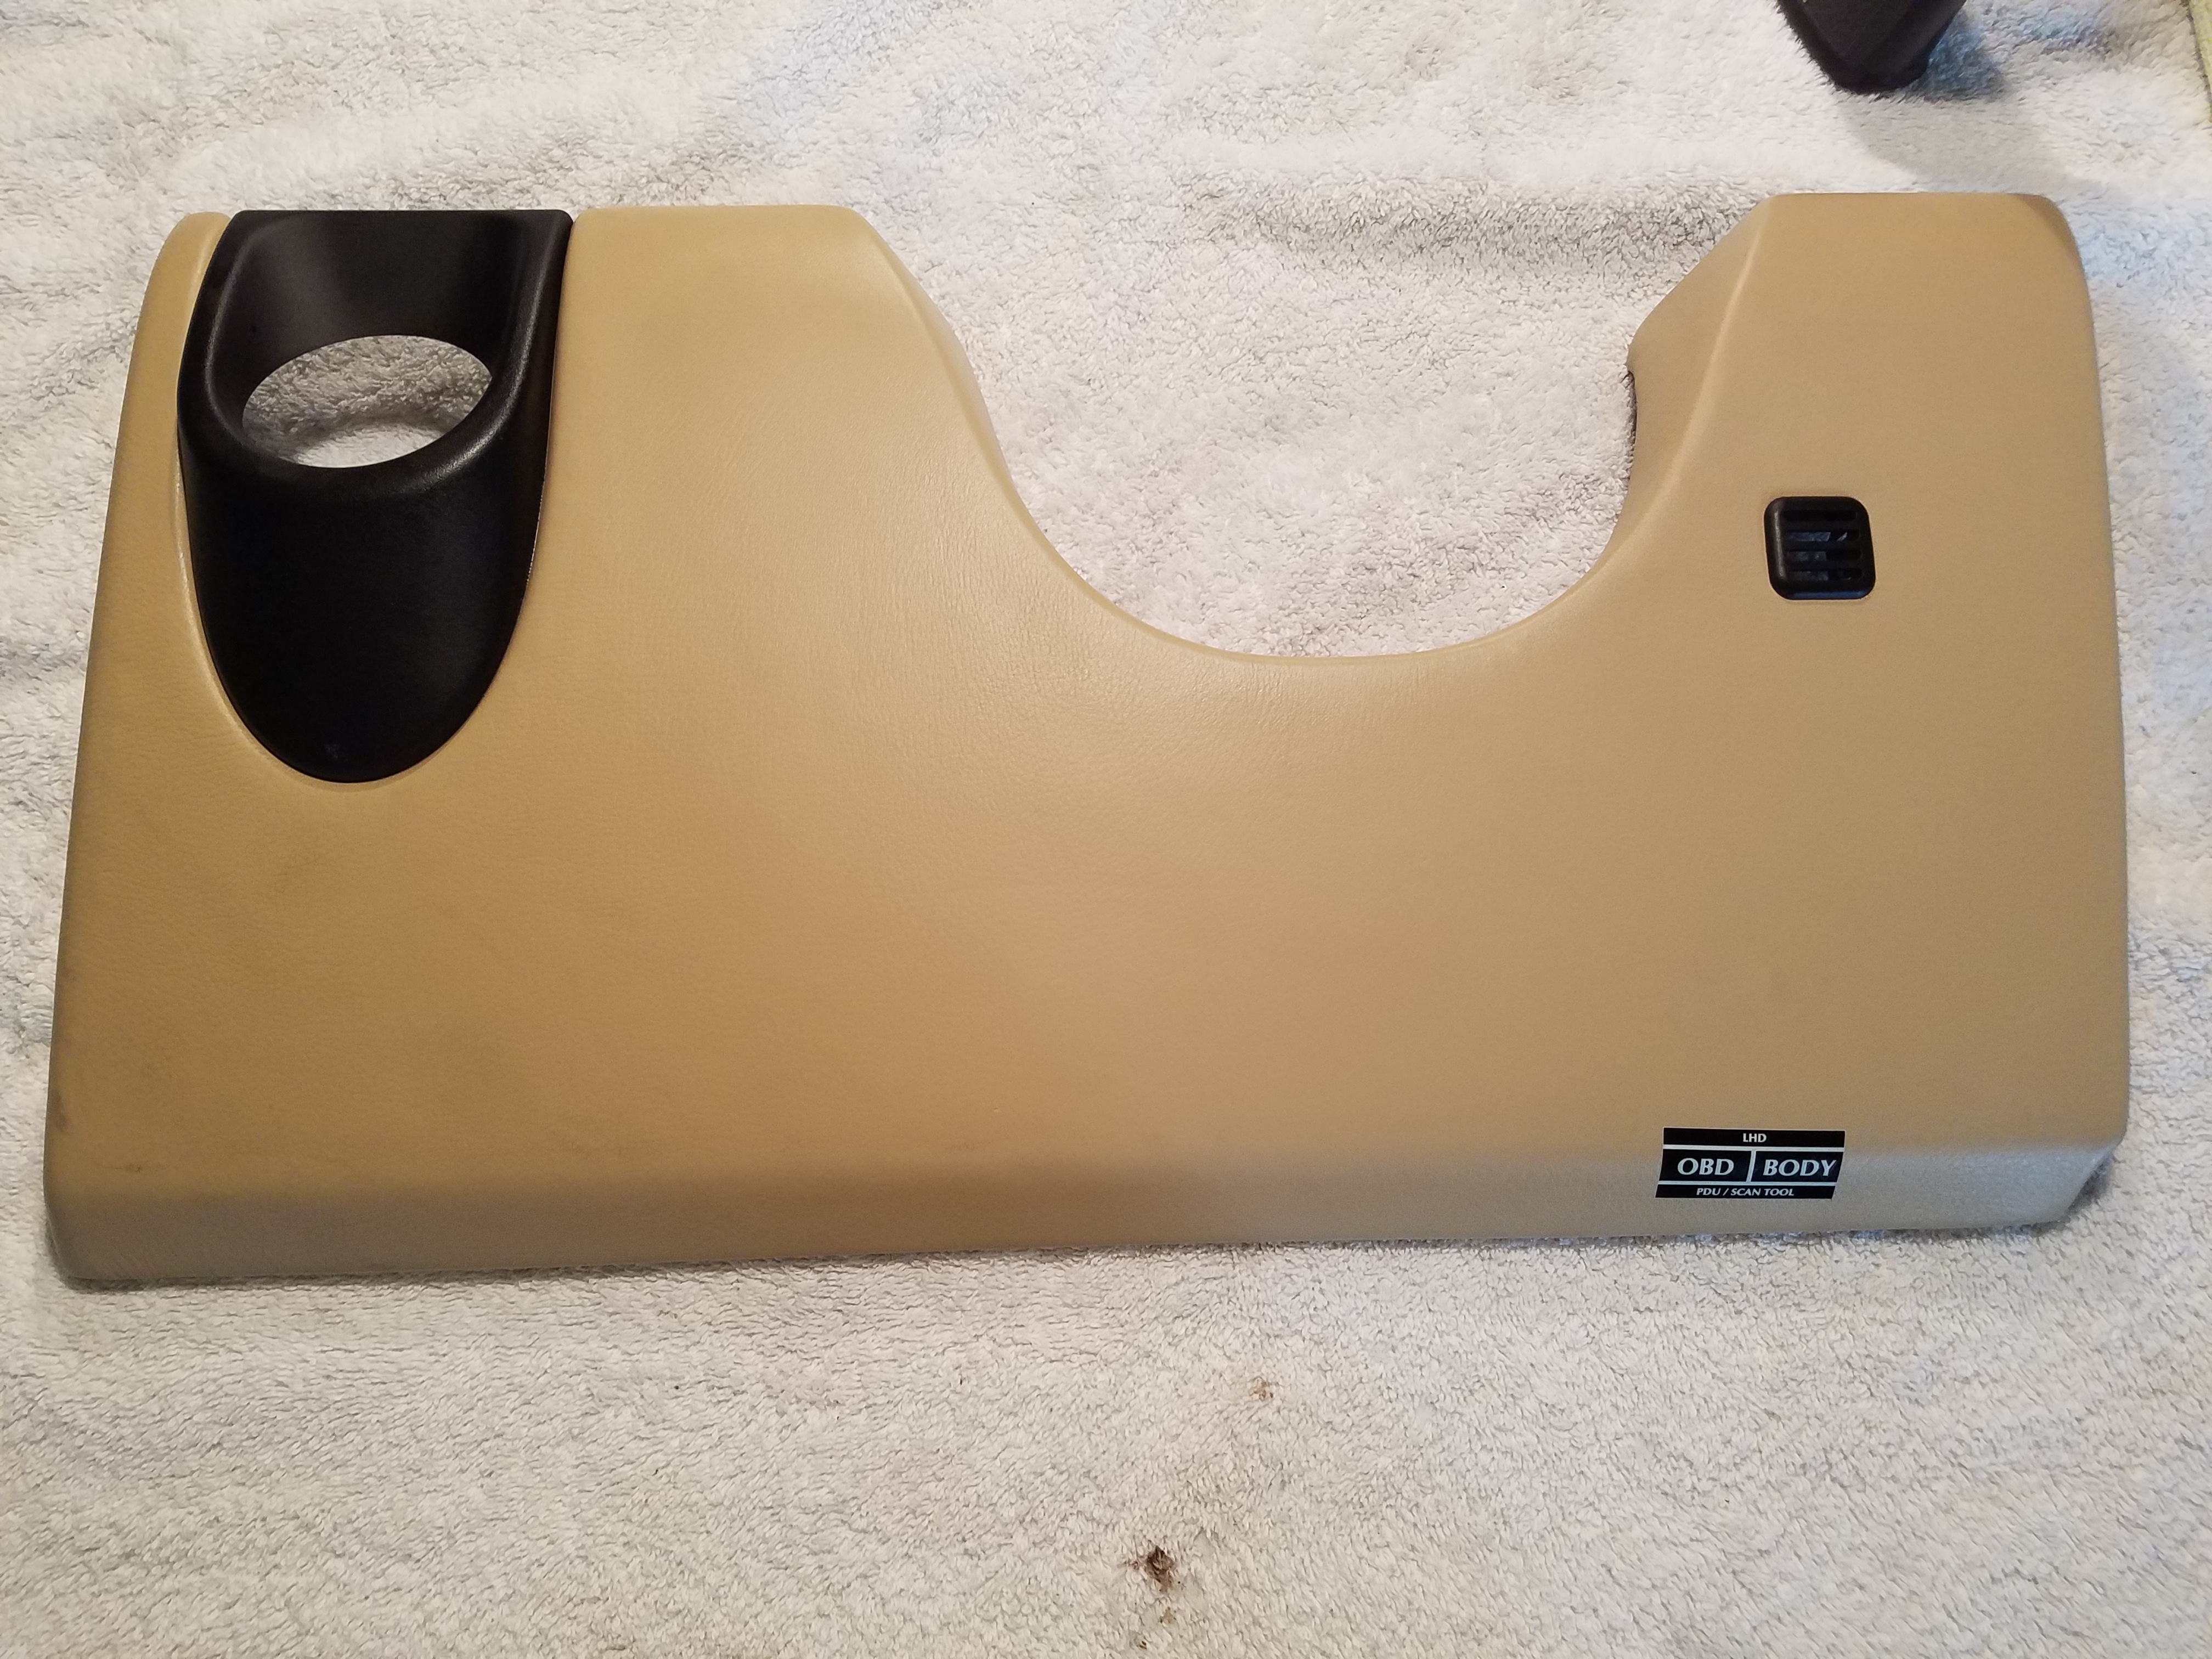 Replacing the panel could be very expensive. Not only must you purchase the panel itself ($411 USD in the matter of this panel, Aston Martin part number 4G43-C04325-AEW), they do NOT come covered in matching leather. You’d still have to try and track down the an exact match for the color and texture of the leather, and have it fitted by an upholsterer. Not a challenge I want to undertake.
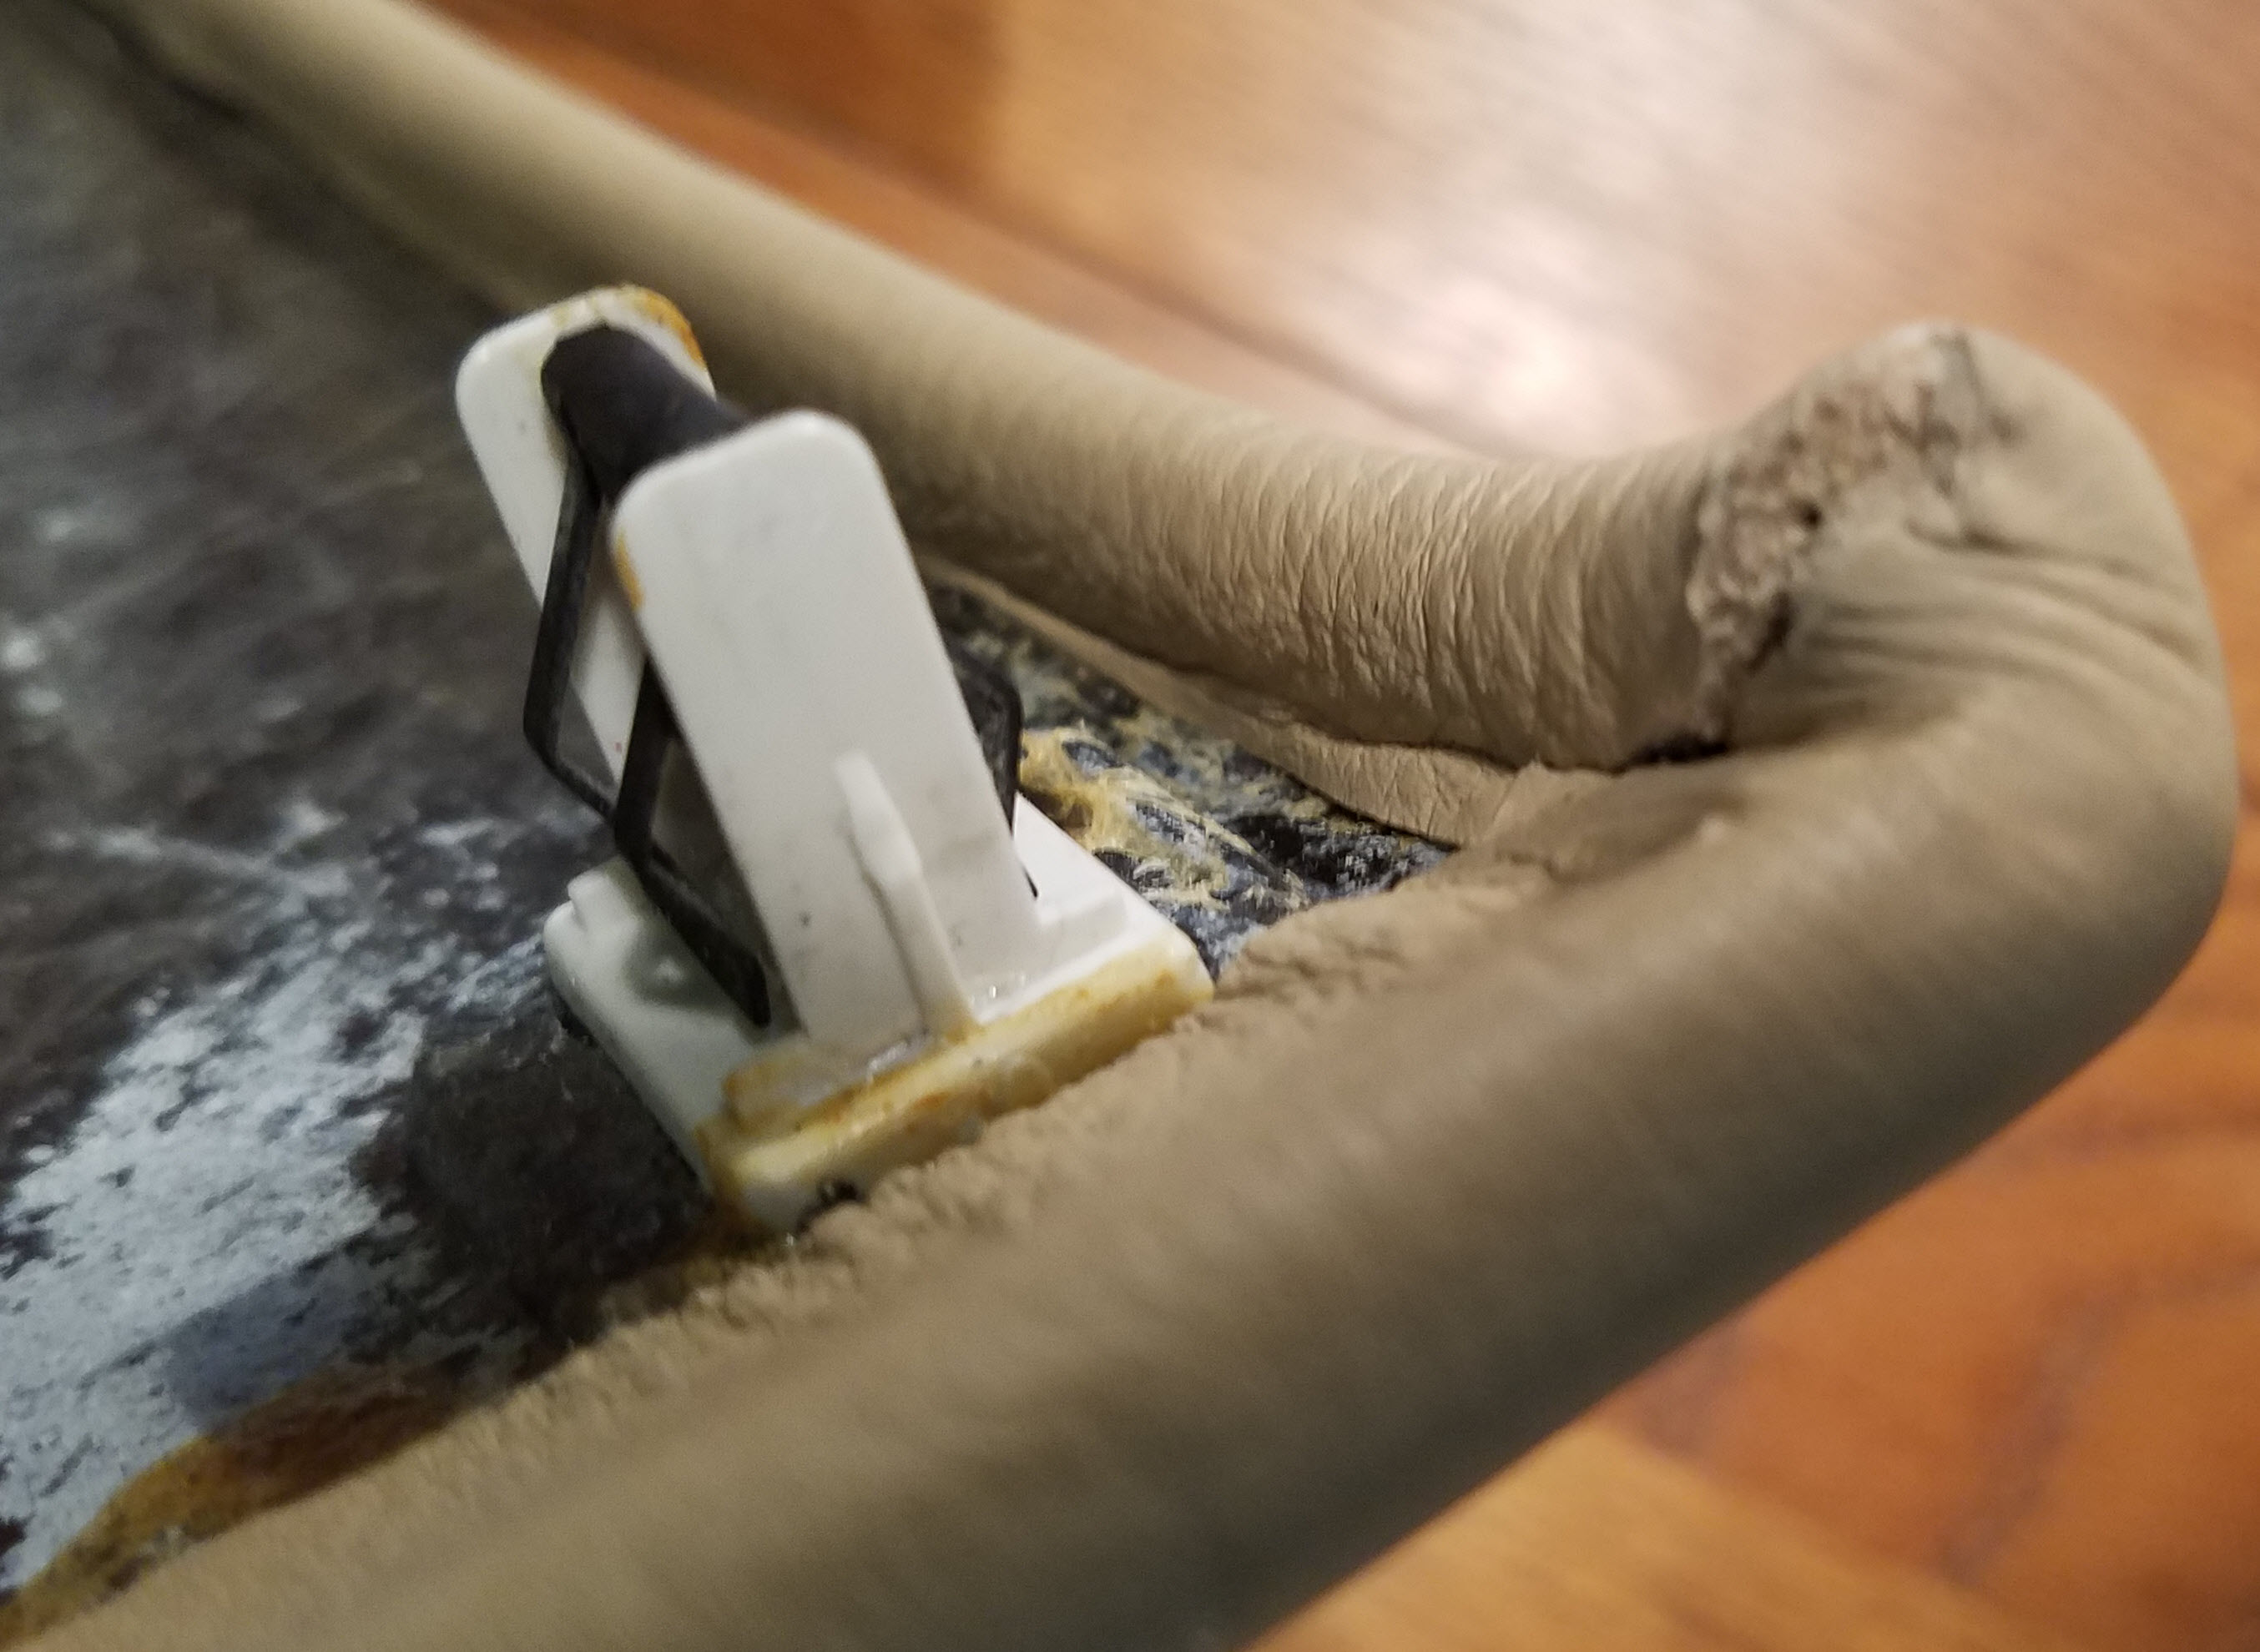
The good news here is that with them broken off cleanly in one piece, there is a good chance I can glue them back on. To test the idea, I tried mating up the snapped off portion to the remaining part of the base to see how ‘stable’ it fit. I placed it and wiggled it around a bit. Like a fingerprint, the snapped off surfaces are unique and actually fit really snugly once I found the sweet spot. More good news.
 Now I needed to pick the right adhesive. I wanted something that will be super strong gluing plastic (like Krazy Glue), but I also wanted to have a few seconds of working time to ‘wiggle’ the piece into that sweet spot. I also wanted the glue to have a little ‘body’ to it, not to just be runny like water. Fortunately, this is a popular combination and just the right glues exist. Both Krazy Glue and Gorilla Glue offer a gel like quick setting glue for this. I picked up a small 20g bottle of Gorilla Super Glue Gel for about $6 USD at my local Home Depot store, or you can order online from Amazon.com for the same price with free Prime shipping.
Note: Be Careful! This stuff is just like Krazy Glue, so be careful, it can glue your fingers together in a hurry.
 I decided to do the repair on my dining room table (!), with an old beach towel spread out on it (partly to protect the table from the glue, and partly to protect the smooth leather surfaces from getting marred up on a dirty shop bench). The lighting and ventilation are very good as well. Didn’t hurt that the temperature was a comfortable 72°F.
The biggest challenge is the limited handling time once you’ve applied the glue. You get about 45 seconds to align the pieces once you’ve applied the glue. A couple of quick practices to know I was holding the pieces in the correct position in the correct hand were helpful.
- I followed the directions on the bottle, shaking it well before starting.
- I applied a small amount of glue gel along the entire area of the mating surfaces on the snapped off bit knowing this would be the exact area needing glue.
 I quickly positioned the snapped off piece into the ‘Sweet Spot’ with my fingers.
- I kept a bit of pressure on the piece forcing them together for the 45 seconds it takes for the glue to setup.
- I waited another 24 hours before I tried to reinstall it in the car, allowing the glue ample time to set 100% before putting it to the test.

The last step of my preparation was to clean the leather panel like I had done with all the others. You can see how I did that in my other article and video here.
I can report the repair was a complete success. Both snapped off clips glued back on solidly, and I was able to snap the panel back into place without issue, and no new creaks or squeaks have started. I’ve removed the panel a few times to test that they are strong enough to continue on. $6 repair saves several hundred!
Video
Here is a short video of how repaired the snapped off clips.
