
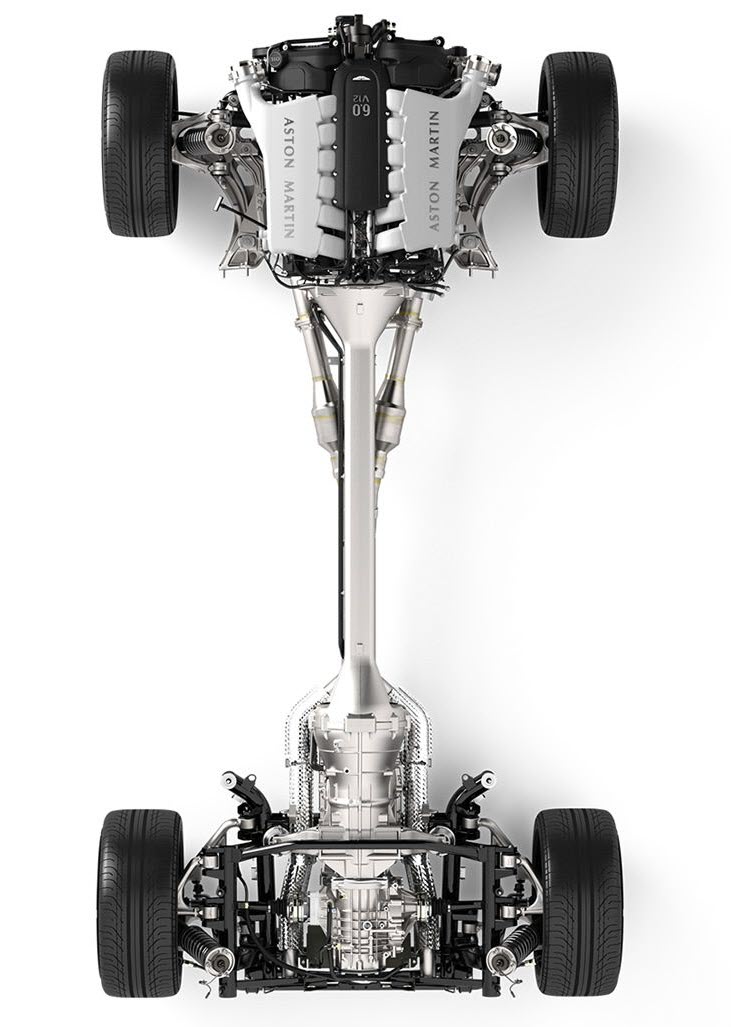
The Aston Martin DB9 has a very cool drivetrain support system. At the front the engine and suspension system is all mounted to a subframe. At the rear the transmission, differential and suspension system is mounted to a rear subframe. Connecting the Front and Rear is the ‘Torque Tube’ that comes off the back of the engine and links to the front of the transmission. All together you can literally drop the entire power train out of the car by disconnecting the subframes. Why talk about this now?
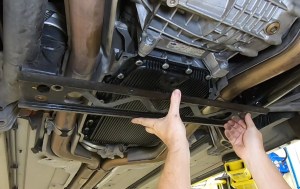
At the rear of the car if you need to do some work on the transmission or suspension, it’s all mounted to that rear subframe. One component of the rear subframe is a lower crossmember that links the bottom right and left sides together making it more rigid, and also providing something to mount the rear plastic aerodynamic undertray to. I had removed this cross member to perform a full transmission fluid, filter and seal service (check out my article on that here). This article is about how to properly reinstall that crossmember after you’ve completed your other service work.
Prerequisites
If you’ve already got your cross member off you obviously have the prerequisites out of the way. If you want to see how to get that done I have an article here that shows you the process.
Tools Required
This list is pretty simple:
- 16mm 6-point socket (1/2″ drive)
- Ratchet (1/2″ drive)
- 6″ extension (optional)
- Torque Wrench capable of 85 Nm
You might also want to have a little penetrating fluid on-hand (like WD40, etc.). The bolts on even my California car were fairly rusty and you might give yours a spritz before you reinstall them.

Procedure
This is easy and will take just a few minutes.
The process is really just to reinstall the four bolts and torque them correctly.
- Cleanup your existing bolts as needed to have them free of rust or debris.
- You might want to give them a spritz of WD40 or some other oil.
- Offer up the subframe to the car. Note that the long edge with the 2 bolt holes faces the rear of the car, the other edge with 3 bolt holes faces the front (these holes are for the rear undertray to mount to).
- Start one bolt finger tight while holding the bracket in position with one hand. Leave it loose.
- Start one bolt on the opposite side to take the weight. Leave it loose.
- Hand start the other two bolts and be sure they are all started a few threads before tightening.
- I used my electric impact driver to run each bolt up into place taking out the slack.
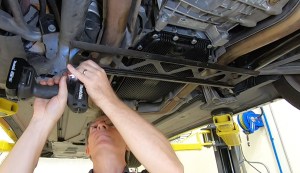
- The final step is to use the 16mm 6-point socket, extension and Torque Wrench to tighten them to the final spec of 85 Nm (63 ft-lbs). This is a fair bit of torque. There is no particular pattern needed for these bolts. Don’t just wing this step, properly torque them as this is part of the cars structure.


That’s it. Just four big (tight) bolts and don’t brain yourself torqueing them.
If you are buttoning your car backup you pretty much only have one step left, reinstalling the rear undertray. I’ve got a quick article on that here for you.
Video
You can see me refitting the crossmember as part of my Checking the Transmission Fluid Level video at the 37:14 mark. Here is a link to it:

Off point but if you hear a grumbling noise when pulling slowly out of a turning it is the diff. And can be cured by changing the differential oil and filter. This should be done at a big service anyway but often isn’t. Colin Simpson
LikeLike
Hi Colin. Yes, I agree. Owners shouldn’t be skipping the rear diff fluid change as part of their 2 year service. This is a limited slip differential and its clutches need the specific fluid designed for this.
LikeLike
I have a problem with my2006 db9 the transmission will not engage . I pressed on the brake hard several times with no change.I checked all direct and indirect fuse and relays with no findings. OBD 2 codes at PO705-transmission sensor A circuit. Question is what is the issue is it electrical outside the trans and is this an issue I can fix or farm it out
LikeLike