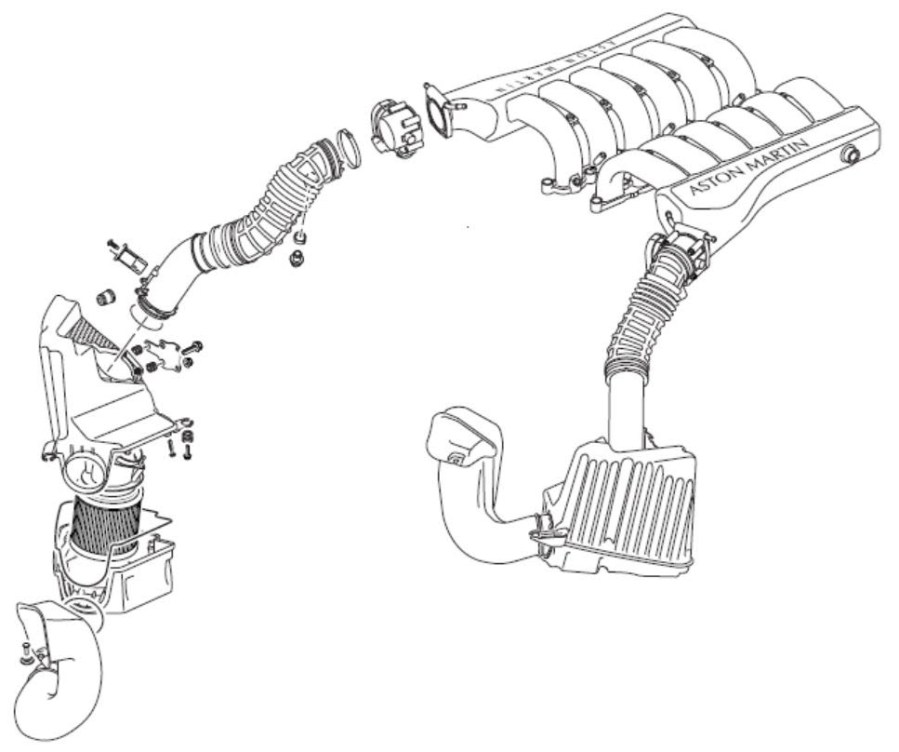
 I had to remove the airbox from my DB9 to replace the Front Position Lamp Bulb that had burned out (Check out that article and video here). I’ve already shown you how to remove it in a previous article, and in this one I will show you how to reinstall it. Installing the airbox isn’t hard, and can be done with just a few basic tools.
Tools Required
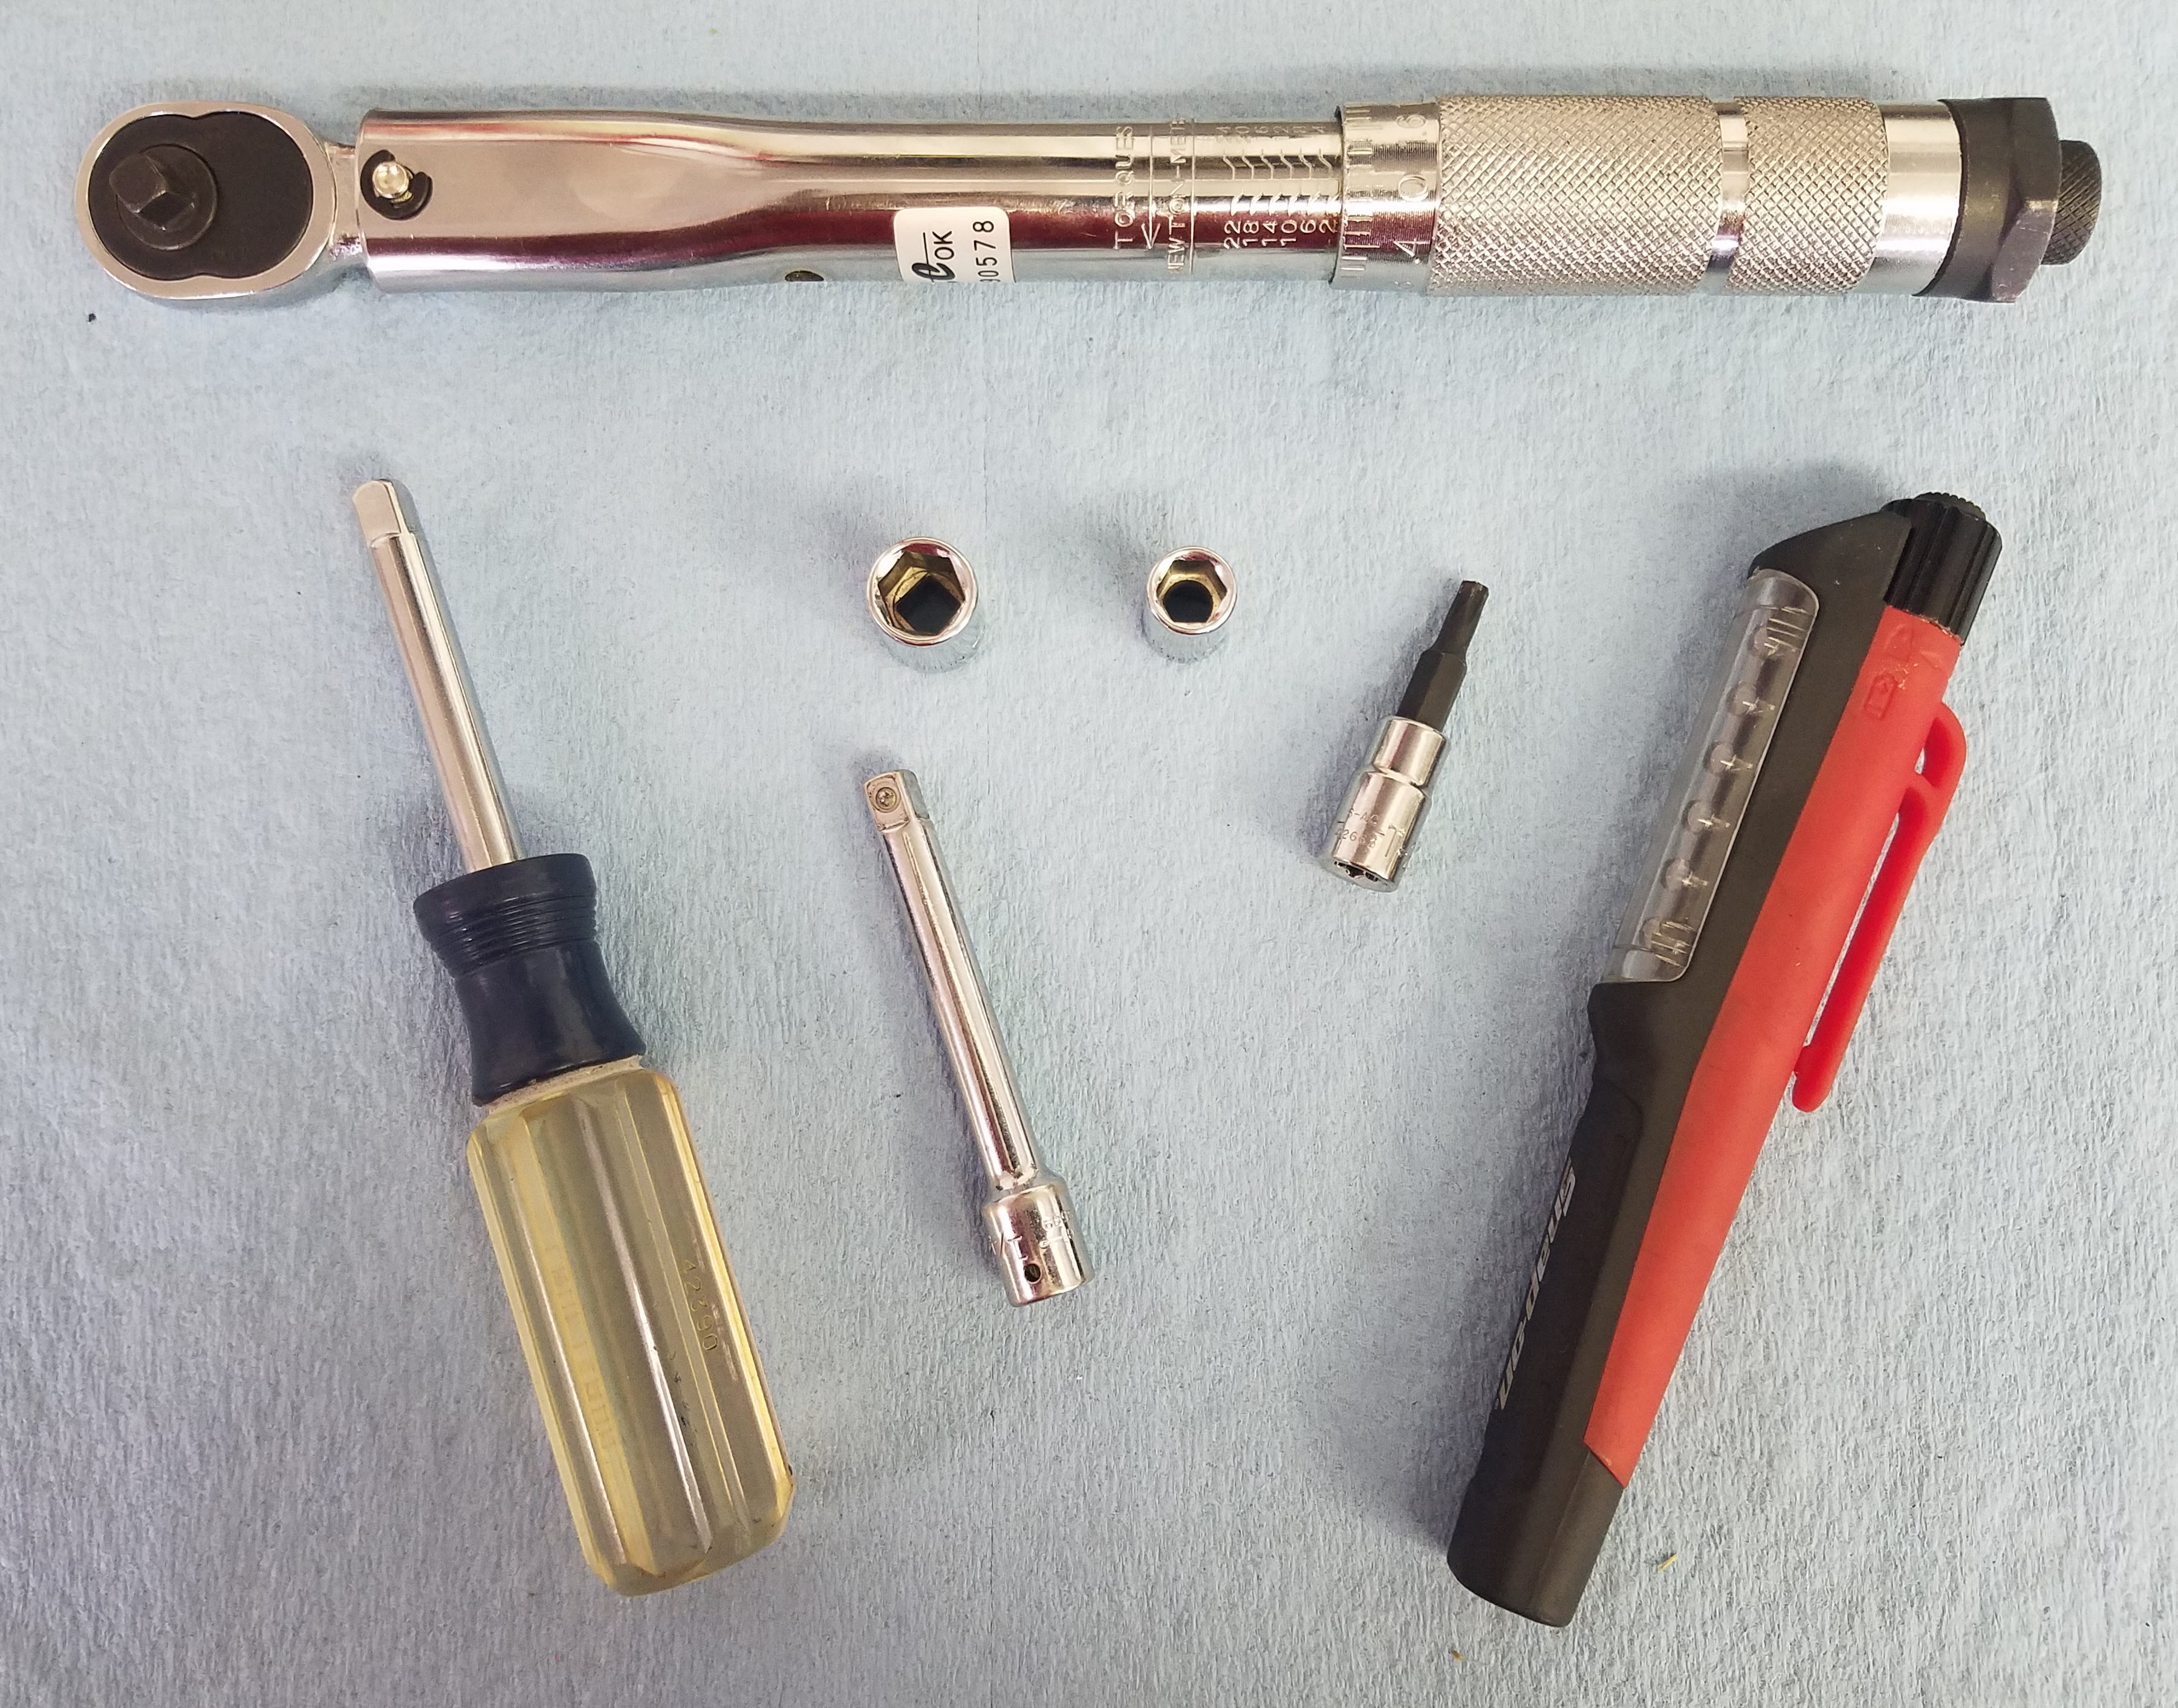
You’ll need a few tools to reinstall the airbox:
- 8mm 6 point socket
- 10mm 6 point socket
- Extensions for the sockets
- Nut driver or ratchet
- Torque wrench capable of a very low 2 Nm setting
- Inspection Light

Procedure
 As usual I started by reviewing the official Aston Martin Workshop Manual. Section 3.12 on the Air Charging System covers the airbox (check it out here). I’ve found that their process isn’t entirely correct, and I’ve improved it a bit with my own additions below.
Reinstalling the airbox only takes about 5 minutes.
Note: There are airboxes on the left and right side, but I am just showing how to do the left side one in the photos and video below. They are just a mirror image of each other so the process is identical.
Here’s how I did it:
- Lift the airbox back up into place, and finagle it carefully into the space.
- Watch out for the side marker light pigtail that should still be loose in the area.
- I’d really suggest watching the video below for how I did this. “Finagle” isn’t really that instructive.
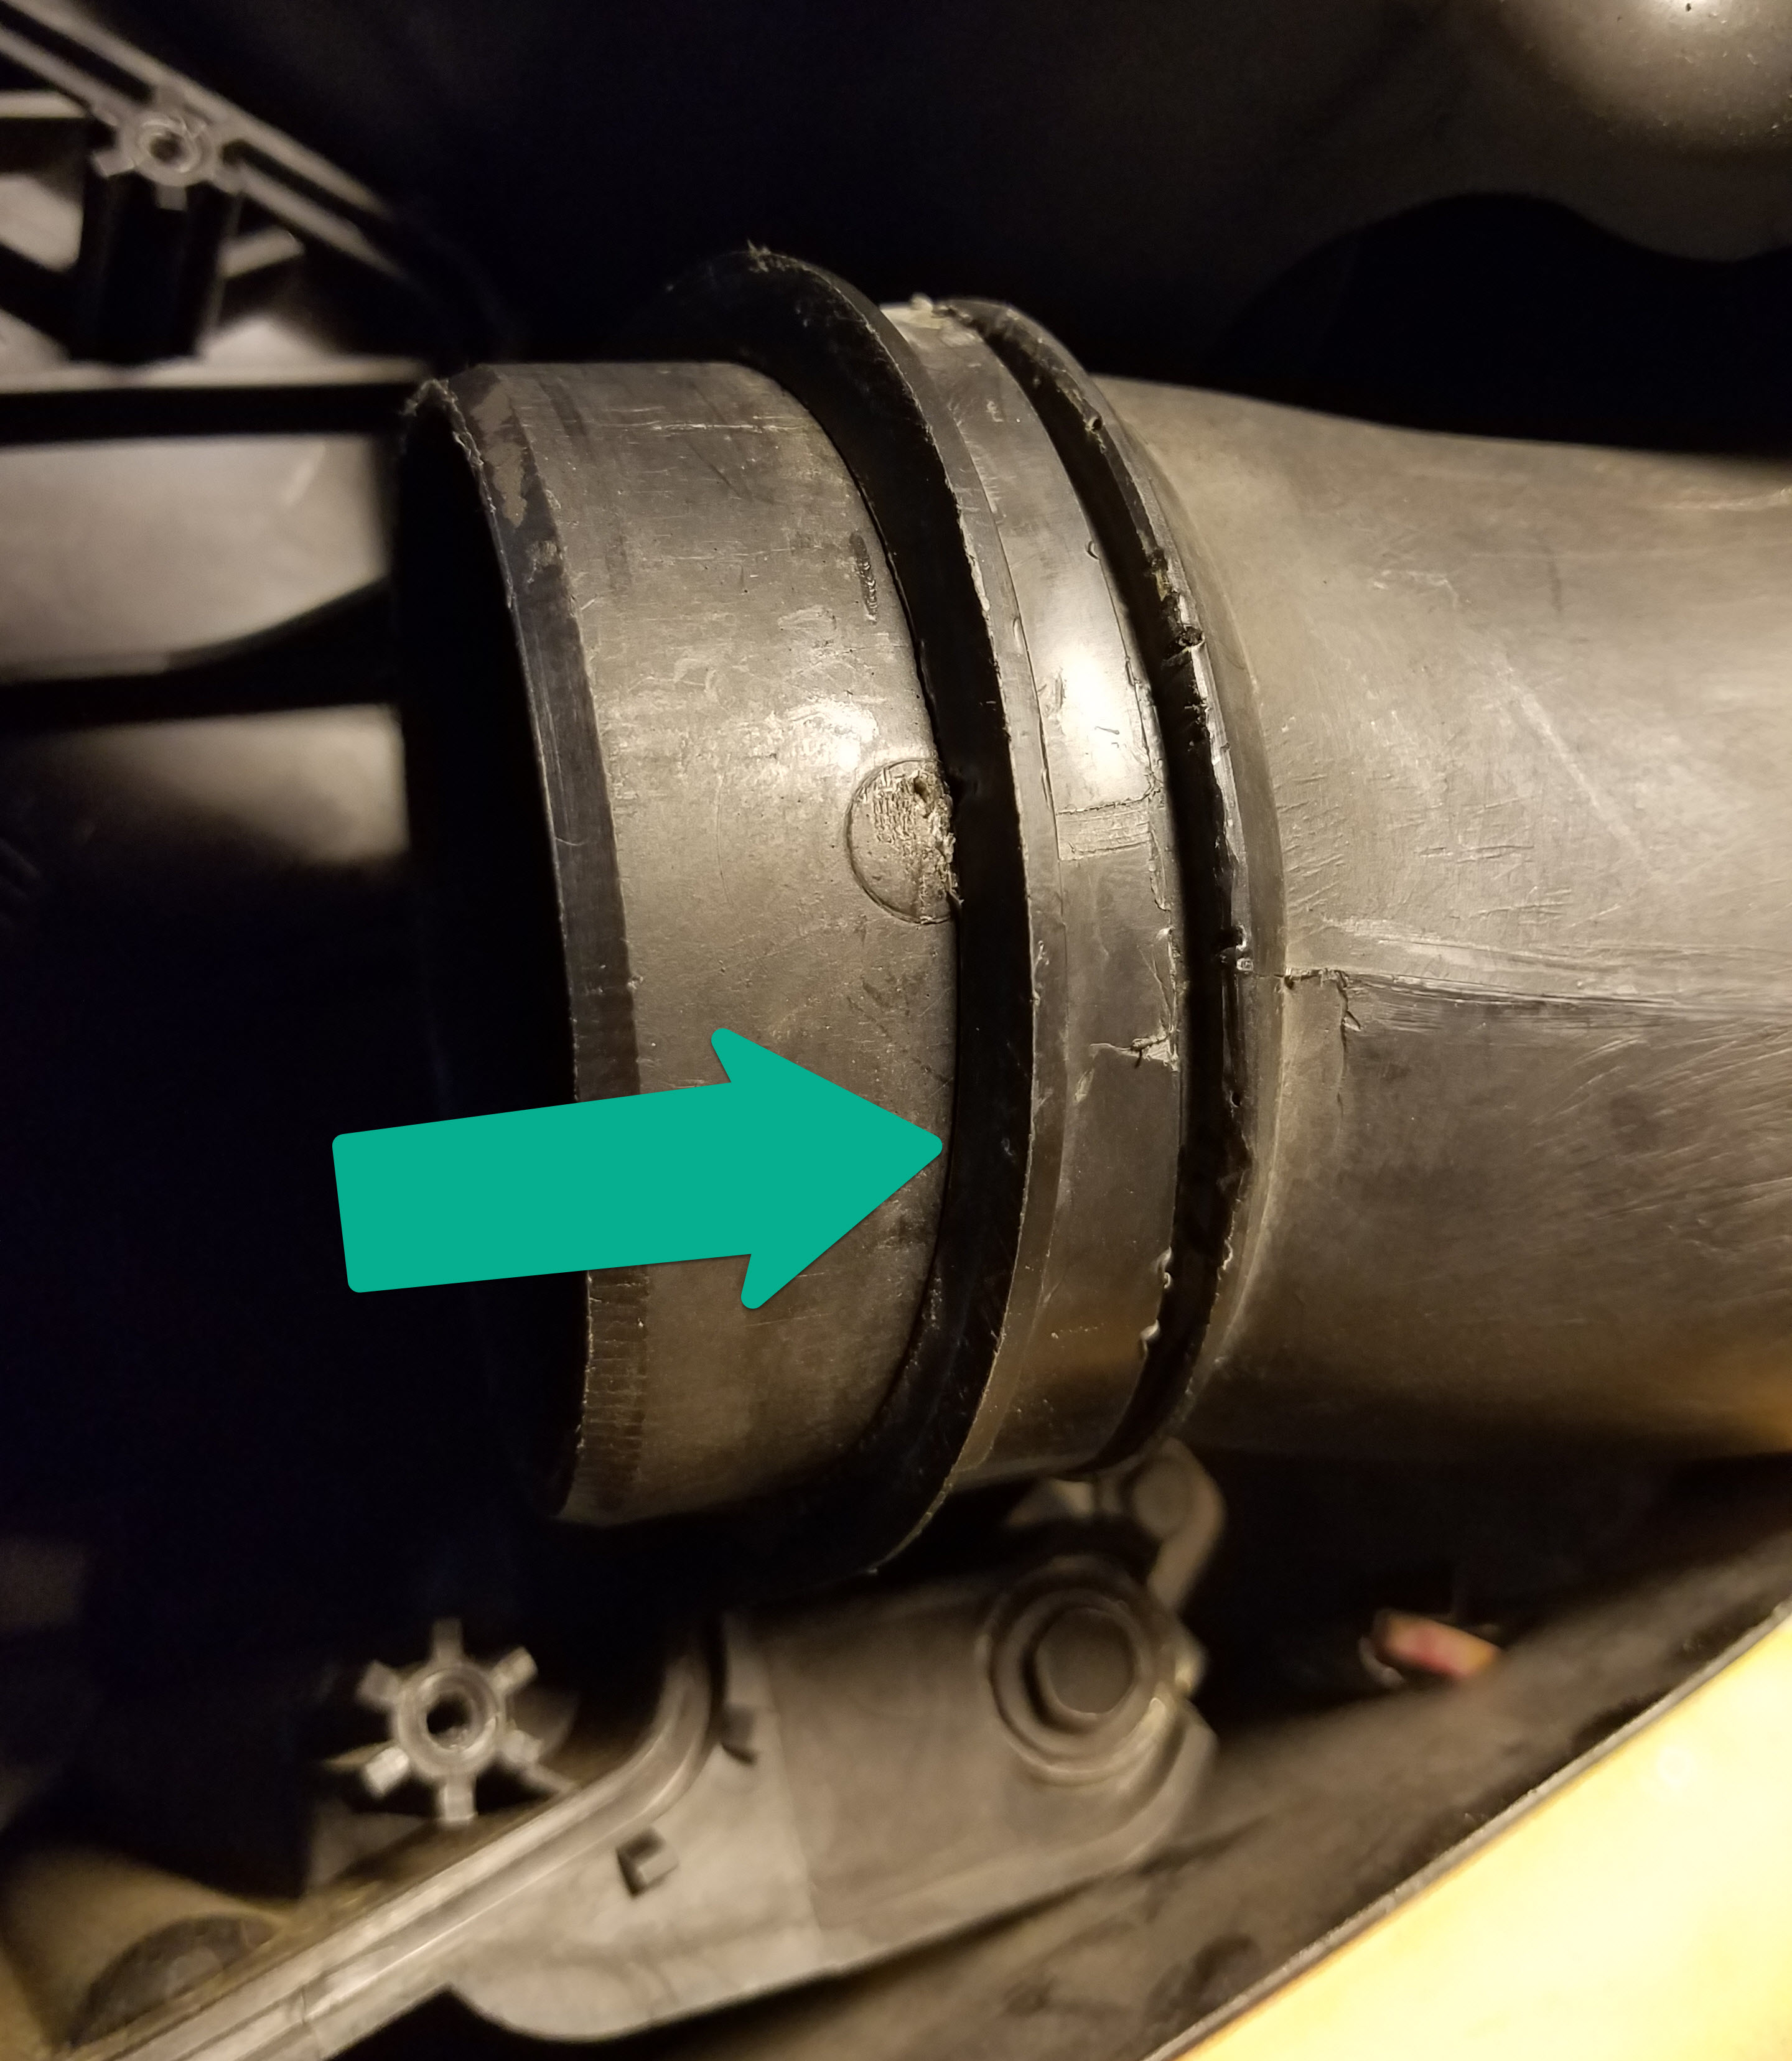
- Fit the airbox over the air inlet pipe mating the two of them together again.

- Ease the top of the airbox up over the bottom of the outlet pipe.
- You may need to twist the air outlet pipe slightly again like you did when you separated them since it likely snapped back into its original position.
- You need the tabs to slide through the gaps in all four locations around the pipe.

- With all four tabs aligned, now rotate the air outlet pipe back clockwise a few degrees to its original location with the tabs fully engaged again.
- I’d suggest you watch the video below to really make sense of this description.
- Note: I discovered that two of my tabs had already been snapped off by the Damn Previous Owner (DPO).
- Using the T25 Torx bit reinstall the outlet pipe lock screw and torque to 2 Nm.
- Be really careful not to overtighten this connection since its in plastic, and very easy to strip.

- Be really careful not to overtighten this connection since its in plastic, and very easy to strip.
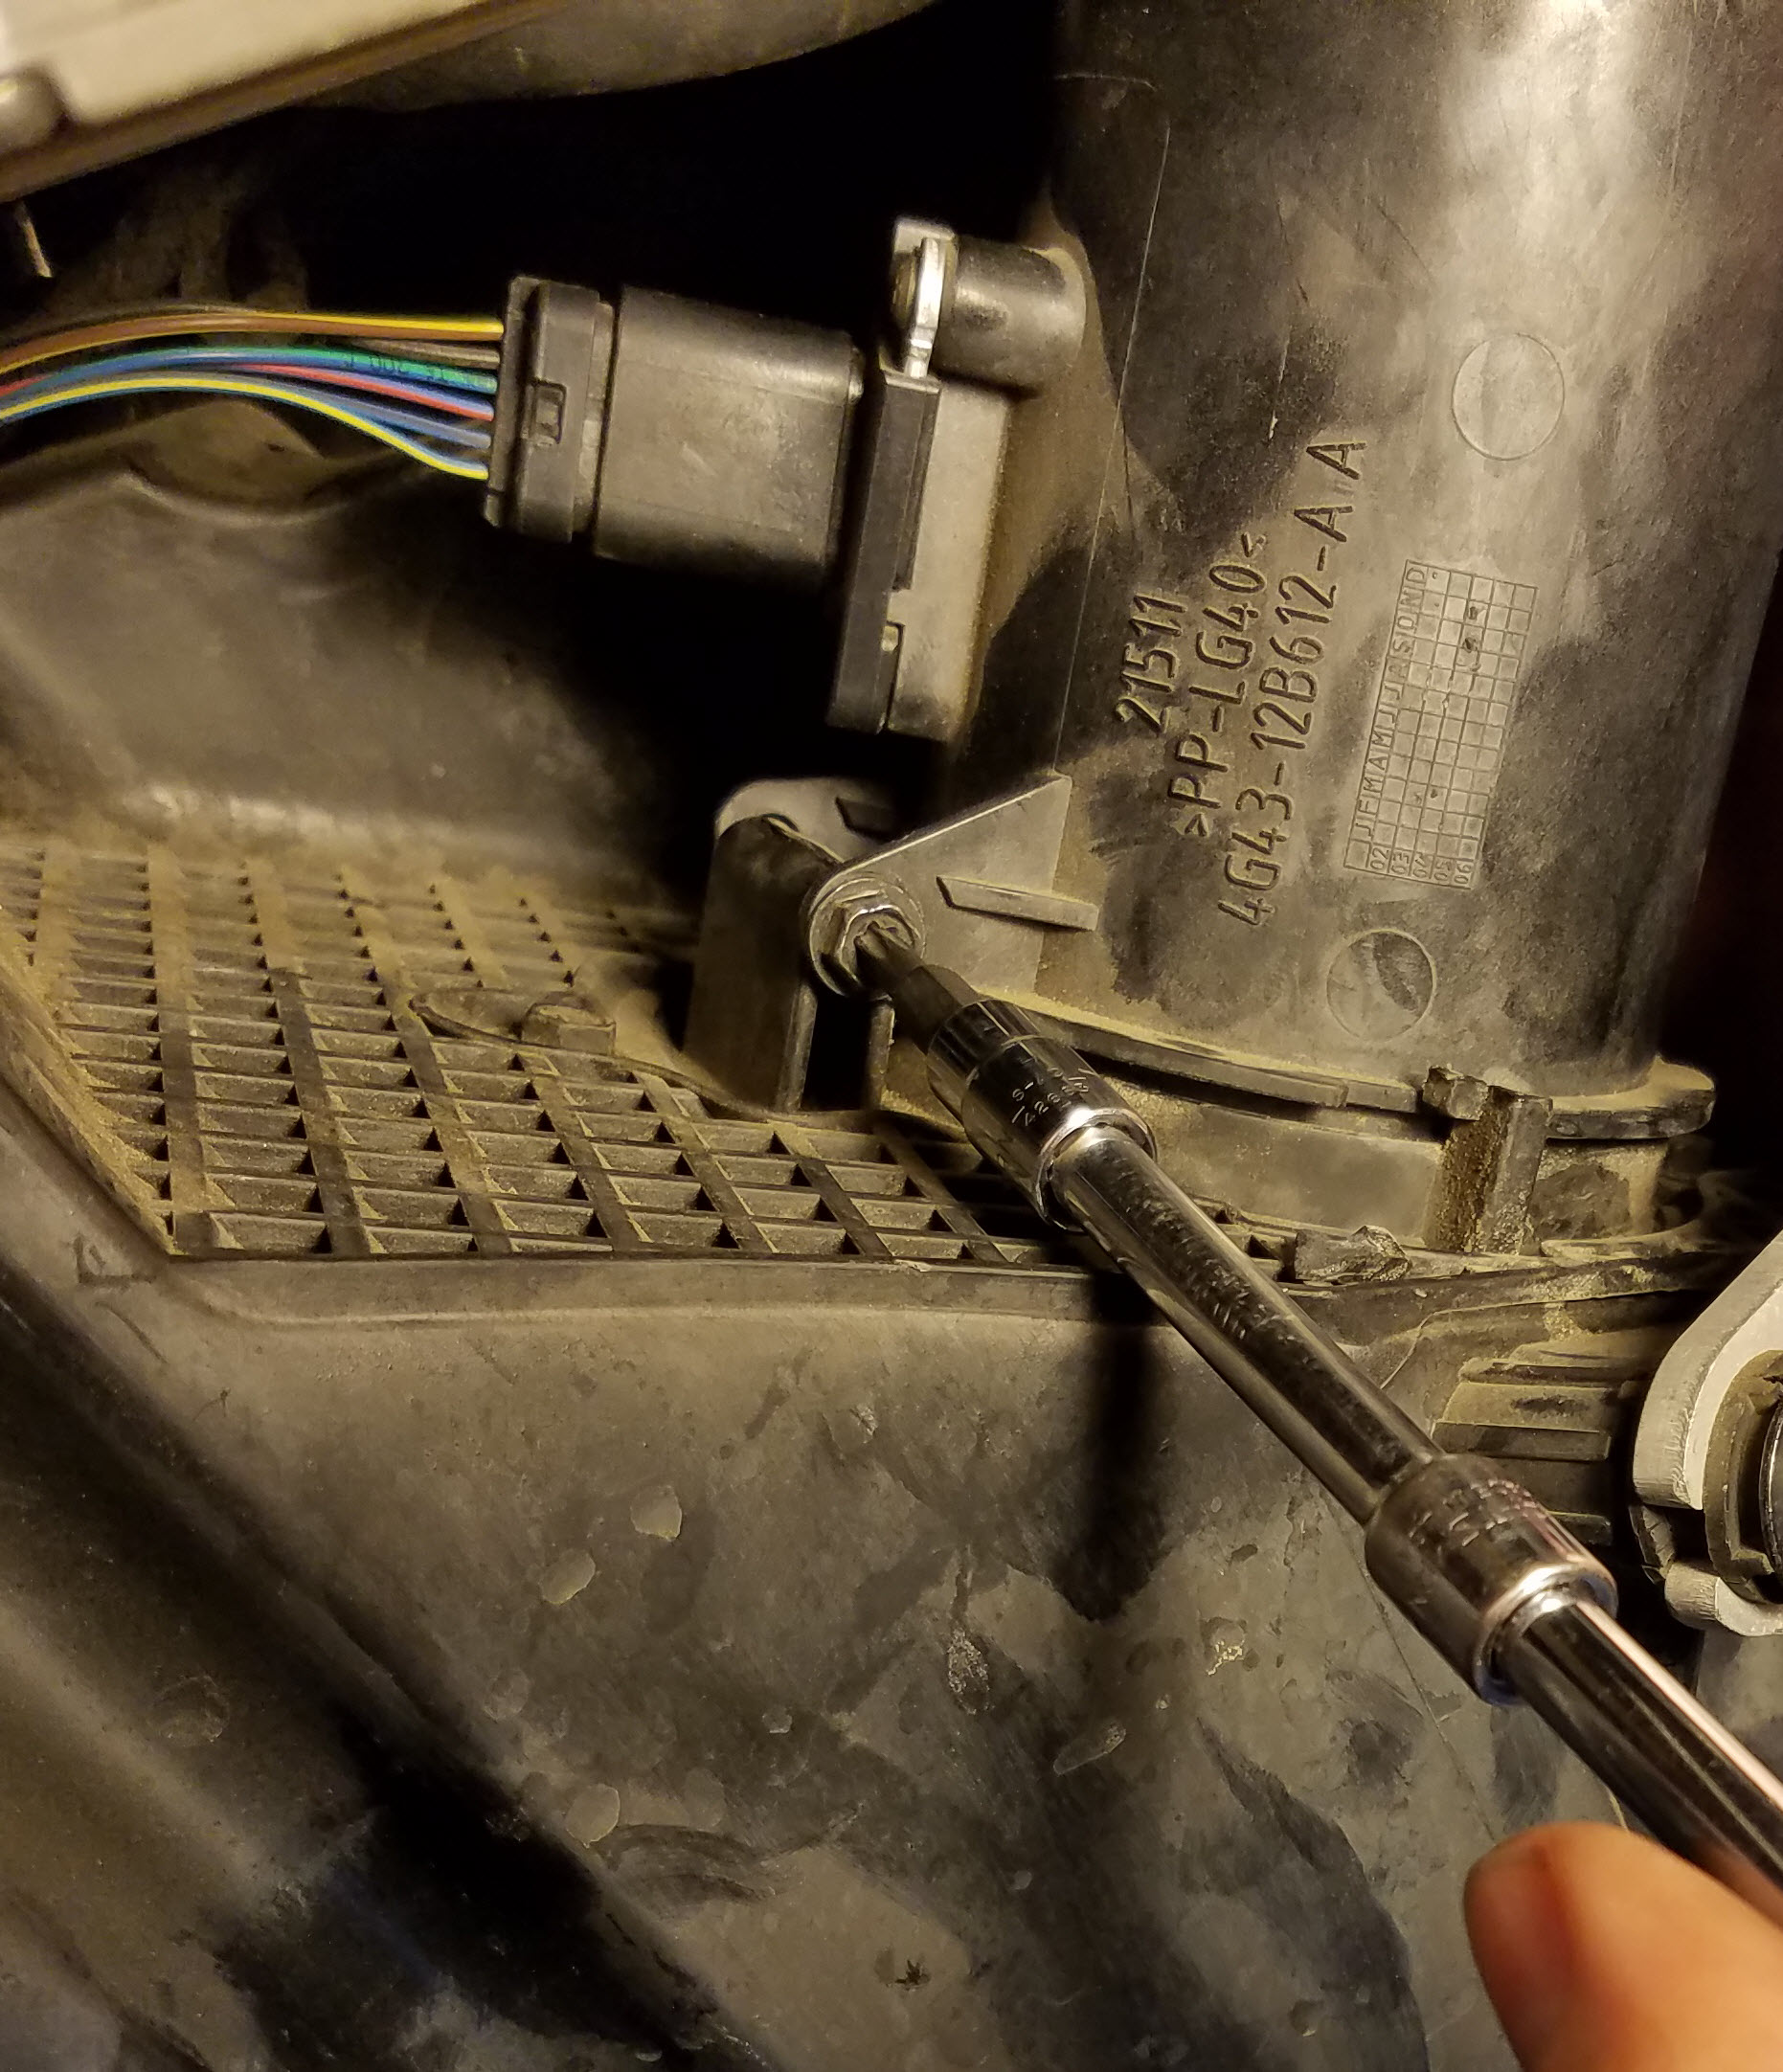
- Using your 8mm socket loosely install the two 8mm bolts for the rearward bracket.
- Don’t tighten them up yet, we want to be able to wiggle things around still while aligning the lower bolts.

- Don’t tighten them up yet, we want to be able to wiggle things around still while aligning the lower bolts.
- Reinstall the side marker lamp bulb pigtail.
- Insert the pigtail and then turn 45° clockwise to lock it in place.

- Insert the pigtail and then turn 45° clockwise to lock it in place.
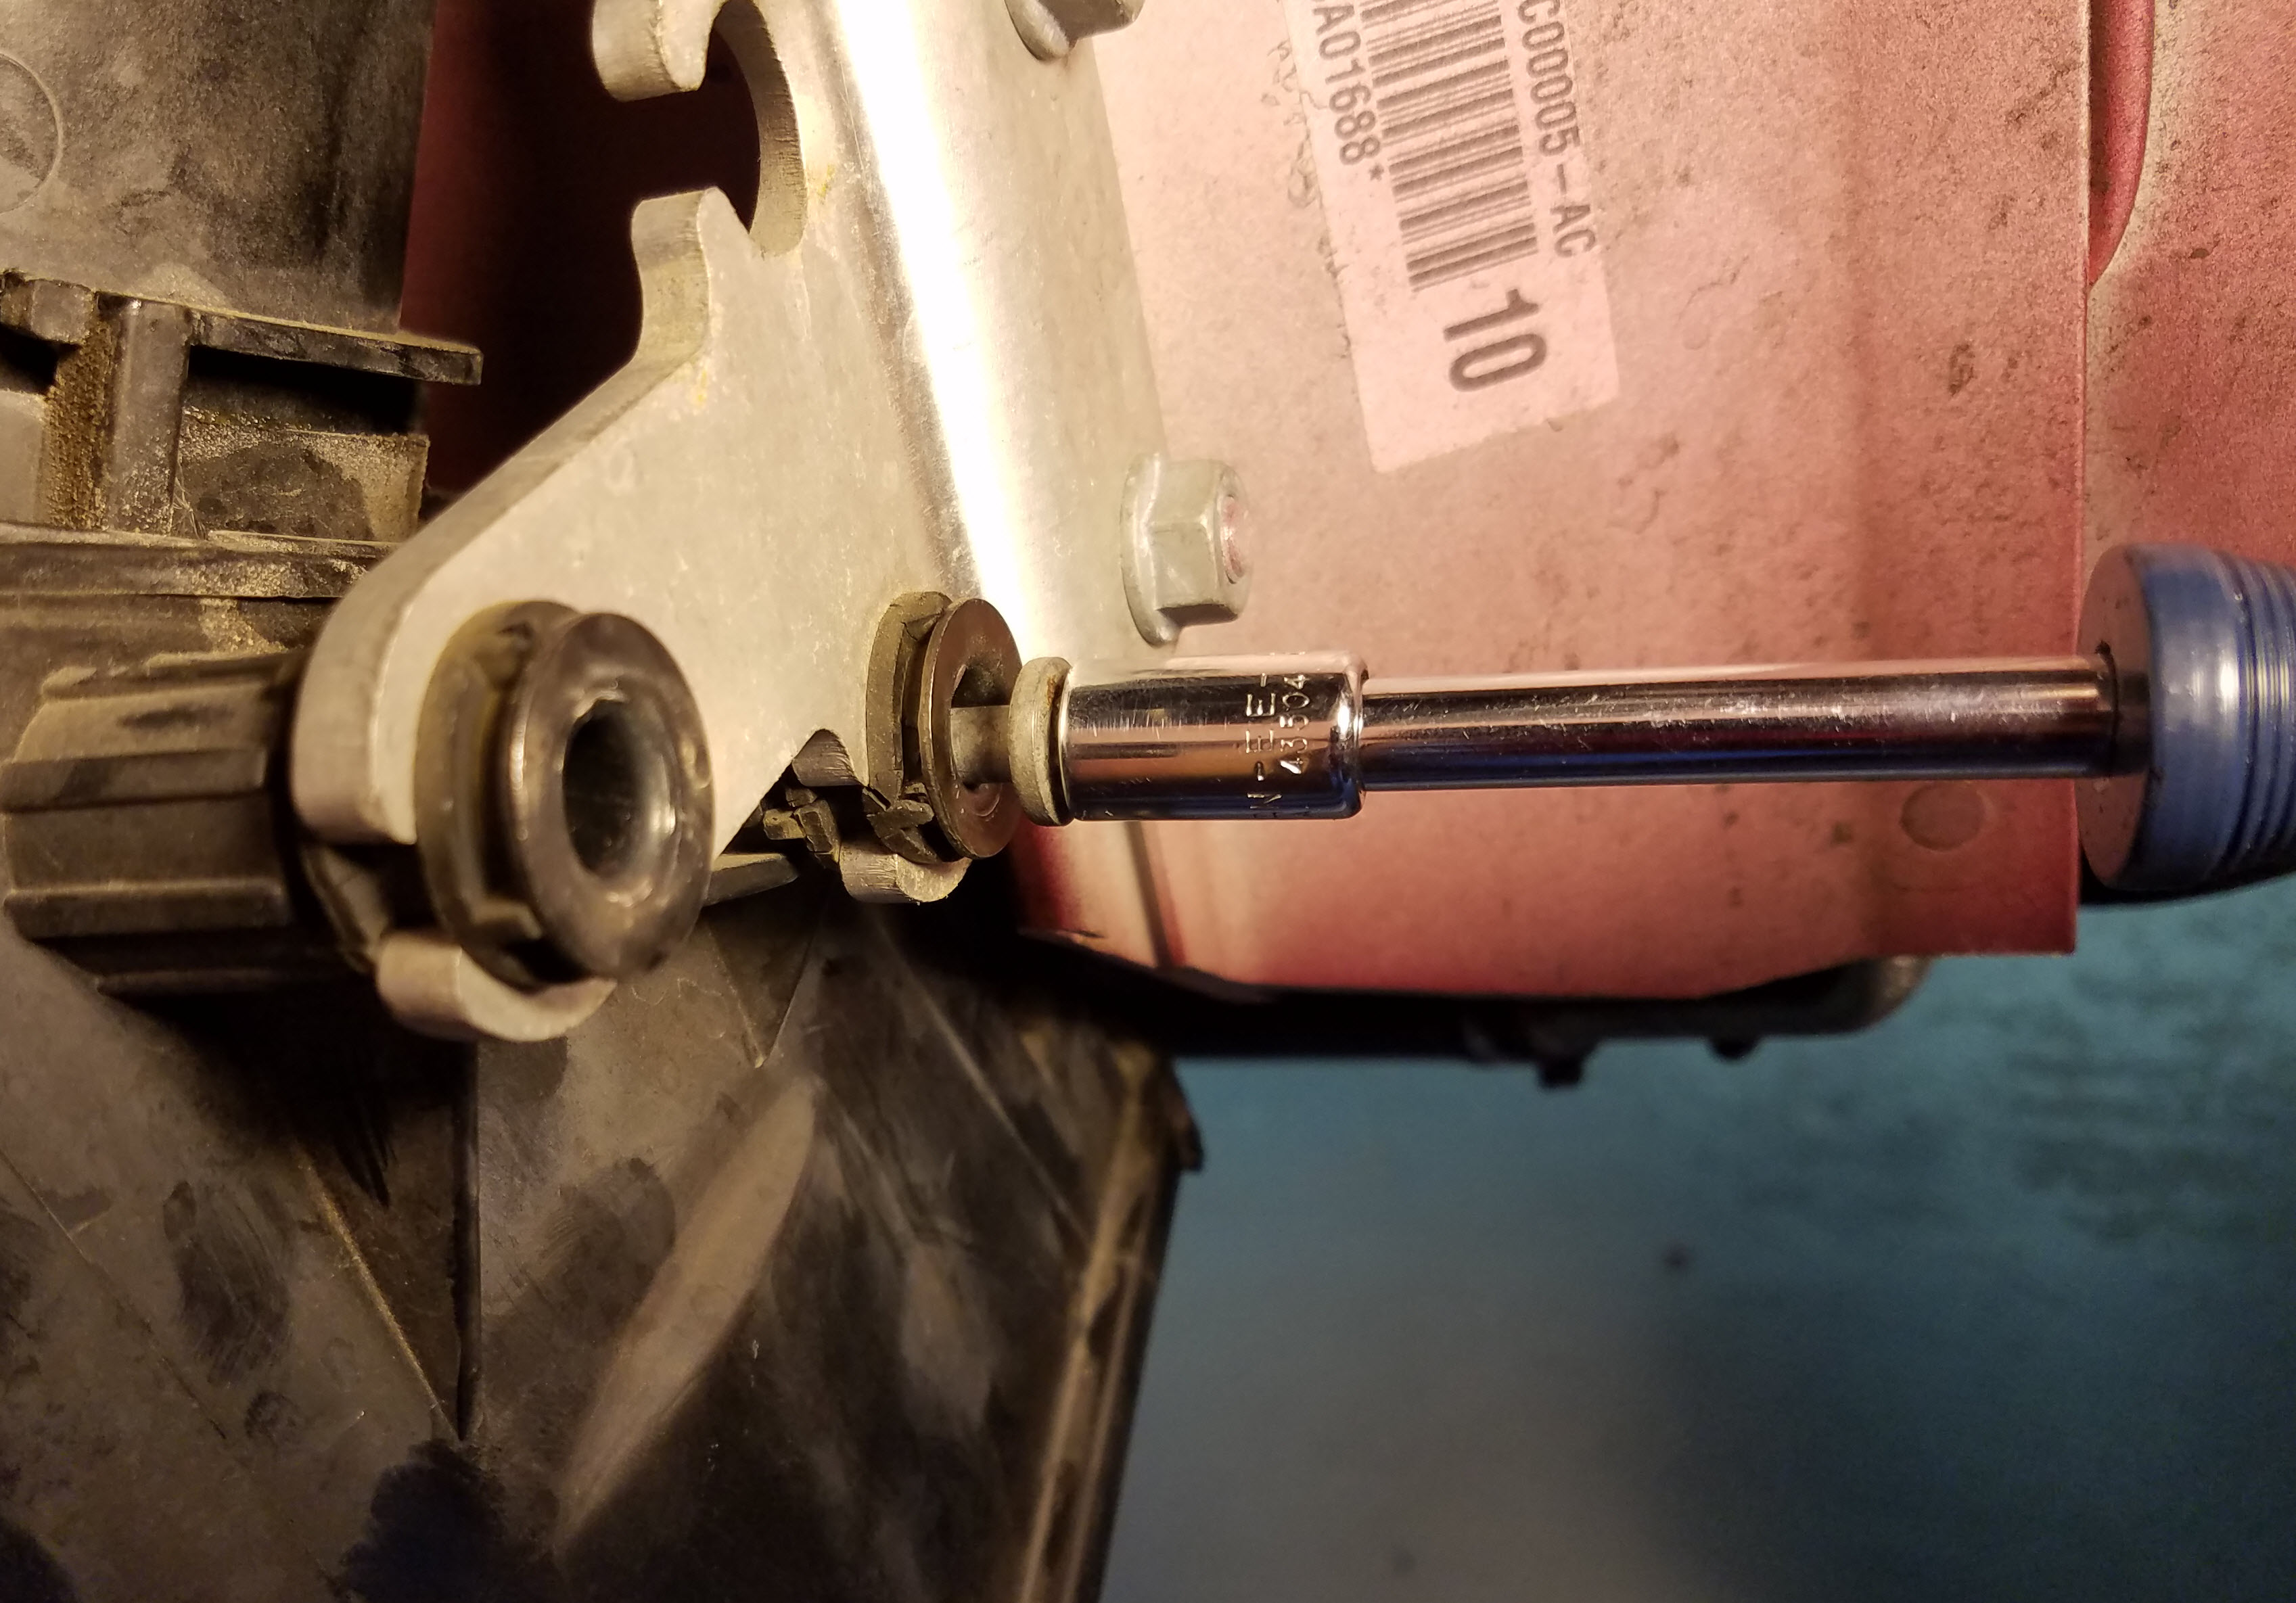
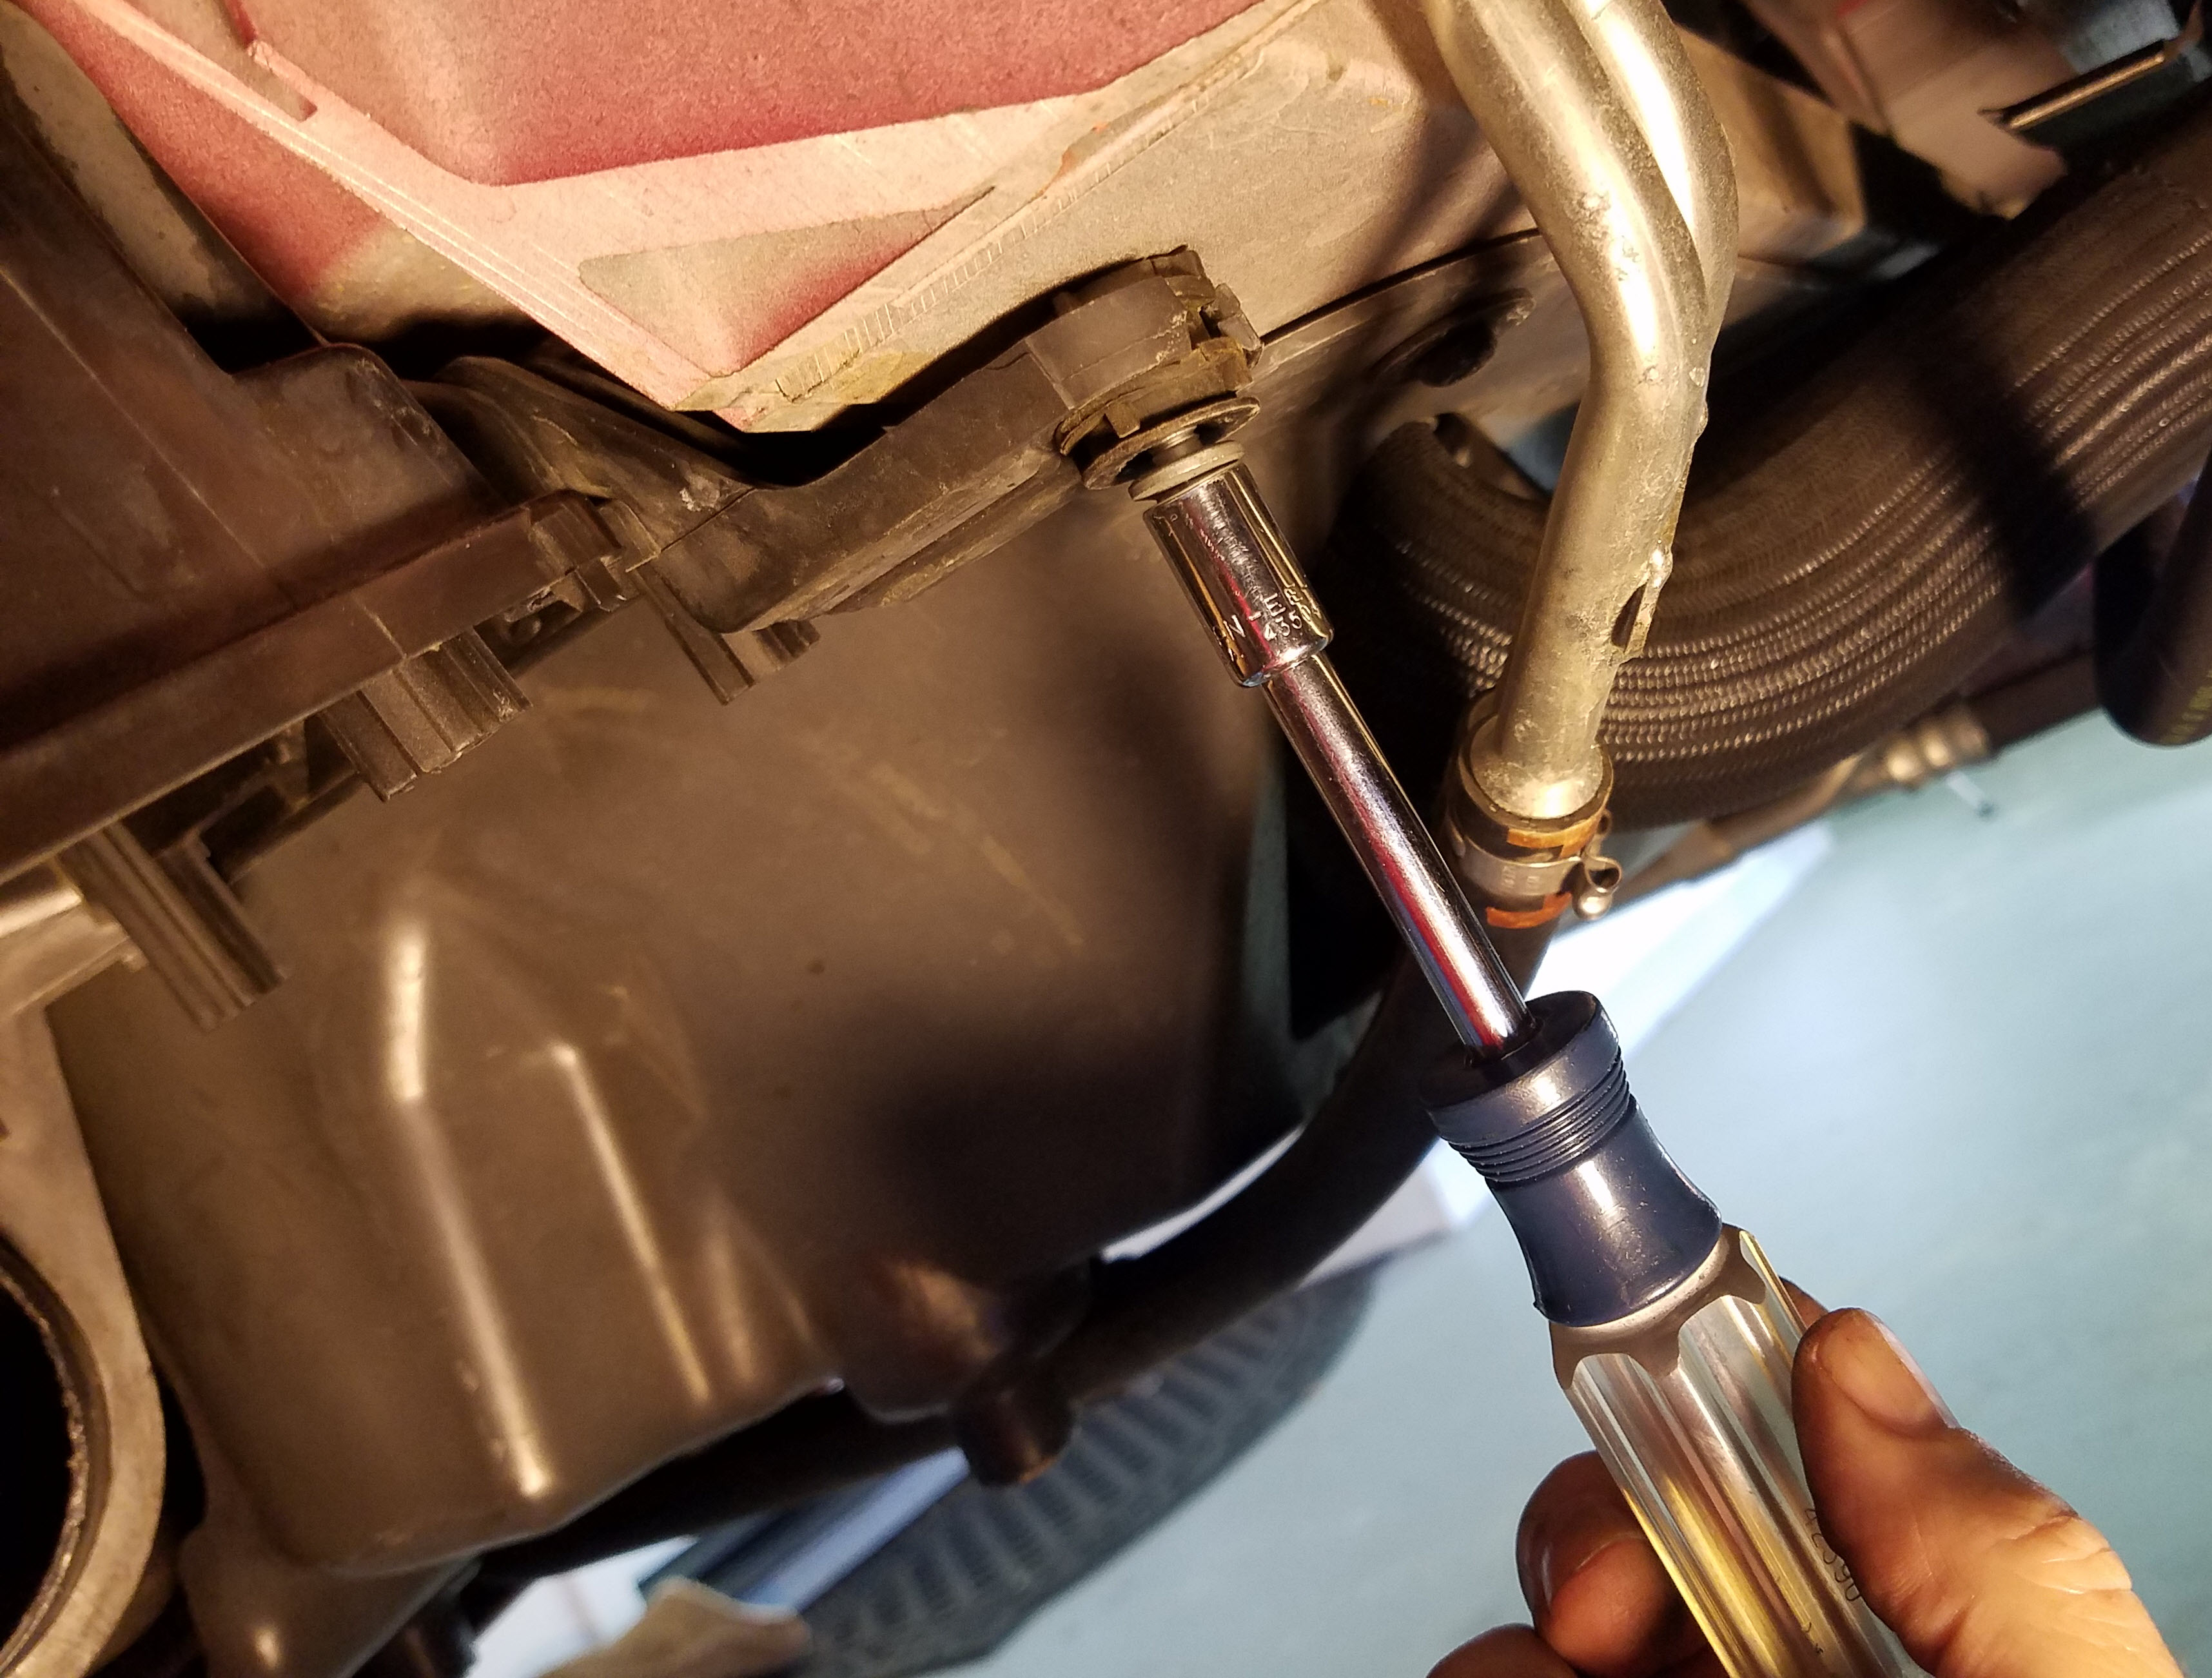
- Install the lower front 10mm bolt loosely.

- Install the lower rear 8mm bolt.

- Using your torque wrench torque all four bolts to 3 Nm.


That’s it! You’ve remounted the airbox. You still have a bunch of other steps to finish, and I have other articles on them to help including:
- Reinstall the Air Filter and the lower airbox cover following the steps in my How to Change the Air Filter article and video.
- Reinstall the Front Wheel Arch Liner
- Reinstall a Road Wheel
- Properly Torqueing the Wheel Nuts
Video
Here is a short video on the process I followed above.
