
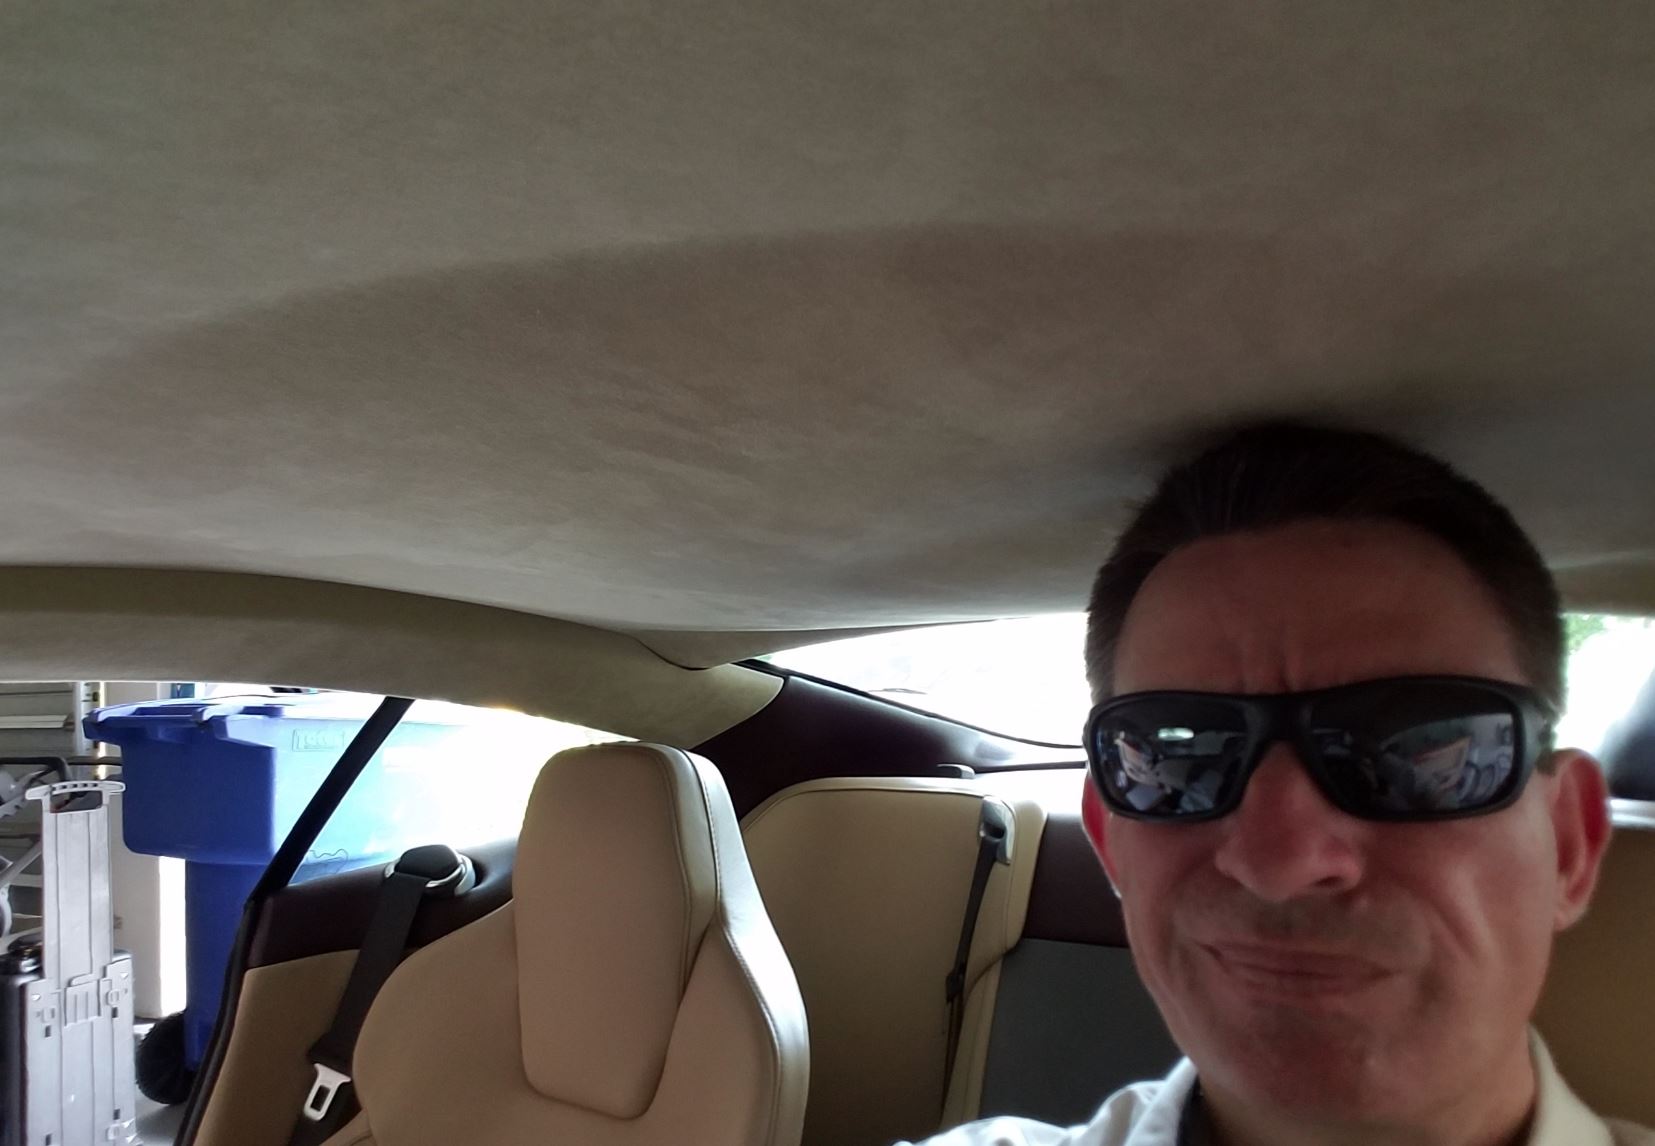
 My DB9 developed a sagging headliner one hot summer California day. The glue holding the beautiful Alcantara fabric to the Headliner form below let go, and the whole thing hangs sitting on your head. Determined to fix it myself, I have put together a series of articles showing all the steps, and you can read that here. This article is going to cover the satisfying step of finally removing the actual Headliner from the car.
Preparation
I’ve done a bunch of work already to get to this point in the project:
- Parts needed to reinstall the Headliner
- How to remove the Drivers Side Dash Panels (optional)
- How to remove the Passenger Side Dash Panels (optional)
- How to remove the Rear View Mirror
- How to remove the A Pillar Interior Trim (Cant Rail)
Tools Required
You don’t need many to accomplish this step:
 An interior clip removal tool
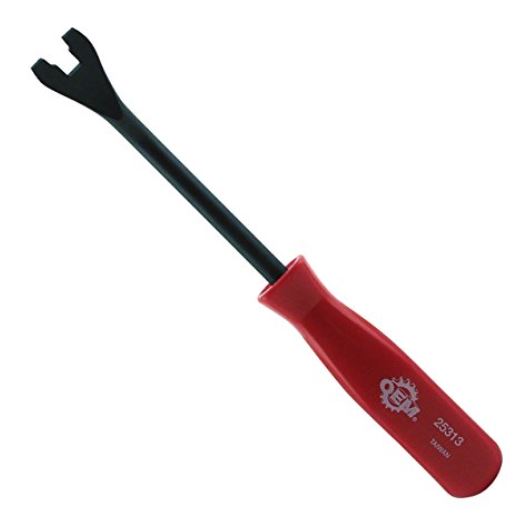
Normally you can be crafty and if you don’t have the exact right tool you might think you can get by prying around with some screwdrivers. This is not the time for that. You will mess up the pressed fiber board that makes up the headliner form. It’s not very strong, and you need a tool JUST like this to slip under and pry up evenly just under the head of the clip. You can probably pickup this tool for just a few dollar at your local auto supply store, or buy a kit that includes it for under $10 USD on Amazon.com.
You also need a pair of very clean hands. You don’t want to have dirty and sweaty hands messing up your fancy interior panels.
Procedure
The process will take you about 30 to 60 minutes. Its not terribly difficult, but you are in some awkward positions and have to wrestle this big thing out of the car.
 The Official Aston Martin Workshop Manual section 1.05 on Roof Trim Removal describes this succinctly in Step 5 as “Remove the headlining. (Held in place with ‘Fir Trees’ and two Velcro panels at the rear)”. Partly right at least, and this led to me shearing off the Alignment Clip that they failed to include. Here is my full explanation of what’s needed.
- Lower both the drivers and passenger side windows all the way. This will make it easier later when you are trying to wrestle the giant headliner assembly out the door opening.
- Make sure you have a TON of space outside your passenger side door. You will be passing the headliner out that doorway, and you’ll need to have the door fully open and additional room.
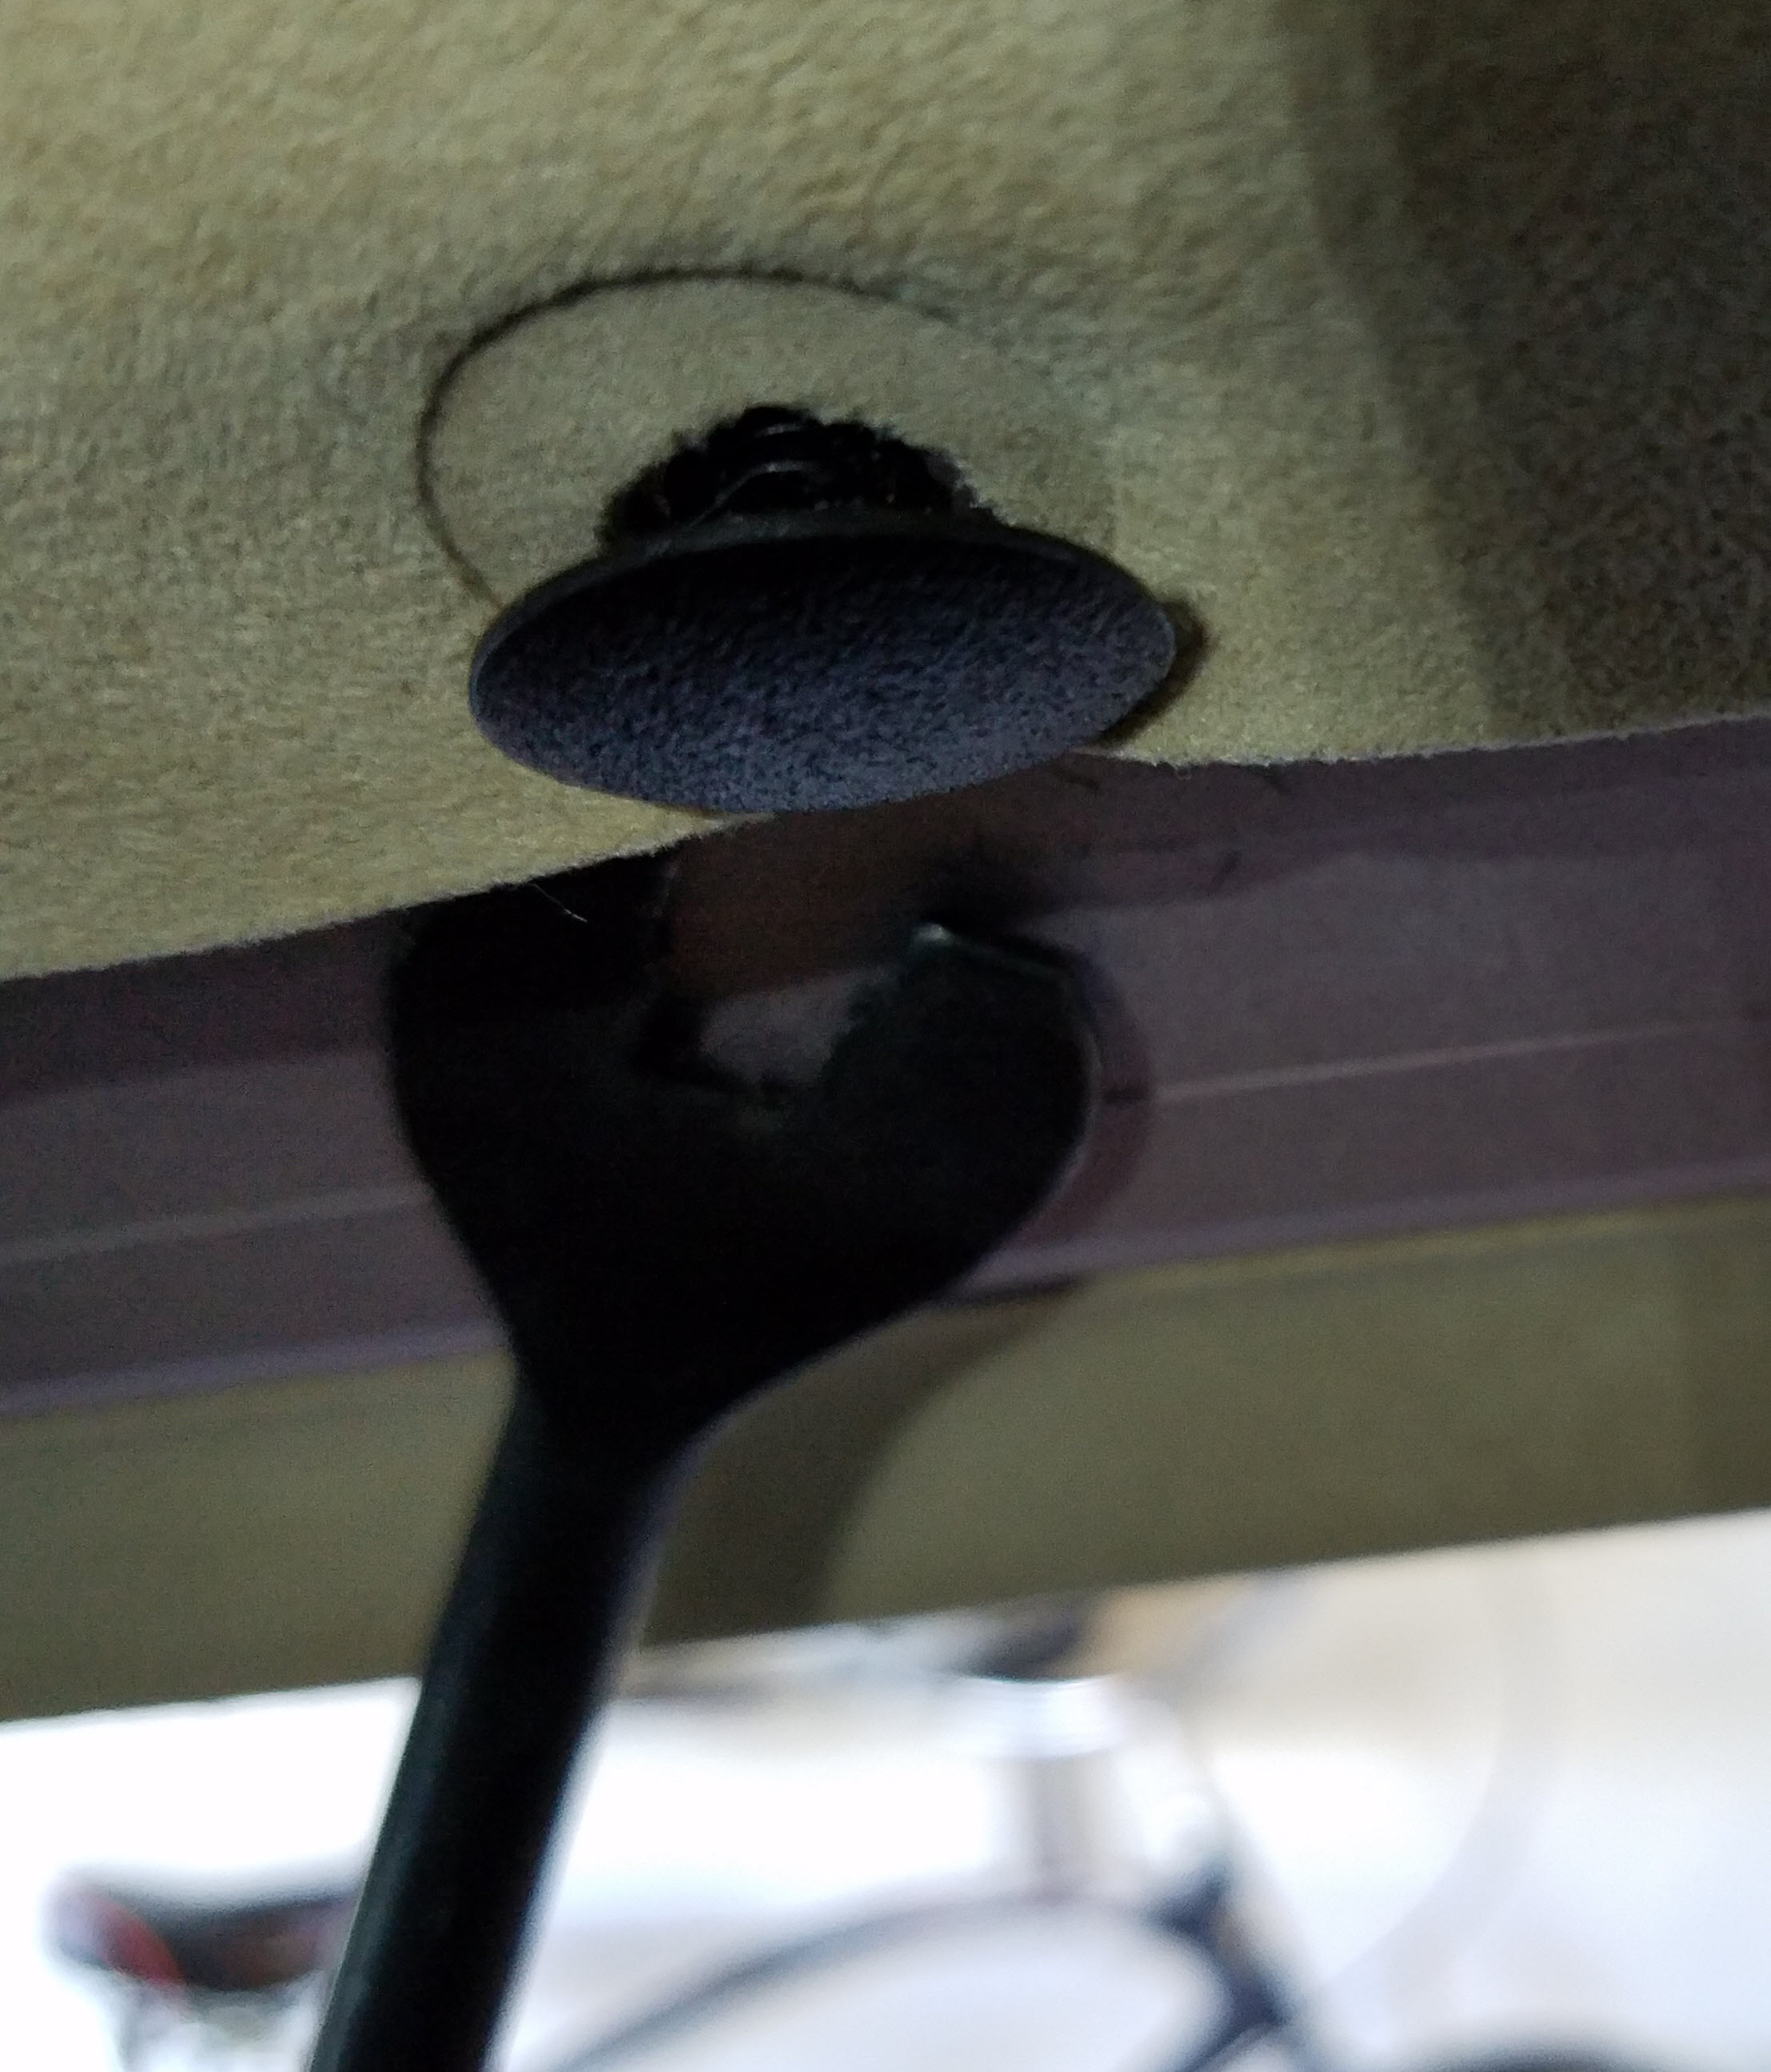
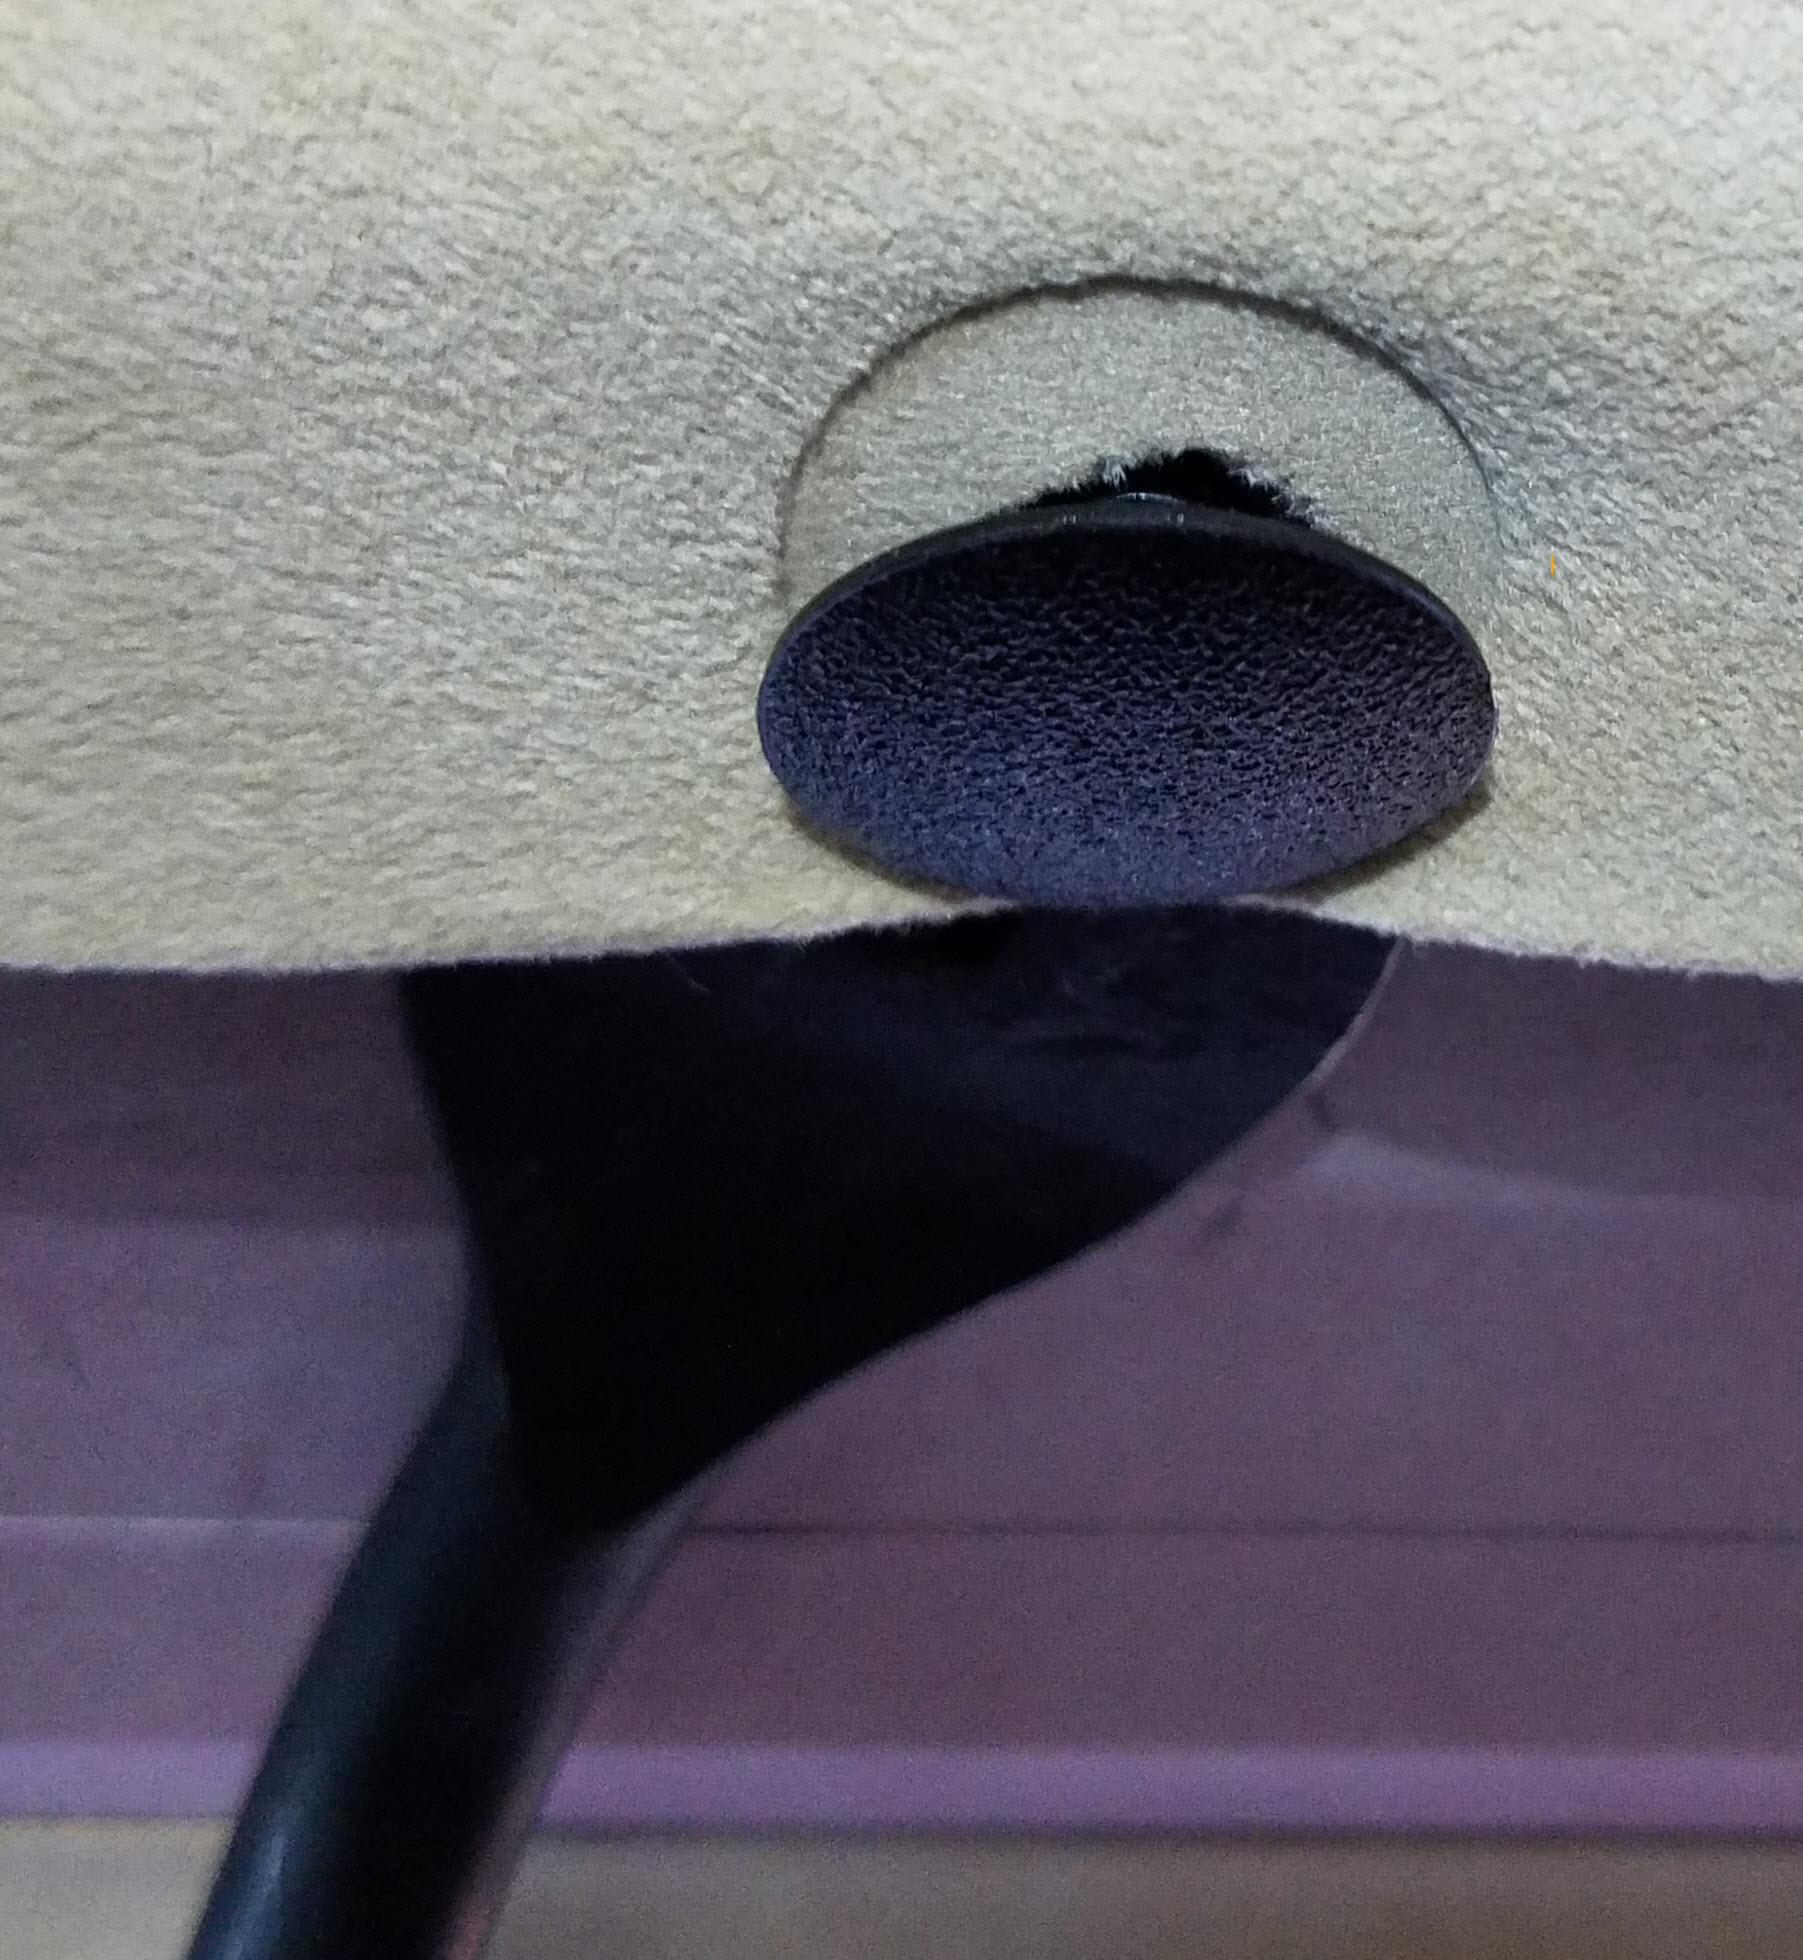
- Remove the eight (8) fir tree button clips along both sides of the headliner assembly (4 per side) using the special interior clip removal tool I mention above.
- I found it worked best if I slipped the tool carefully under the clip, but in between the edge of the headliner form and body of the car, not between the clip and the Alcantara fabric.

- I made sure I wiggled the tool completely under the clip, then gently worked the clip out of its hole. This wasn’t very hard.

- I was just being careful not to mash up or tear the headliner form.
- I found it worked best if I slipped the tool carefully under the clip, but in between the edge of the headliner form and body of the car, not between the clip and the Alcantara fabric.
- With the clips removed, the headliner is still supported at the front by the trim rail for the sunvisors, and along the back windows edge.

4 Clips removed - Next we want to release the rear edge. It’s held in place with two patches of Velcro AND an alignment clip that is exactly in the middle.
- Pick a side and gently wedge your CLEAN hand inbetween the roof and headliner near the back corner
- Slide your fingers along and you will discover where it is held in place by an approximate 8″ long piece of Velcro.
- Gently pull the back edge of the headliner down trying to release the Velcro. You might try and wiggle your fingers between the two halves of the Velcro to get it to release
- In my car, the Velcro was really, really stuck together. It ended up pulling OFF the car (the glued side) which was fine. I replaced it later.
- Do the same for the other sides patch of Velcro

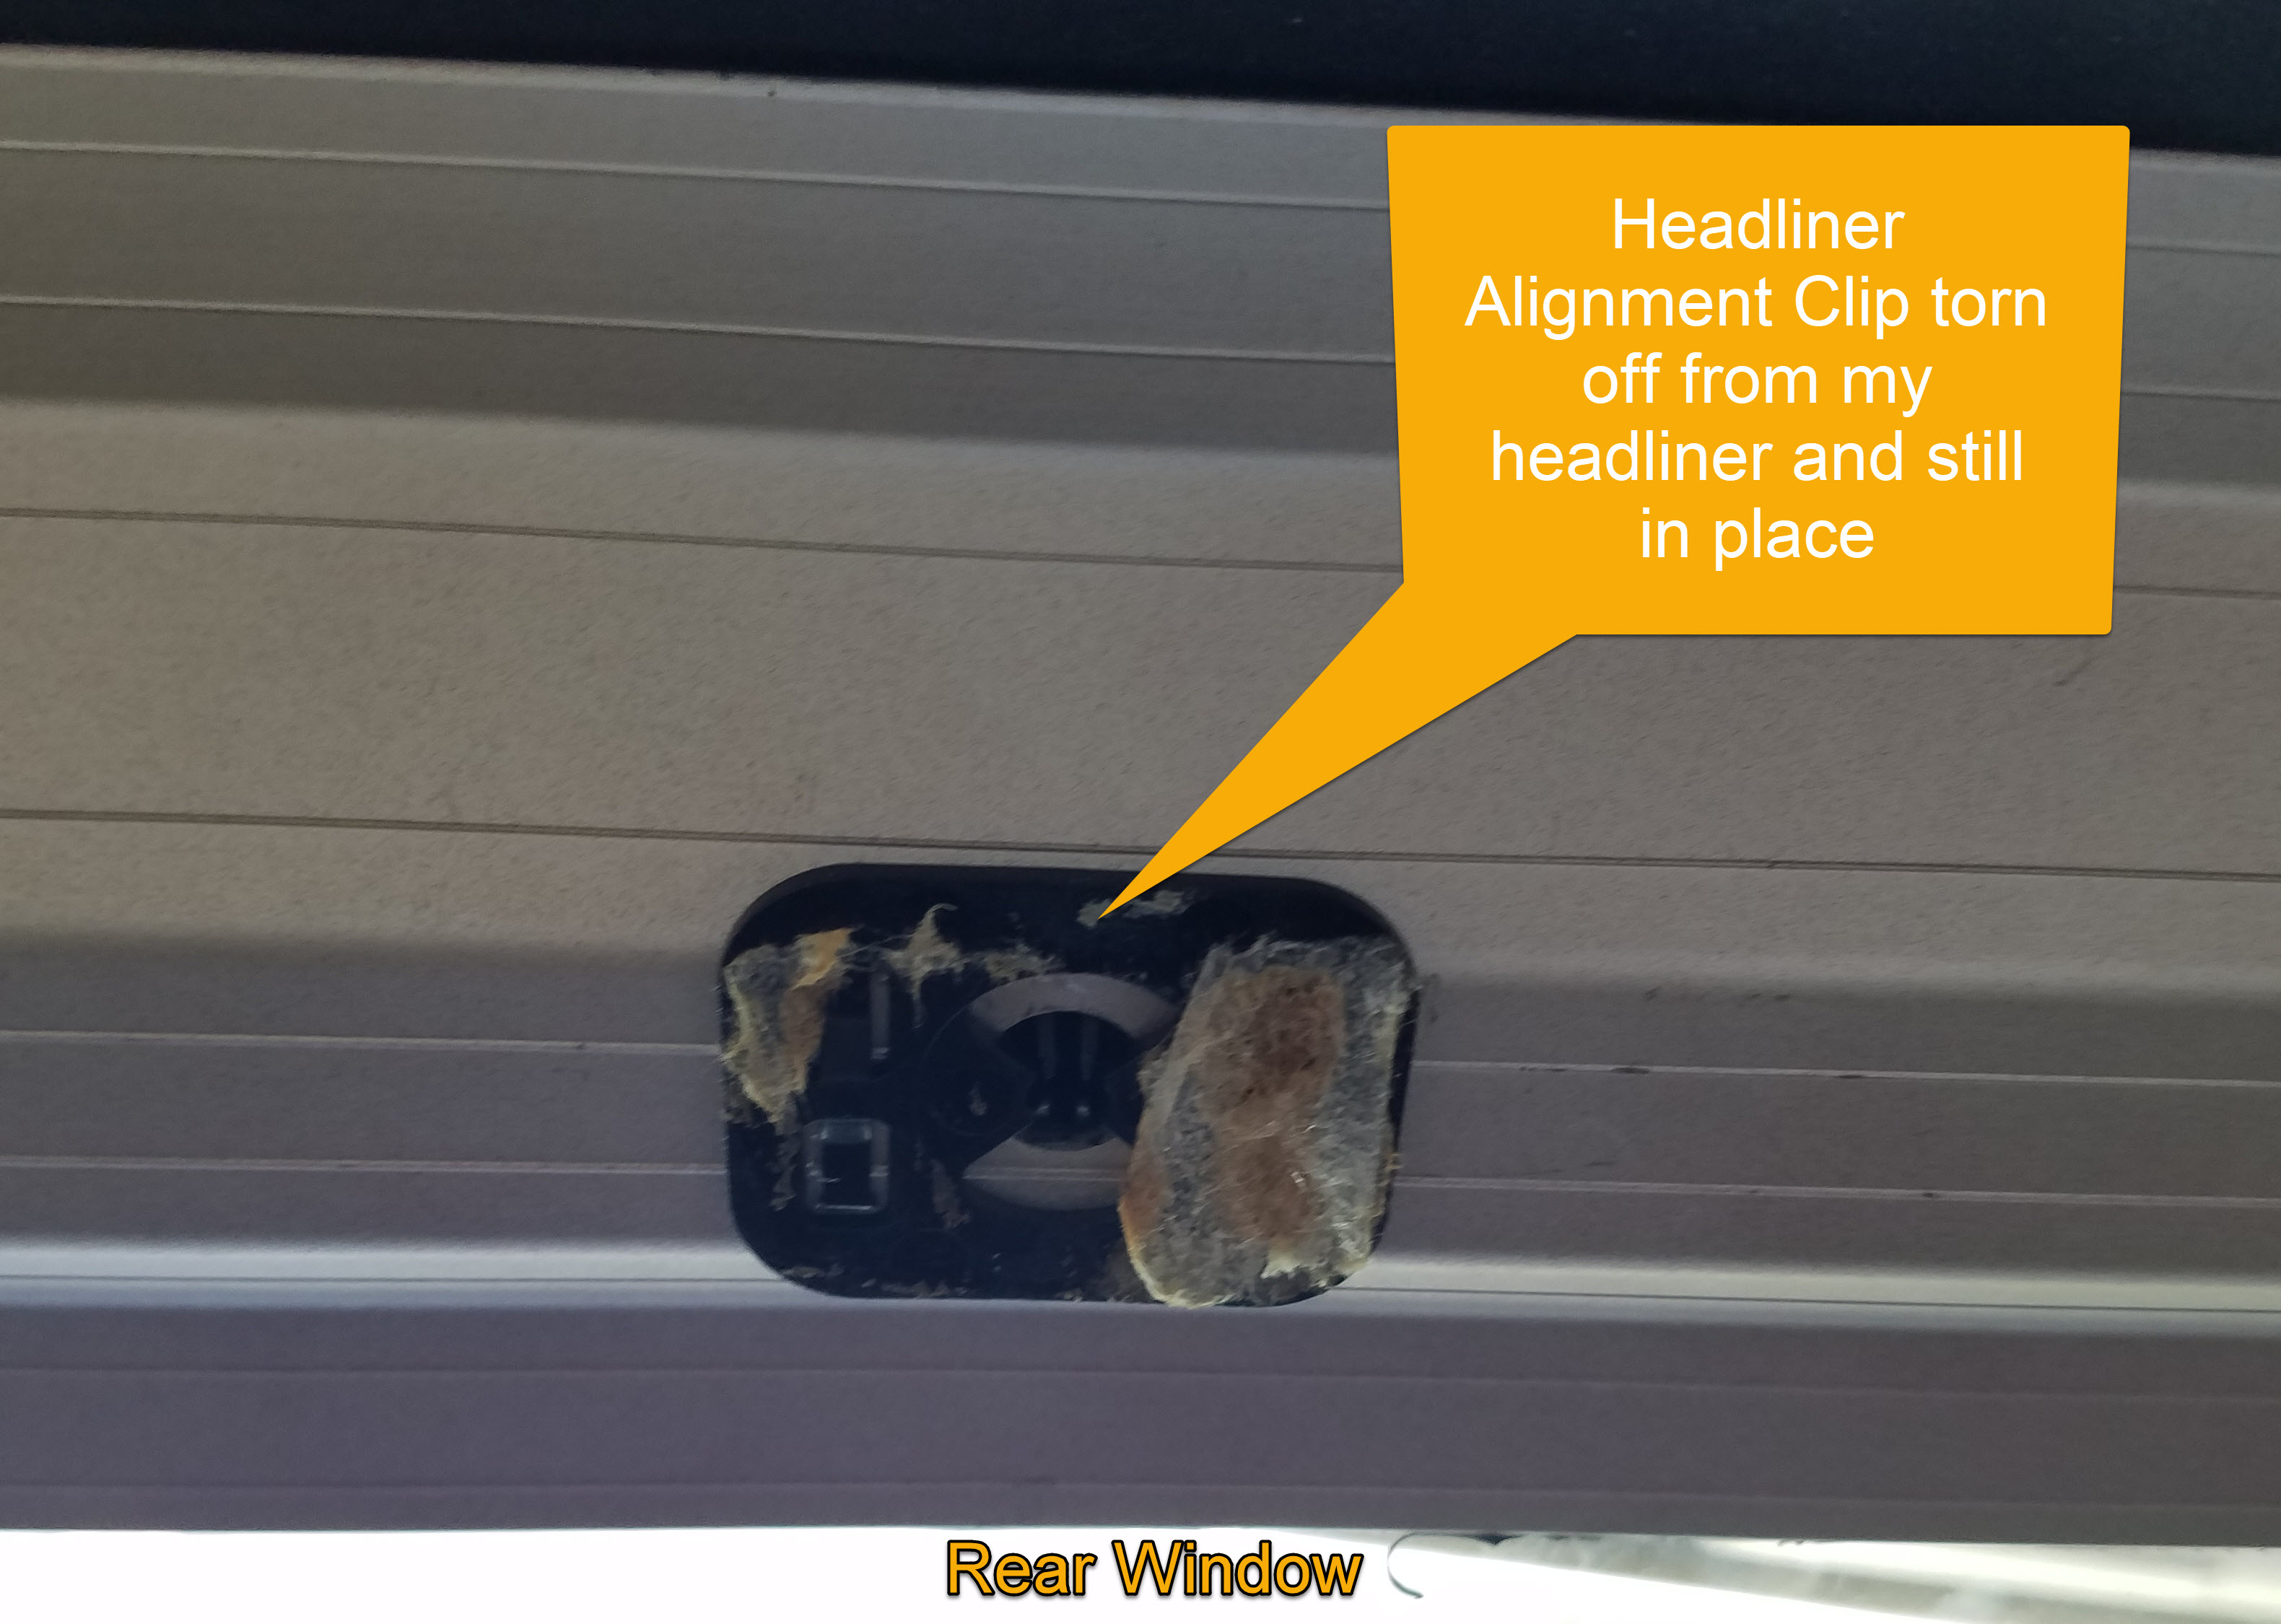
- The last thing is a metal clip that is dead center along the rear window. Get your fingers in on both sides of it, and then pull straight down/out and away from the roof.
- On my car I didn’t realize it was there when I was pulling away the Velcro, and ended up peeling the clips base off the headliner. It’s just stuck on with double sided tape, so I was able to fix this later.

- On my car I didn’t realize it was there when I was pulling away the Velcro, and ended up peeling the clips base off the headliner. It’s just stuck on with double sided tape, so I was able to fix this later.
- When these are completely released, the entire headliner should now drop down at the rear.
-

Slide it rearward to release at the front With the rear clip and Velcro released you can now gently pull the whole headliner form towards the rear of the car a few inches, and this will slip it out of the support of the front sun visor trim. When it comes free, it will now be completely loose.
- Removing it from the passenger cabin is the next challenge. At this point you’ll be wondering “How the F)ck is that going to fit out the door?!”. The Left and Right A pillar trims are hanging down in the way. Also, you are probably trapped underneath it in a seat. Don’t panic.
-

It will fit out the door I moved my passenger seat all the way to the rear most position
- I reclined my passenger seat as far as it would go
- I opened my passenger side door as far as it would go
- I rotated and angled the headliner 90 degrees so the front of it was coming out the passenger door opening
- I just kept carefully maneuvering it out the passenger doorway, adjusting it around in the cabin to clear the various obstacles.
- Check out the video below of me struggling with this. You’ll see how.
-


Once you get it out the door you have succeeded! Here is what my sad headliner looked like when it was finally entirely free.


In the next article I will explain what I did to get the Alcantara re-glued to the existing Headliner form.
Video
Here is a video of me going through the process.

Thank you, another informative video.
LikeLike
Thanks Patrick!
LikeLike
Thanks for your really detailed how-to and videos. I went the route of removing the dash panels (since my top two had the leather pulling away due to heat), so each video was super helpful. Then pulled my headliner out today and will drop it off at the shop soon. Even knowing about the alignment clip, mine too still pulled off, so don’t feel bad. I made the mistake and did try to remove the clip from the roof and ended up breaking it, so a new one is on order (thanks for the parts page too!). One difference was I was able to remove the headliner out the car without rotating it. The passenger cant rail was completely removed, so that may have had been a factor to it. #1801
LikeLike
Rolling down the windows on an early Spring day I began to hear the flap, flap, flap. Yup, my headliner was down. I’m fortunate to have a very good Aston trained independent and he pulled the headliner out for me in about an hour. He took out everything! With about a dozen and a half bits before me I decided it was a perfect opportunity to treat the leather covered pieces and get around the corners where it’s glued or stapled. Hopefully this will help the shrinkage issues in the future. I was fortunate to have a local upholstery shop have grey suede in stock that was a very close match to the Alcantera. One thing I was not aware of is the prior owner must have used Brylcreem as there was a stained area over the driver’s seat. Only evident when the headliner was pulled and out in the sun.
LikeLike
Hello Steve
Many thanks for all your excellent articles and videos. I have used them several times, most recently when I needed to remove my headlining because of sagging.
I noticed that your video on removing the headlining skipped a bit when you were manoeuvring the headlining out of the door, and you basically said ‘figure this out for yourself’!
It’s much easier if you close the door (with the window fully down!). The headliner fits through the gap between the door mirror and the front edge of the 3/4 window.
I hope this helps. Keep up the excellent work!
Andrew
LikeLike