
 If you’ve taken out your passenger side instrument dash panels in your DB9 (check out my article on how to do this) you were probably dealing with one of a few possible problems:
- Repairing a sagging headliner (like me)
- Repairing some of the leather on the panels where the glue failed (like me)
- Chasing a dash rattle that might be driving you crazy
Whatever your challenge, once the panels are ready to put back in you want to do it right. This article will cover the details about getting them back into position properly.
Preparation
While I had my panels removed, I tackled a few things:
-

Failed Glue Holding Leather on Airbag Panel I sent the ones where the glue had failed and the leather was loose along the edges off to an upholsterer for repair (check out the article)
- I repaired two broken dash clips discovered along the way (check out the article)
- I deep cleaned the panels while I had great access to them (check out the article)

Tools Required
You only need a couple of tools to get this job done:
 Stubby Phillips Screwdriver
- Medium Phillips Screwdriver
- 8mm 6-pt socket and speed driver or wratchet
- 8mm combination wrench
- Torque wrench for 8mm socket suitable for 11.5 Nm
- Microfiber towel

You also want to have really clean hands so you don’t muddle up your freshly cleaned leather.
Procedure
 The official Aston Martin Workshop Manual section 1.05 on Interior Trim covers reinstallation in one sentence. “The panels, etc., are best replaced in the order they were removed”. In this case that’s pretty much true, but they don’t convey any of the subtly of the ‘Show me the best way’ that I will try to share below.
This is also one of those tasks where watching the short video I made below.
The entire process should take less than about 15 minutes.
- Before I reinstalled the first panel I took the chance to wipe off any dust accumulated over the years on the sub structure. I just used a damp microfiber and wiped it down.
- I wanted to minimize the chance of rattles and took the oppourtunity to tighten down all the visible screws. I just used the medium Phillips screwdriver and tested all the various screws to make sure they were snugly done up.
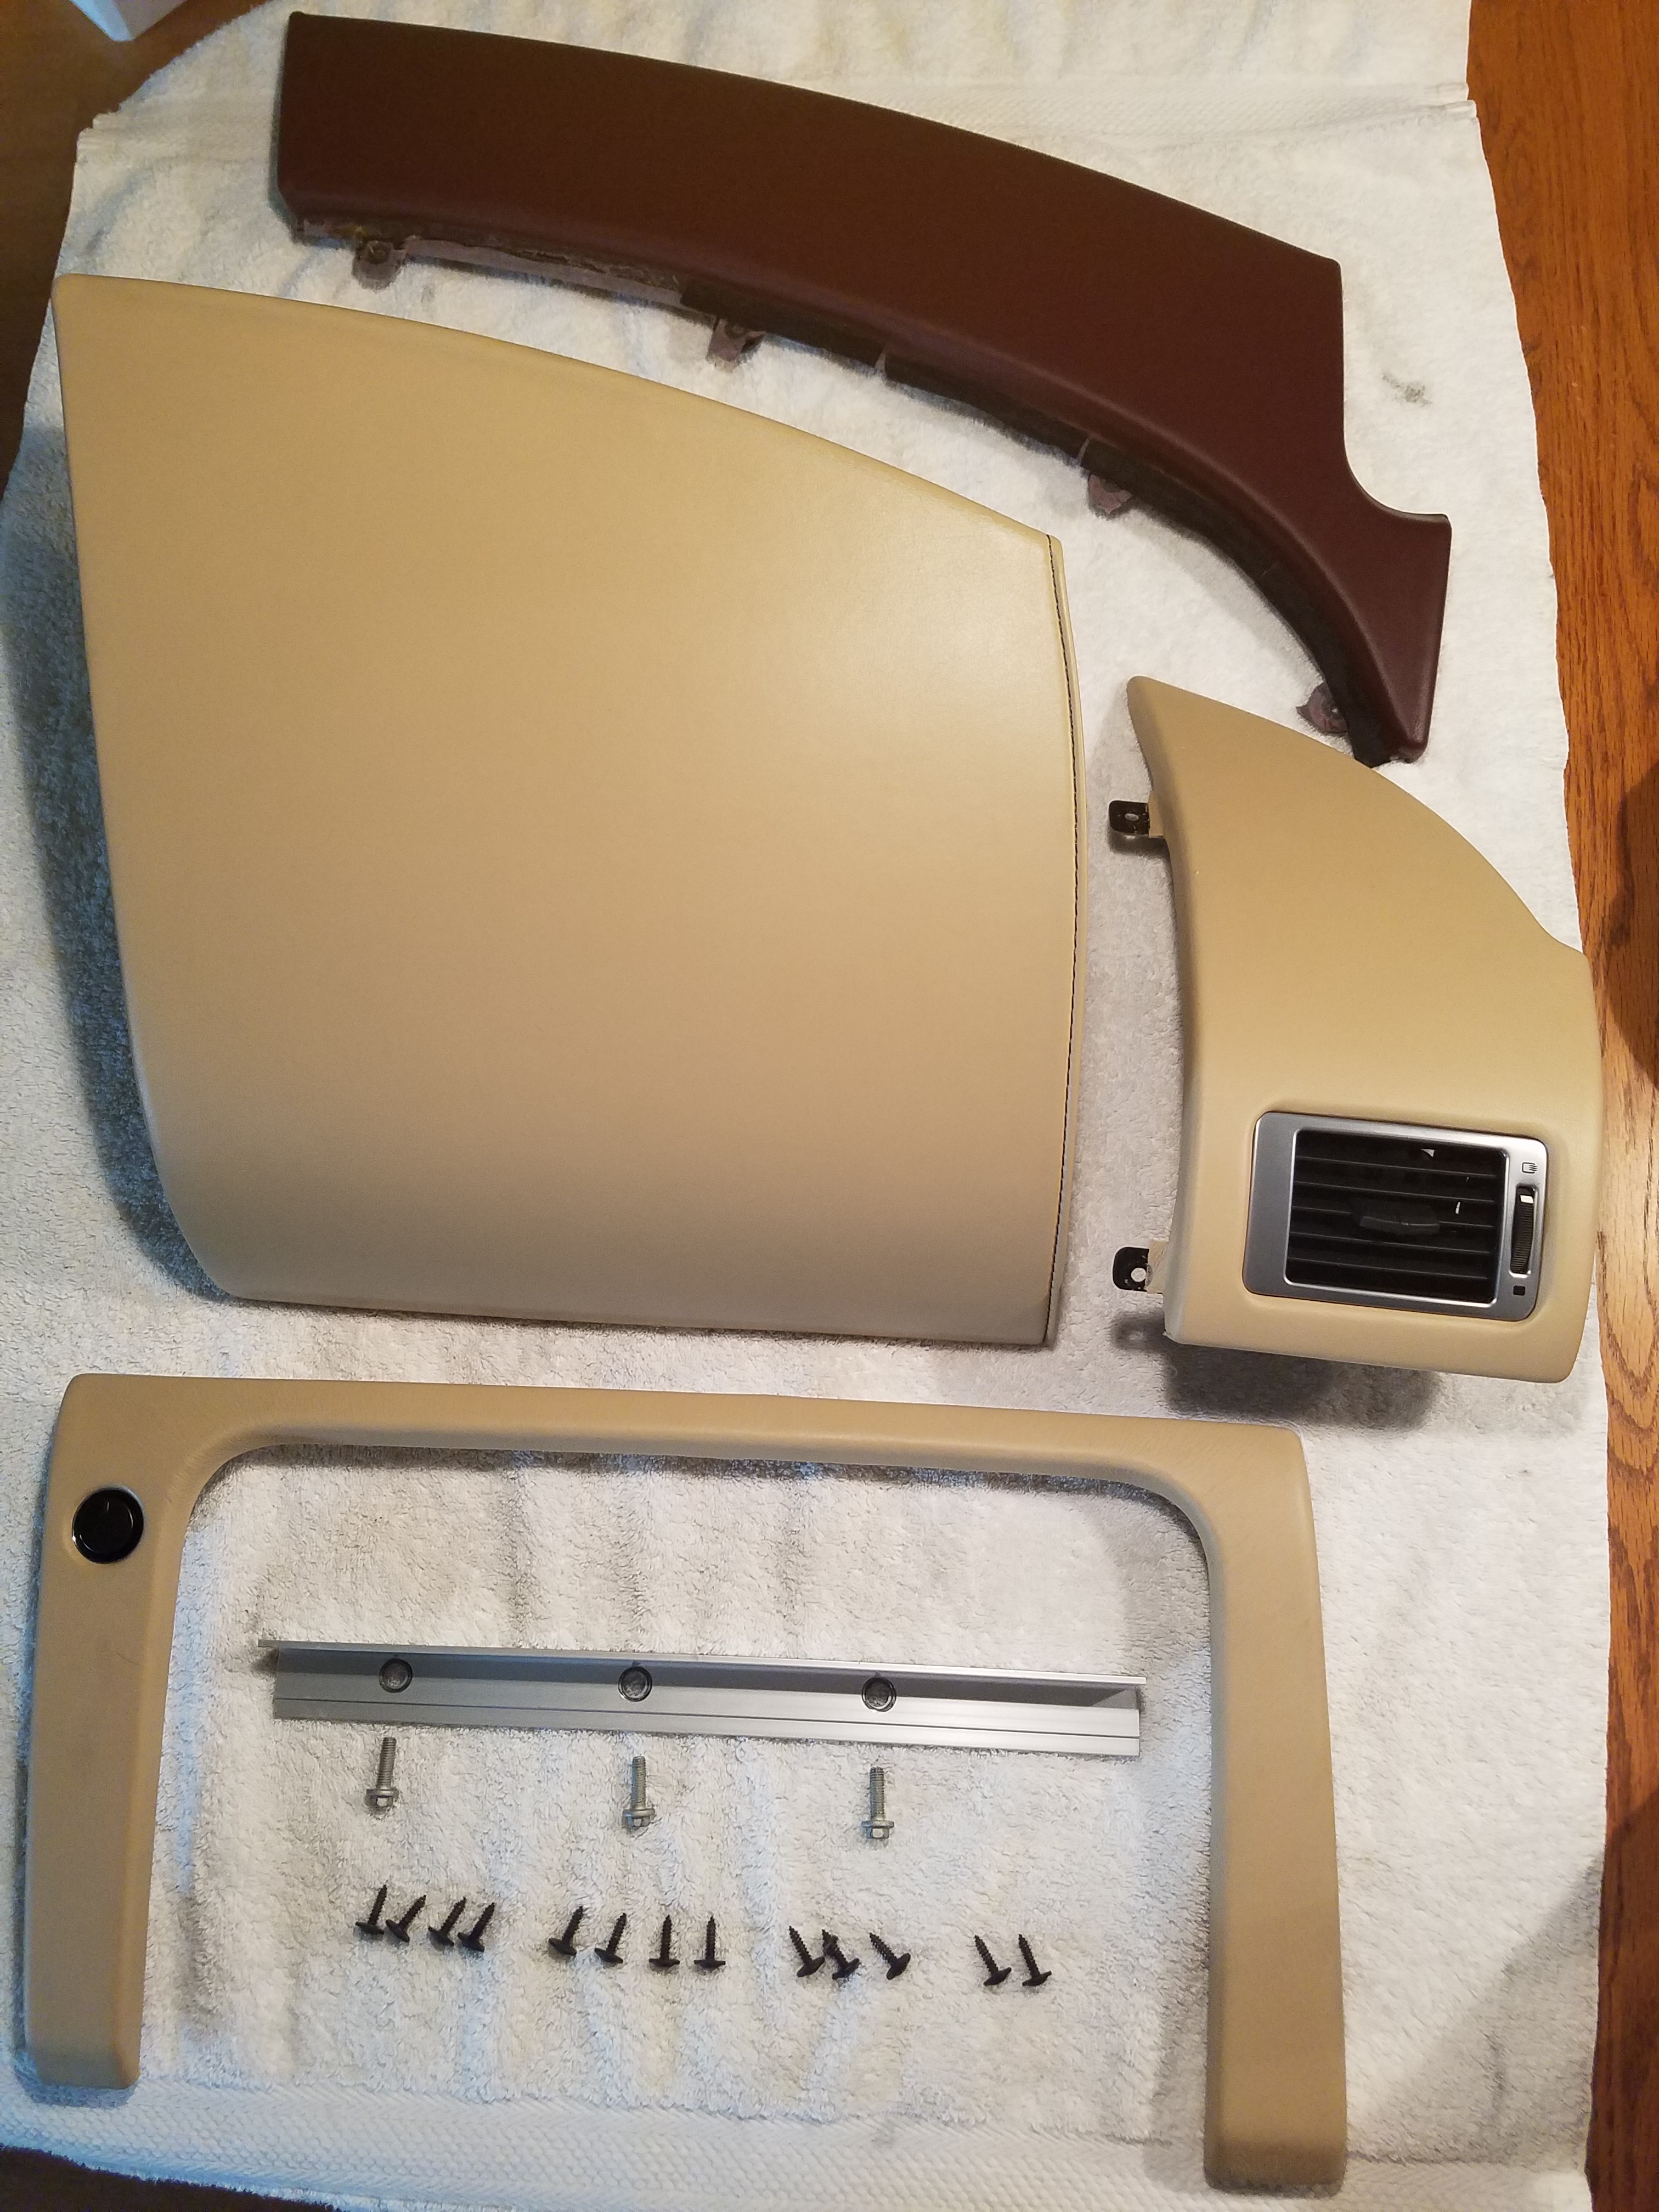
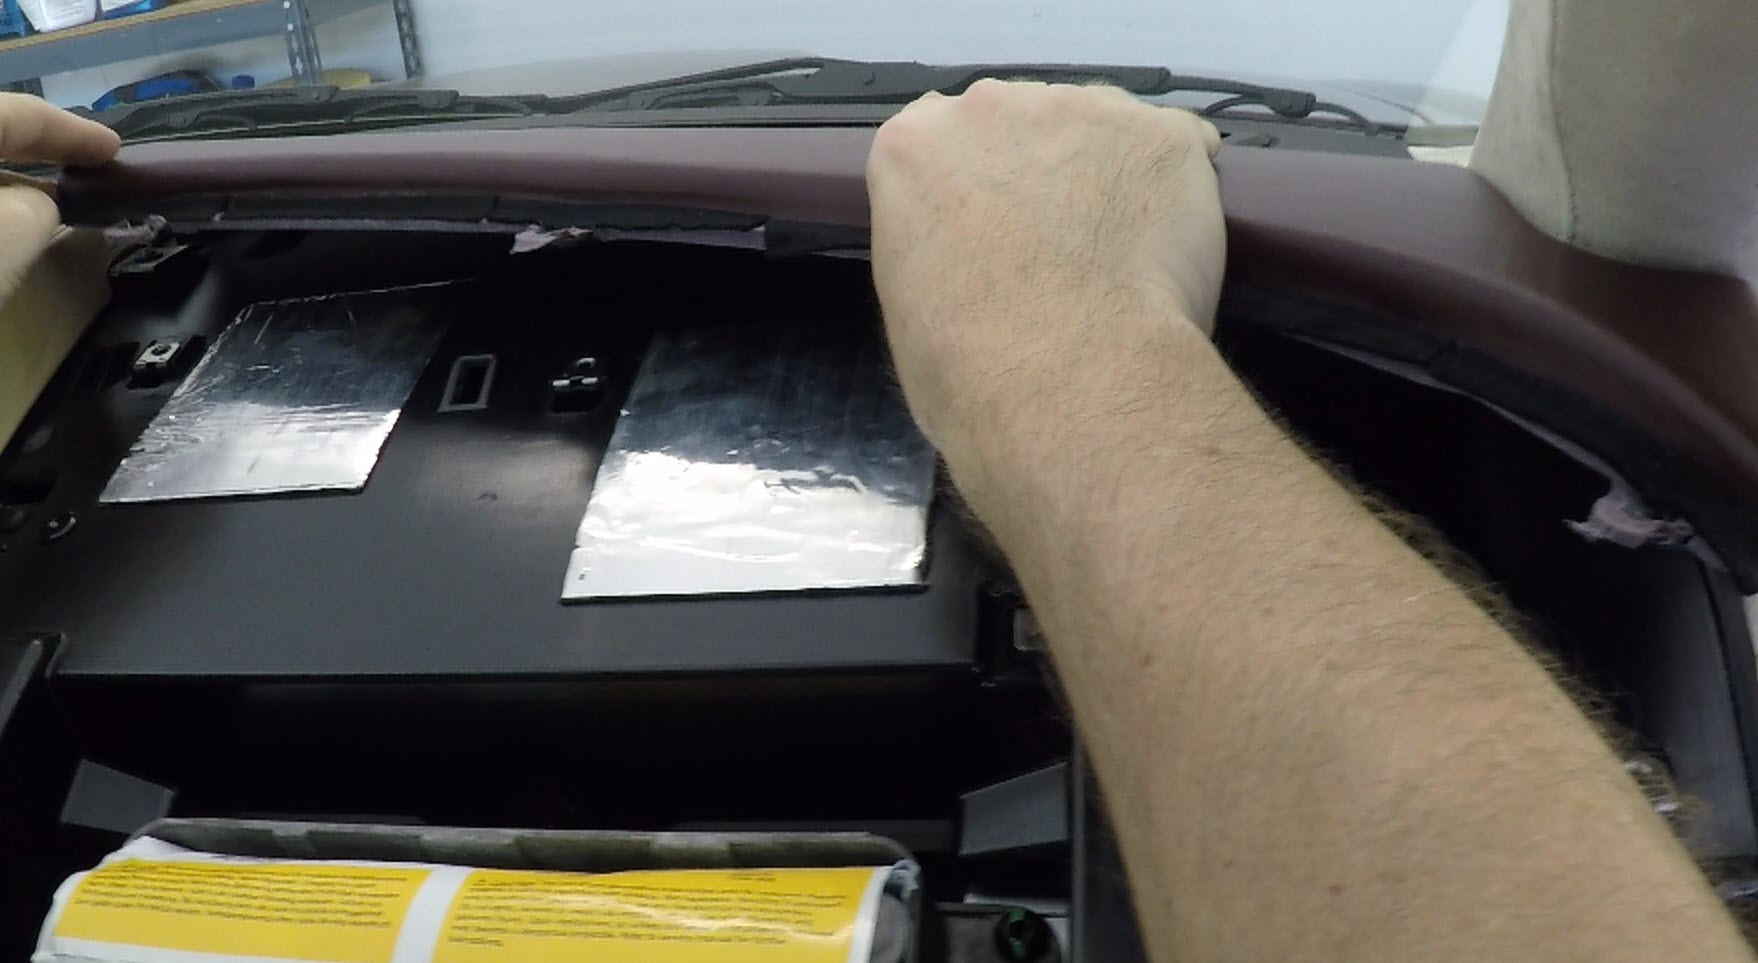
- Reinstall the Upper Instrument Panel. This is the panel that sits closest to the windshield.
- In case you want to know its official name and part number it is the “Cover Assembly Instrument Panel Upper – Passenger Side – LHD” Aston Martin p/n 4G43-C043C54-CHW
- The panel has 4 clips and 4 screws
- Position the panel and align the 4 clips. When they ‘feel’ like they are all in the correct position, press firmly straight down until they snap firmly into place.
- If you sense that something is out of line, don’t keep mashing on them (until they break). Lift it out again, reposition, try again.
- Press firmly where each clip was positioned to make sure it’s entirely seated.
- Loosely install the four screws using the Stubby Phillips screwdriver. Leave them slightly loose to give you a little slack to wiggle the panel around as you start each of the remaining screws.
- Once all four screws are started, then snug them up.

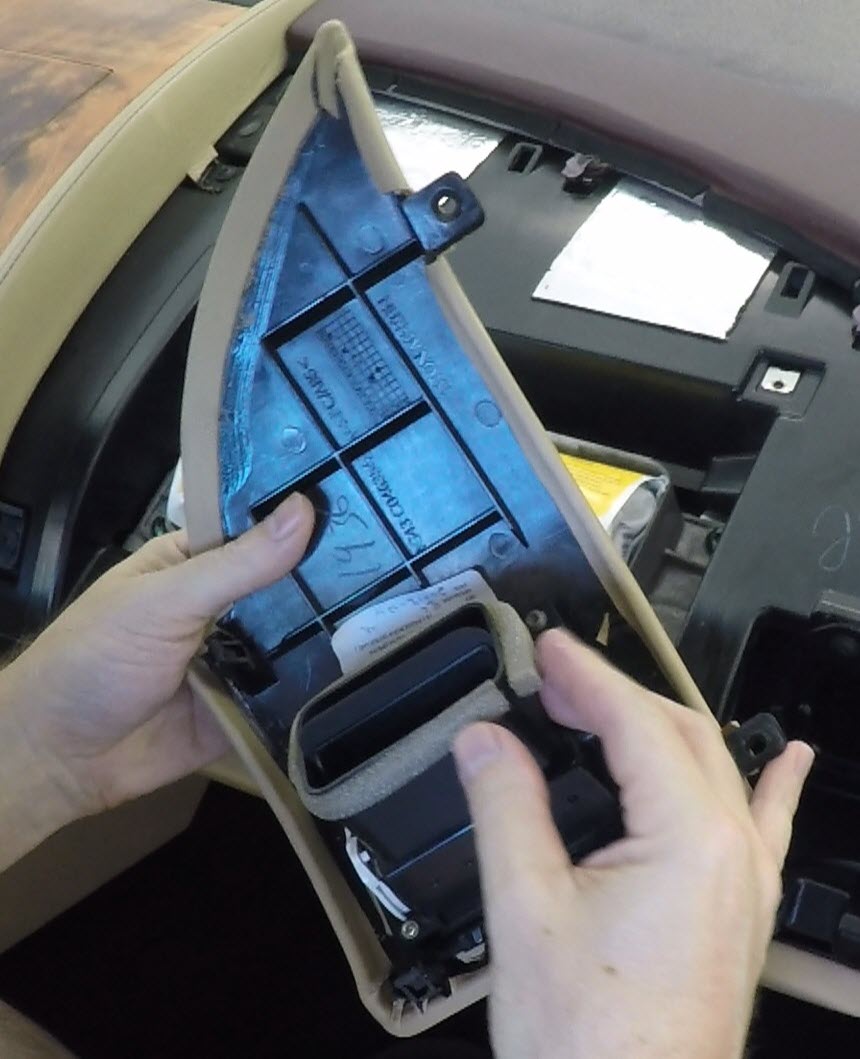
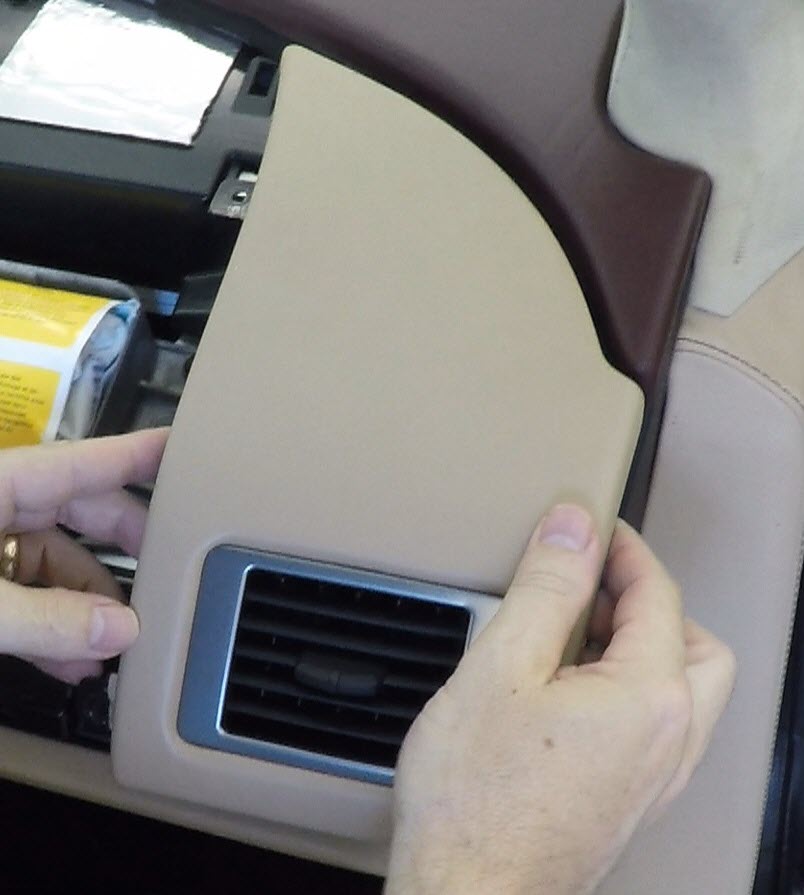
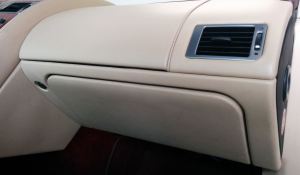
- Reinstall the Right Side Vent Panel. This is the panel to the right of the airbag panel and the passenger side door and contains the vent outlet.
- In case you want to know its official name and part number it is the “Panel Assembly Instrument Upper – Passenger Side Outer – LHD” Aston Martin p/n 4G43-C04635-AFW
- The panel has 3 clips and 2 screws
- Note that the clips are mostly horizontal.
- Check that the Foam Strip meant to seal the panel to the vent outlet in the dash is still firmly applied and in its proper place.

- Position the panel slightly in front of the 3 clips, again ‘feeling’ the alignment to get them into the correct position.
- Press firmly forward (horizontal) on the lower edge clips to start with and the whole panel should then snap into place firmly.
- Press firmly where each clip was positioned to make sure it’s entirely seated.
- Once the clips are in place its time to reinstall the two screws on the left edge. As with the Upper panel, start each screw loosely first, then snug them down.

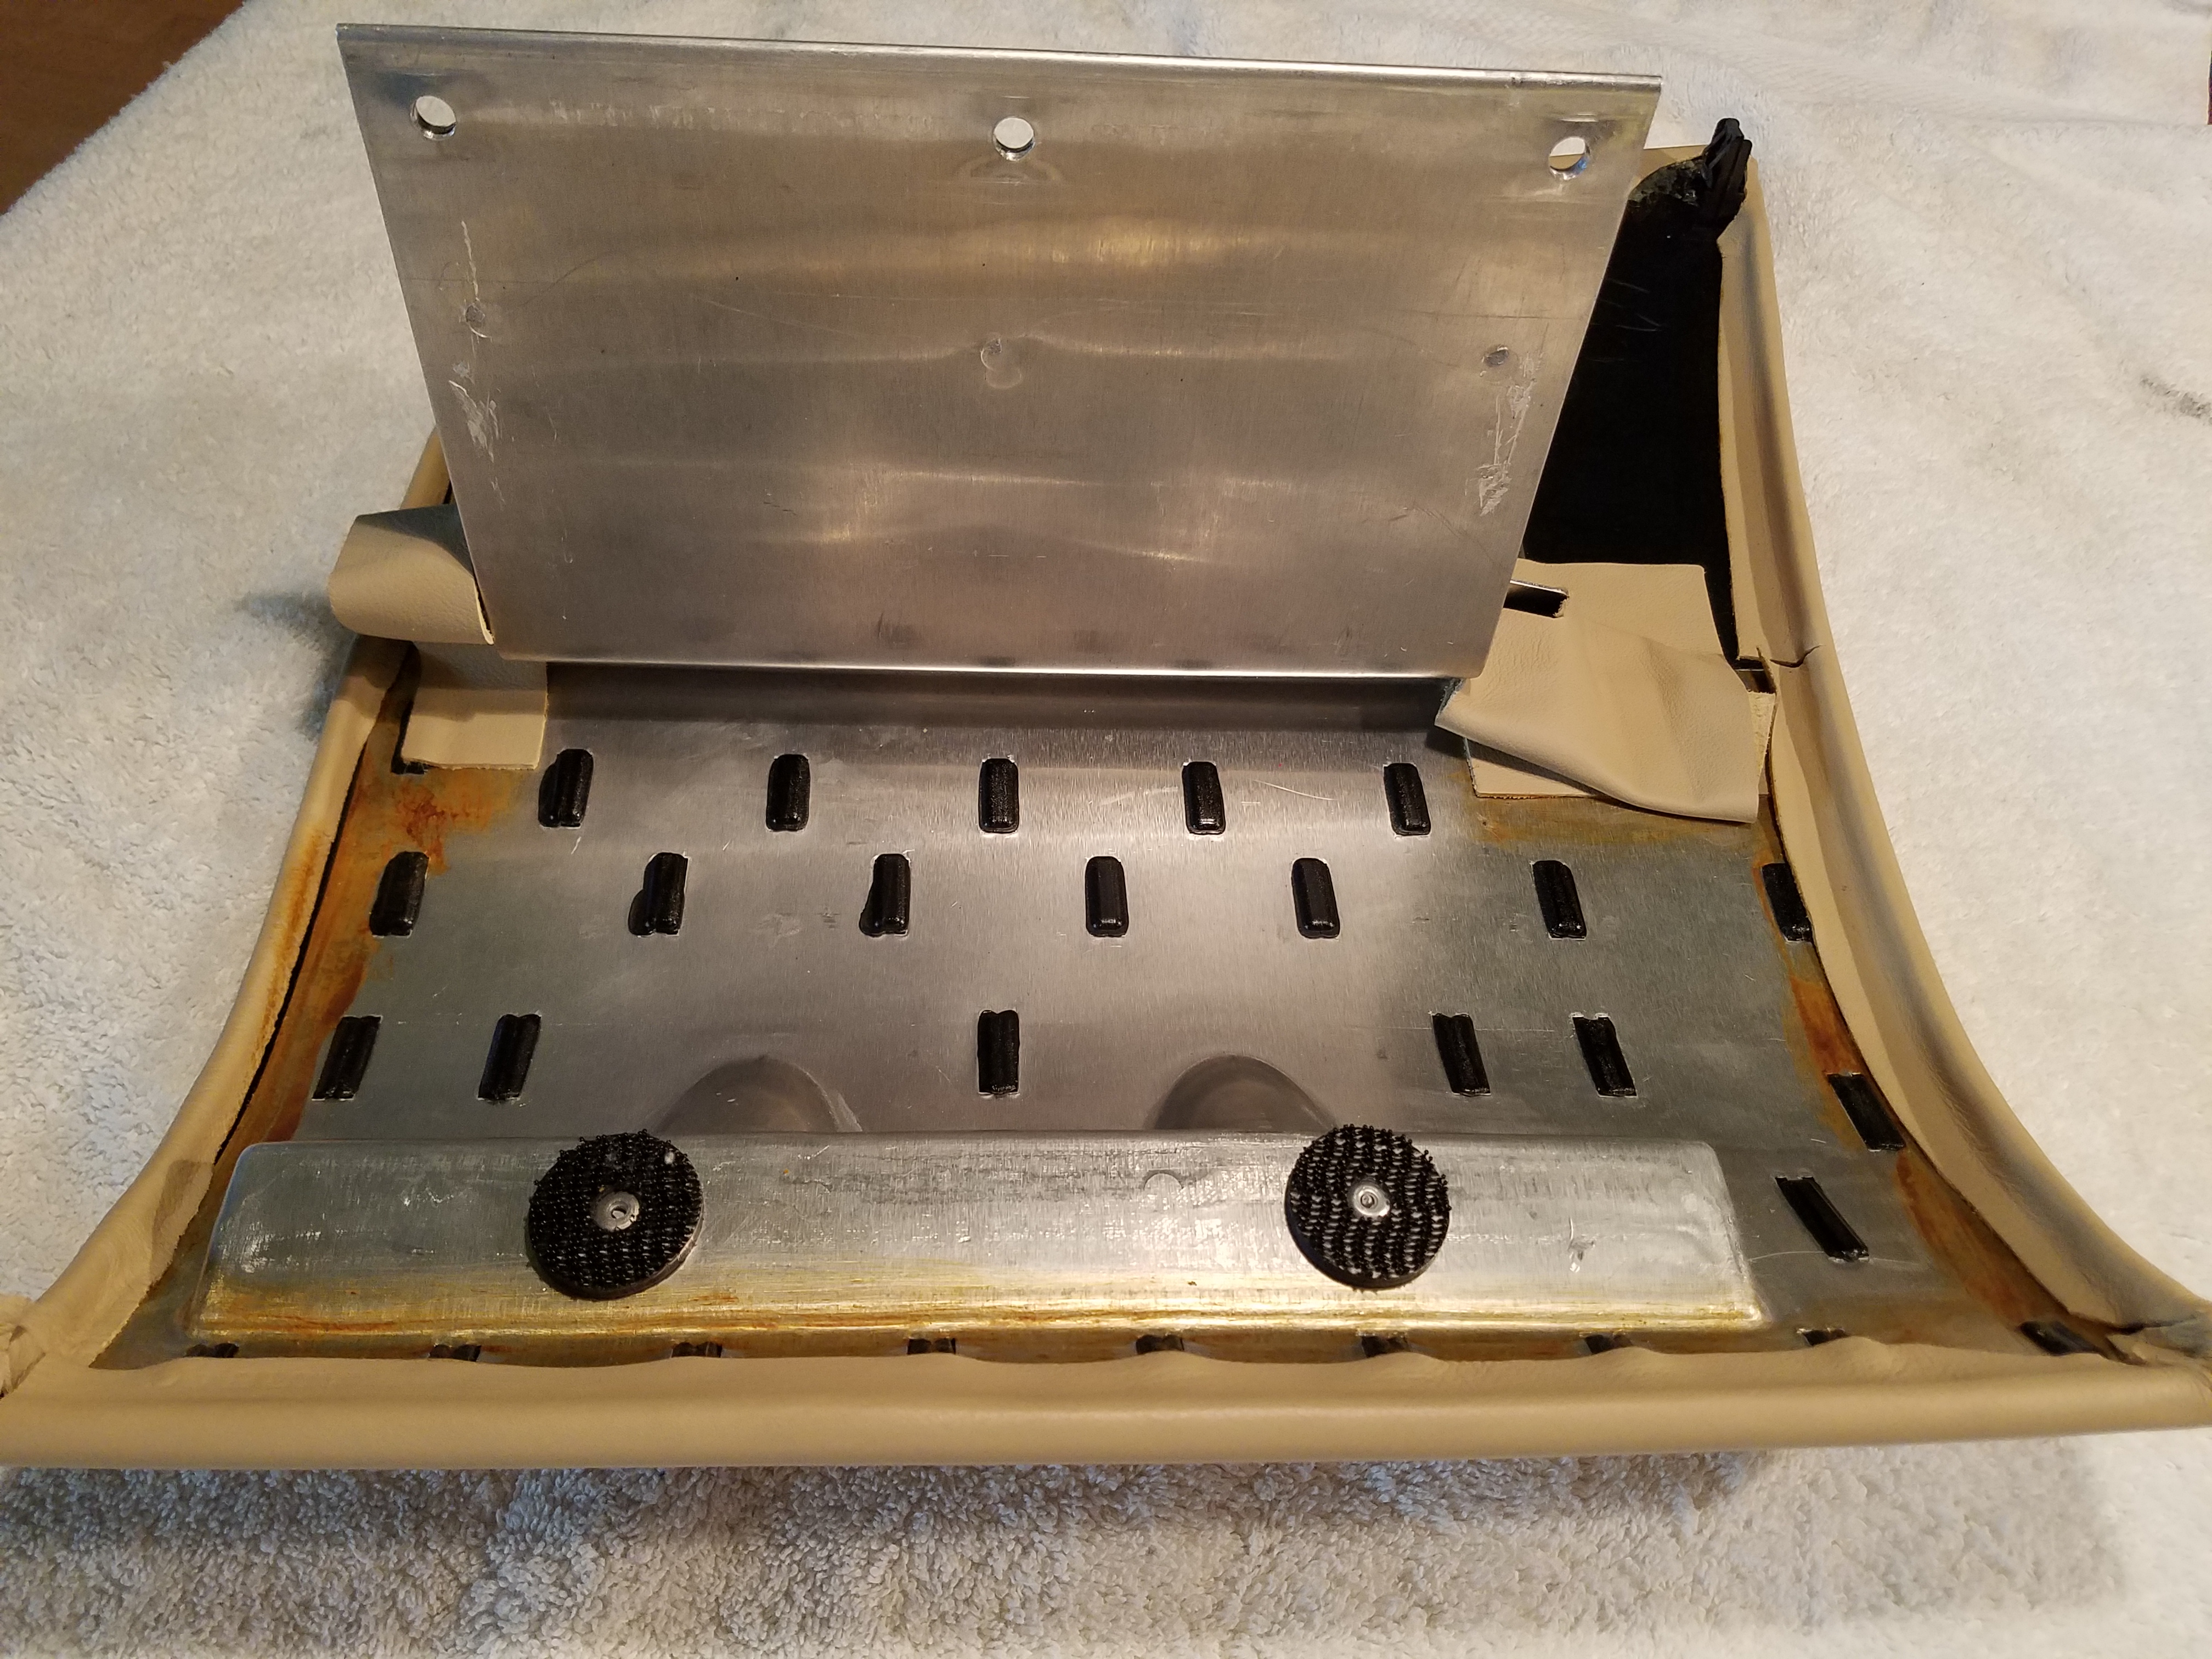
- Reinstall the Airbag Cover panel. This is the large curved piece that sits over top the airbag.
- In case you want to know its official name and part number it is the “Air Bag Door Assembly – Passenger Side – LHD” Aston Martin p/n 4G43-C044H58-AEW
 The panel has 3 clips, 2 Velcro tabs, and a metal retaining plate with three bolts.
- Carefully position the panel, and lower it into place being sure to lower the retaining plate into the slot in the dash structure.
- Position the 3 clips along the far end of the panel, again ‘feeling’ the alignment to get them into the correct position.
- Press the panel straight down until the panel snaps into place.
- Press firmly where each clip was positioned to make sure it’s entirely seated.

- The front edge of the panel is retained with two round circular Velcro tabs. Just press them down firmly into place.
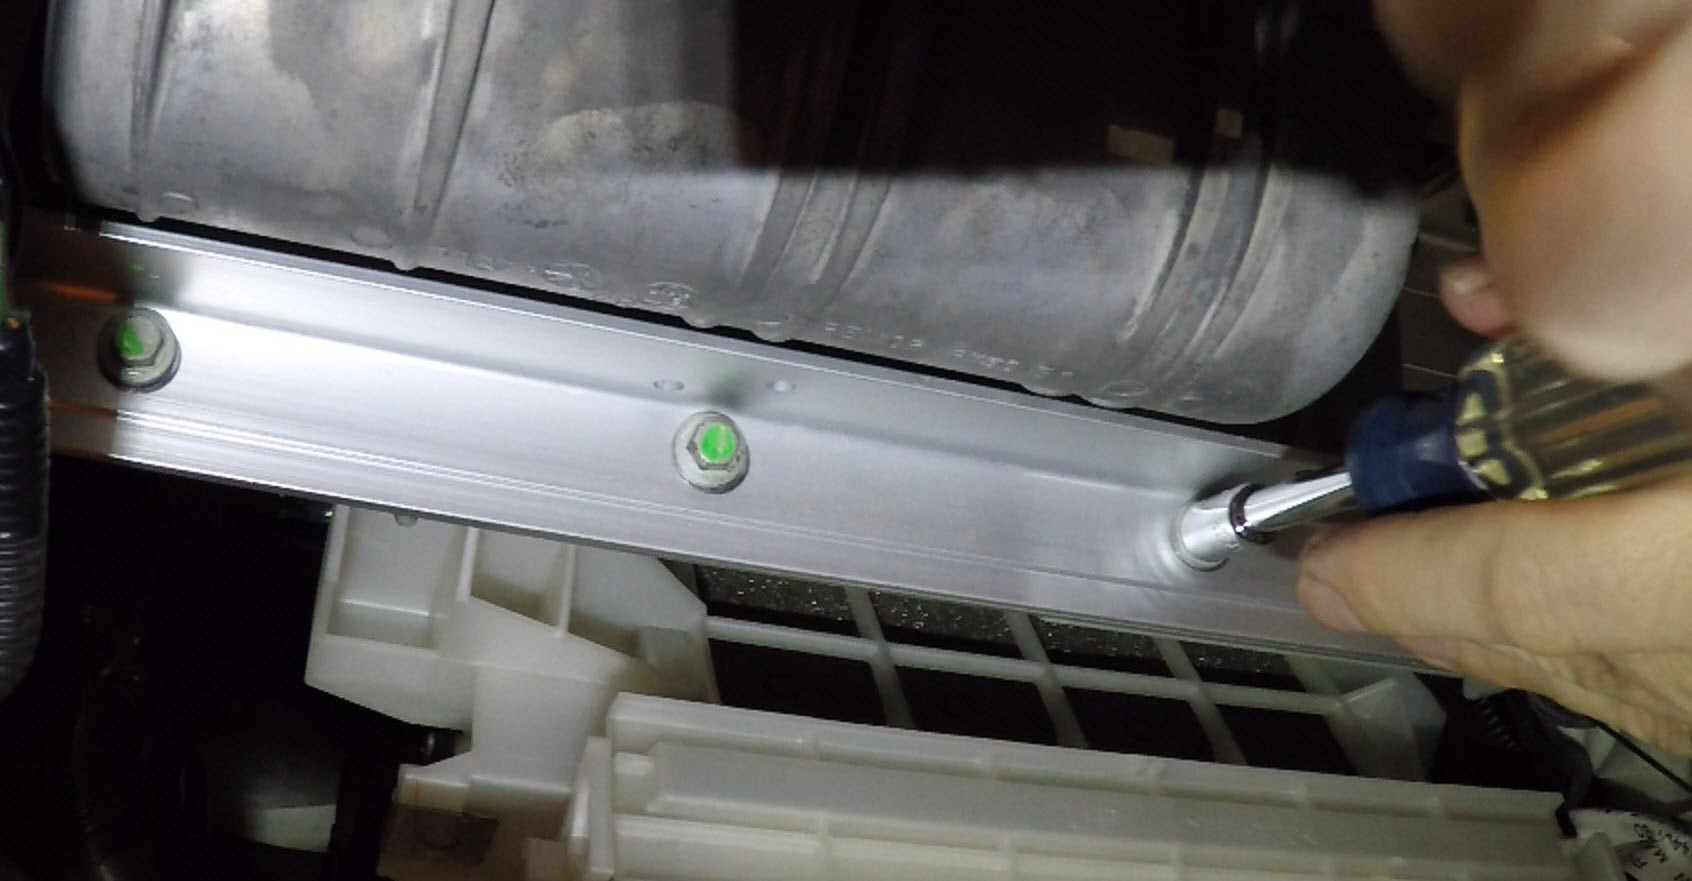
- Now its time to install the bolts to fix the retaining plate into place.
- Under the gash reposition the retaining bar and loosely start each of the three 8mm retaining bolts.
- Use your 8mm socket and speed driver to snug up all three bolts.
- Set your Torque Wrench to 11.5 Nm (102 inch pounds) and torque each bolt properly. [Or use your 8mm combination wrench and just make each bolt really snug like I did in the video before I knew the proper torque settings. This is a safety device, so I’d suggest going to the trouble to use the Torque Wrench]


With all the upper panels in place it’s now time to reinstall the lower Glove Box and Surround. I’ve already done an article on how to tackle that, and you can find it here.
Note: While you have the lower glove box out, this is the perfect time to consider changing your Cabin Filters since you need to remove the Glove Box to get access to them.  Its super simple to swap them. You can check out my other article on Changing the Cabin Air Filters here, and also another article on a great alternative cabin air filter that’s an improvement over the OEM and is cheaper and available on Amazon.com (read that article here).
Video
Here is a video showing me completing the process described:
