Wow, that title sounds cool! Mech-a-tronics unit. Most of the Aston Martin DB9’s, DBS and Rapides built between 2004 and 2014 were fitted with a Touchtronic II 6-speed automatic transmission. I’ve written elsewhere that this transmission is really a ZF model 6HP26 fitted to many other cars of the era including Rolls Royce, Bentley, Jaguar and BMW. It’s a terrific transmission. The transmission features ‘Shift By Wire’, meaning there are no levers or cables doing the shifting. A computer inside the transmission is controlling a bunch of electronic solenoid valves that control the fluid flows that manage the shifting. A mechanical electronic unit – Mechatronic.
If you are doing a full fluid, filter and seal change to your transmission you’ll end up needing to remove the Mechatronic Unit to drain it and to get to the bits underneath it. I’ve done a full series of articles and videos on this process and you can check out the main article here to learn more.
Let me show you how to properly remove the Mechatronic unit.
Tools Required
You only need a few tools and supplies. I’ve covered them in detail (along with where to purchase them) in another article for the overall transmission service process (find it here), but here is the subset needed for this step.![]()
- T40 Torx Socket
- 3/8″ ratchet
- 6″ extension
- Electric 3/8″ impact driver (optional)
- 8″ Nylon Zip Ties
- You can get a 200 pack for about $4 USD on Amazon, or just pick some up at your local auto parts store or home center.
- Or you could substitute some soft wire
 Drain Bucket
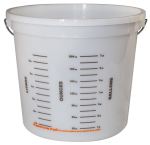
- In the video you will see me use a 10 liter plastic mixing bucket I sourced from a local home center for about $4 USD
- Drip Tray
- You are going to make a mess, so rather than fluid splashing and dripping all over your garage floor or onto cardboard that’s going to get soggy, I sought out a better solution
- I purchased a dog kennel plastic tray/liner that was perfect for the task. One that was 35″ x 22″ was only $16 USD on Amazon with free shipping.
 Pig Mat absorbent towels
- When the mess happens you are going to need to be able to soak up the spills. Pig Mat isn’t just ordinary paper towel, it can absorb a ton of fluid and just one or two sheets is all I needed.
- You can pickup a 50 ft roll on Amazon for $24 USD.
- Alternately you can just use a ton of regular paper towels.
 Shop Rags
- Your hands and tools are going to get oily. Have a good supply of lint free shop towels on hand.
- I get a bag of 100 for about $25 USD from Amazon.
 Disposable gloves
- You are going to get covered in fluid, so a half dozen pairs of disposable gloves would be handy to have.


It’s going to be messy, so don’t wear your Sunday best to do the work. Time to put on your ‘garage clothes’.
Preparation
You need to do a bunch of preparation work to get to this point, and I’ve created articles on how to tackle each of these steps:
- Get your car up level on Jack Stands (as high as possible)
- Remove the rear undertray
- Remove the rear subframe crossmember
- Remove the right rear exhaust heat shield
- Draining the Fluid from the Sump
- Remove the Thermostatic Control Valve
- Remove the Oil Pan/Sump
- Remove the Electronics Sleeve
With those steps out of the way we can get on with it.
Procedure
The process will take about 10 minutes once you have all the preparation steps done.
 Aston Martin actually have included a section on this in the official Aston Martin Workshop Manual. Section 7.01 Automatic Transmission covers this. What’s amusing is that they didn’t bother to make one unique to Aston, they just pilfered content from ZF and actually just show pictures of a transmission removed from the car flipped over on the bench (if only it was that easy).
![]() I managed to track down a ZF service technician training presentation that looks like something a trainer would be using to train new ZF service technicians (just like me – and you!). You can find a copy of that here. What matters most in that guide for now is the specific bolt tightening/loosening sequence. This is to ensure the Mechatronic doesn’t get warped during the process. Here is that pattern.
I managed to track down a ZF service technician training presentation that looks like something a trainer would be using to train new ZF service technicians (just like me – and you!). You can find a copy of that here. What matters most in that guide for now is the specific bolt tightening/loosening sequence. This is to ensure the Mechatronic doesn’t get warped during the process. Here is that pattern.
![]()
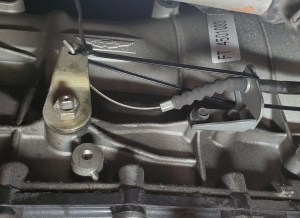
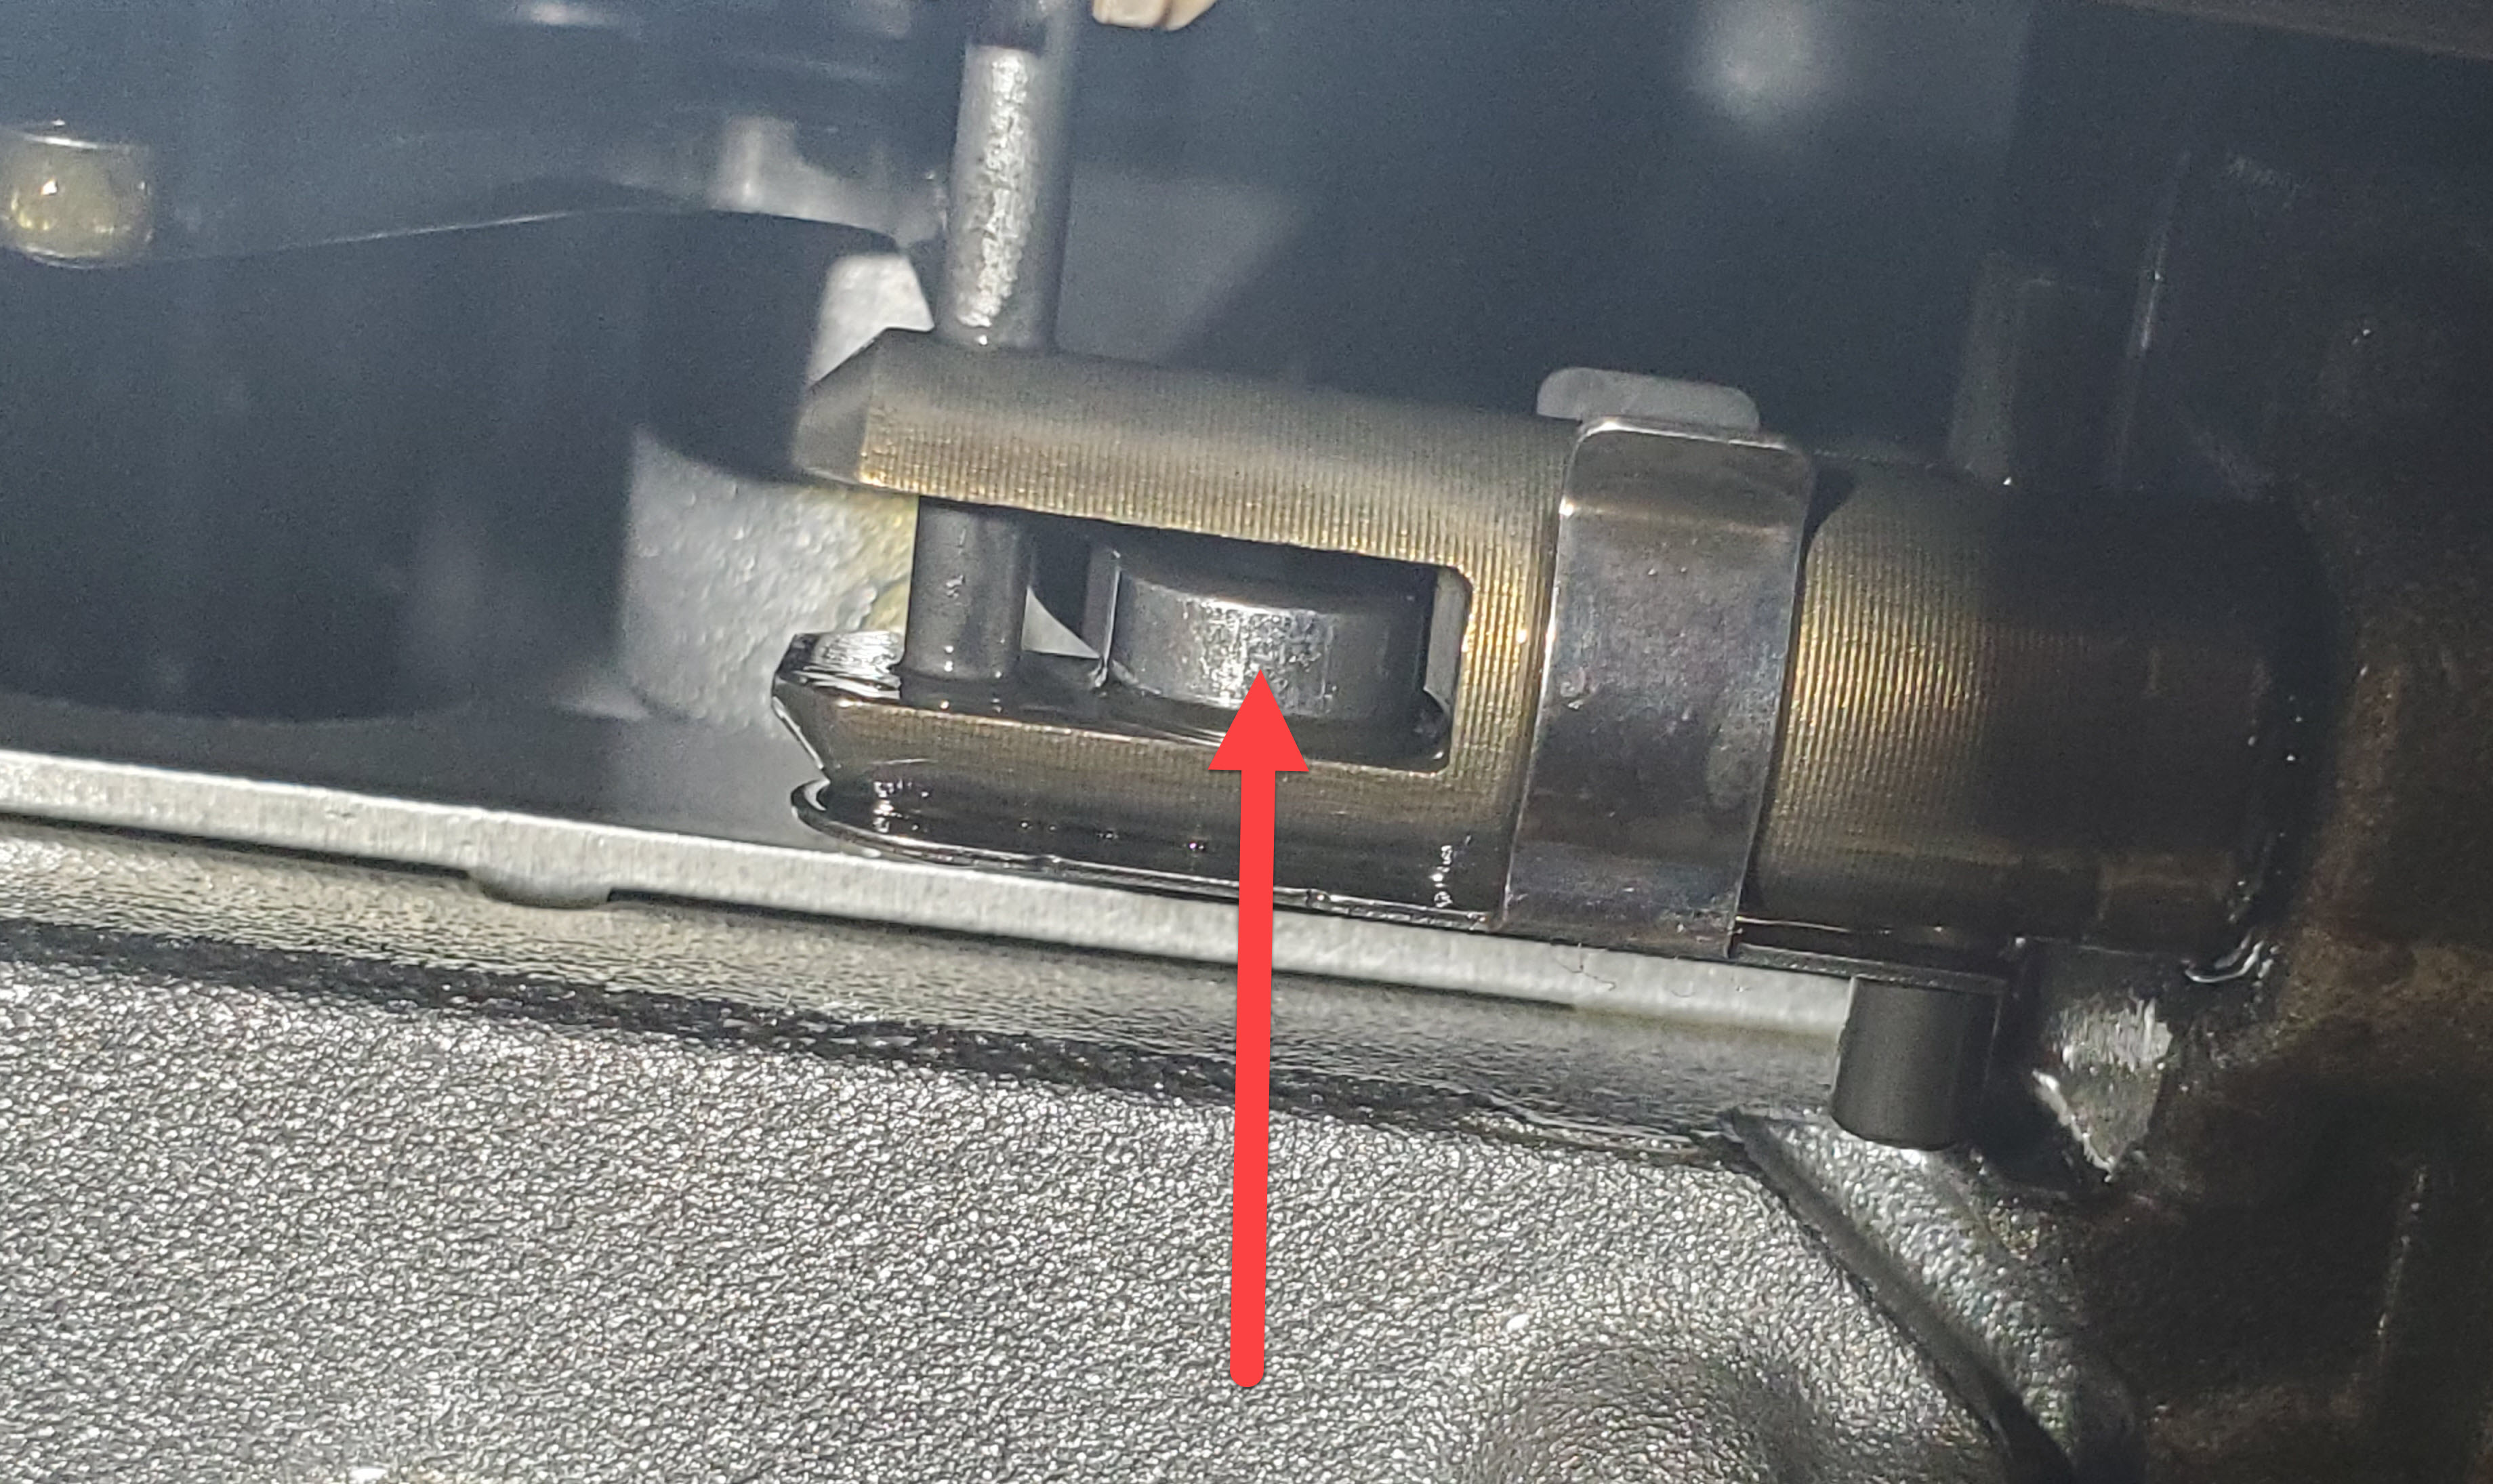
- Overriding the Park Interlock Lever
- The lever that engages ‘Park’, the actual cogs in the transmission to hold your car in place, needs to be temporarily disengaged for this process so we can pull the Mechatronics unit off the lever.
- There is a mechanical park override lever in the car in case your battery ever goes flat and you need to shift into neutral (watch my video on this). We are going to use this park override lever to disengage park.
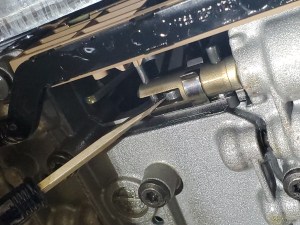
- The park override lever is on the right side of the transmission just forward of the fluid fill plug. You will need to peer up along side the exhaust pipe to see it.

- We need to restrain the lever into a vertical position.
- I used two 8″ zip ties to tackle this.
- I put one through the whole in the lever end and then linked them around the bracket for the override release cable.

- Tighten them up until the lever is pointing straight up.
- Look at where the park brake lever engages the mechatronics unit. It should be centered and look something like this.
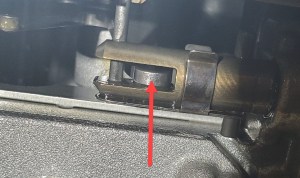
- Check out the video below to get a better handle on what I am talking about.
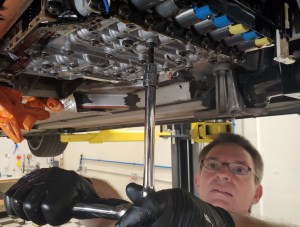
- Crack the 10 Mechatronics screws loose
- There are two sizes of screws on the Mechatonics surface. T40’s that we want to remove, and smaller torx bolts we aren’t going to touch. Only take out the T40’s.
- Before removing all the screws I like to crack them all loose by hand to be sure none are seized up.
- Use your T40 Torx socket, extension and ratchet to crack each one loose in the proper order.
- Follow the diagram above and loosen them starting with bolt 10 and work backwards to bolt 1.
- Remove the all the bolts except 1 and 4
- We want to leave 1 and 4 in place to take up the weight while you remove the others. They are ideally located.
- I used my 3/8″ electric driver to speed up the process of removal (but never for the install).
- Remove bolts 1 and 4
- Take up the weight of the Mechatronics with one hand. It’s heavy so be prepared. If you have a helper nearby, I’d suggest asking for a few minutes of their time to make this much easier.

- Remove bolts 1 and 4 being careful of the weight of the unit as the last bolts come out.
- Don’t let the bolts tear out the last threads holding the weight, hold the unit up.
- Take up the weight of the Mechatronics with one hand. It’s heavy so be prepared. If you have a helper nearby, I’d suggest asking for a few minutes of their time to make this much easier.
- Lower the Mechatronics Unit carefully away
- It will be drippy and messy. Just be mentally ready for this.
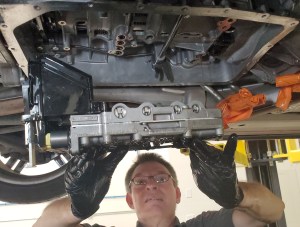
- Have a place to set it down ready to go.
- I sat mine on its side on top of the drip tray to just let it drain out.

- I sat mine on its side on top of the drip tray to just let it drain out.
- Be careful of the Electronics Sleeve safety interlock tab (white plastic lever) that will still be sticking out. Don’t set it down with all the weight resting on that if you can avoid it.
- It will be drippy and messy. Just be mentally ready for this.
- You can now get on with letting the last bits of fluid drain out, and you can collect and measure that in your drain bucket. Keep an eye on how much is accumulating on your drip tray, I had to drain mine once or twice. I probably got one or two liters from it all.


That should be it. You should now have a great view up into the transmission gears and clutches. This will reveal the four mechatronic valve seals and the bridge seal. Now you can get on with your fluid and/or seal change. My next article is on changing the Mechatronic Valve and Bridge Seals, and you can read that here.
Video
You can see me tackle this in my video series on draining the transmission fluid. You’ll see me me positioning the park override lever at the 4:21 mark.
You can see me loosening the bolts and removing the Mechantronic unit at the 23:36 mark.
